Sunday, October 20, 2019

Technique Tuesday - Thank You Stamps - Bootiful Tulips

Hello again!   Technique Tuesday is celebrating this wonderful time of the year as we embrace the fall and have so much to be thankful for!   They want to thank their customers by inviting you to shop their season of thanks sale!    They have gathered a collection of stamps and dies to help you make thank you cards, gratitude pages or place cards for your Thanksgiving Table!    

I am celebrating the Season of Thanks with them by sharing this adorable stamp set called Bootiful Tulips.   This is such a sweet image and sentiments to say thanks to someone special.   


Technique Tuesday is celebrating by providing you a coupon to use between October 20th thru Thursday, October 24th at midnight PDT.   The coupon code is:  Thanks19

You can save 20% off anything in both categories below: 


I colored the Bootiful Tulips image with my Copic markers and then cut the image out.   I loved the bright colors from the tulips and boots and wanted it to pop up off my panel.   I decided to layer it onto a neutral background that I created with Hickory Smoke Distress Oxide ink and a white card panel.    I masked off some stripes and went heavy on one end and faded the ink as I moved across the panel.   


The sentiment was created by stacking the sentiments from the set.   I stamped the sentiment in Versafine Onyx Black ink and then clear embossed them onto a small strip of aqua card stock


I hope you will check out the sale and be inspired to be thankful!   

Thanks for stopping by!   


Thursday, October 17, 2019

Reverse Confetti - Trick Or Treat

Hello, Hello!  I am sharing a card I made with this week's CAS(E) this Sketch challenge. I decided to go with a candy corn color them to show off the script Trick or Treat.   


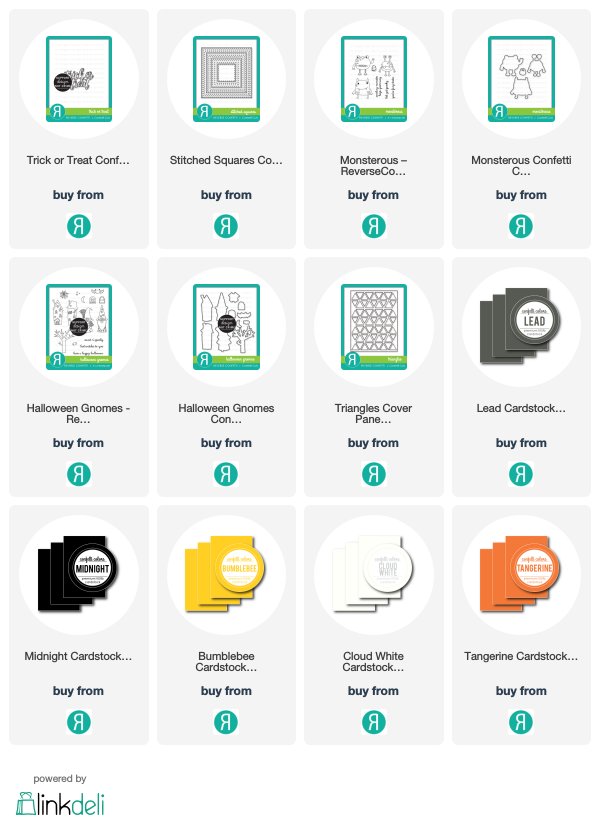
I started with a white background using the Triangles Cover Panel and layered onto a white card base.   I used the Stitched Squares Confetti Cut and die cut it out of Bumblebee, Tangerine and Cloud White card stock.   I layered the squares together.   I die cut the Trick or Treat from Midnight card stock and layered on top of Stitched Squares.  


 To follow the sketch, I stamped one of the monsters from Monsterous and the bats from Halloween Gnomes onto Lead card stock with white pigment ink.    I added them to the card with foam tape.    To finish the card off, I put a few white enamel Nuvo Drops.   


Here is the link to the current sketch challenge at CAS(E) this Sketch #344.


Thanks for stopping by!  


Tuesday, October 15, 2019

SugarPea Designs - Christmas Cheer

Hello there!   I am here today to share a holiday card made with the new Christmas Cheer stamp set from SugarPea Designs.   This stamp set is just adorable!   There are some really sweet images in this stamp set.  I just love the little baby owls.     


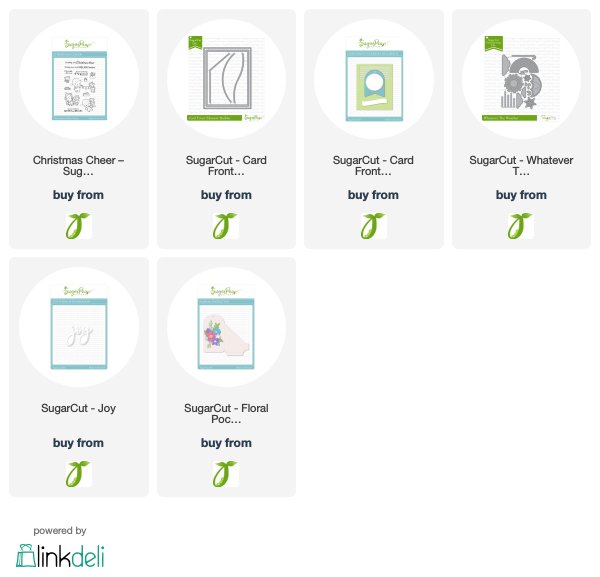
I stamped my images onto Neenah card stock and then colored with my Copic markers.    For my background, I used Distress Oxide Inks in Salty Ocean, Blueprint Sketch and Chipped Sapphire.   I love the bright blue against the white snow drift created with the Card Front Element Builder SugarCut.    

SugarPea Designs is donating 20% of the sales of this stamp set to the Alzheimers Association!  Wendy Ramlakhan and Vera Yates designed this stamp set for the Caring Hearts Card Drive which you can find more information about here!   Shop for the Christmas Cheer stamp set on the SugarPea Designs blog! 


I used the Card Front Element Builder II SugarCut and ran both my Distressed Oxide panel and the white panel for the pierced details.    I decided to add some snowflakes using two SugarCuts:   Whatever the Weather and the Floral Pocket Tag.    I die cut them from white cardstock that had some Stick It adhesive on the back to make them really easy to adhere.  


I also die cut the SugarCut Joy from red and white cardstock.  
I stamped a sentiment from the Christmas Cheer stamp set and then added my images with foam adhesive.    For a finishing touch, I tied some red and white twine around the top of the card.   


  Thank you for joining me today!  


Friday, October 11, 2019

SugarPea Designs - Sweet 2 Repeat - Instagram Hop & Giveaway

Happy Friday Friends!  Today the SugarPea Design team is participating in a Sweet 2 Repeat Instagram Hop & Giveaway!   Head over to my Instagram page here and join in the fun!!!    


\

Thank you for stopping by! 


Tuesday, October 8, 2019

Reverse Confetti - October Blog Hop - Peace on Earth

It's time for the Reverse Confetti October Blog Hop!   We are sharing tons of inspiration with you today.   I have a super cute Christmas card to share with you today.

You should have hopped over to me from Amy Kolling's blog.


One of my favorite stamp sets from the September release is Joyous Holiday.   I just love these little angels, they are so precious.   I love old vintage Christmas cards and if you have ever looked at them, you know that there are so many with angel images.   Here are a couple that inspired me to make this card: 

Can I See My Lord Too Cross Stitch Pattern PDF


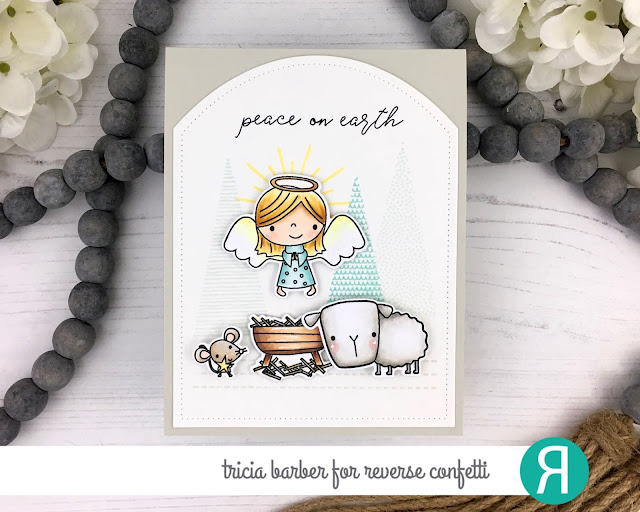
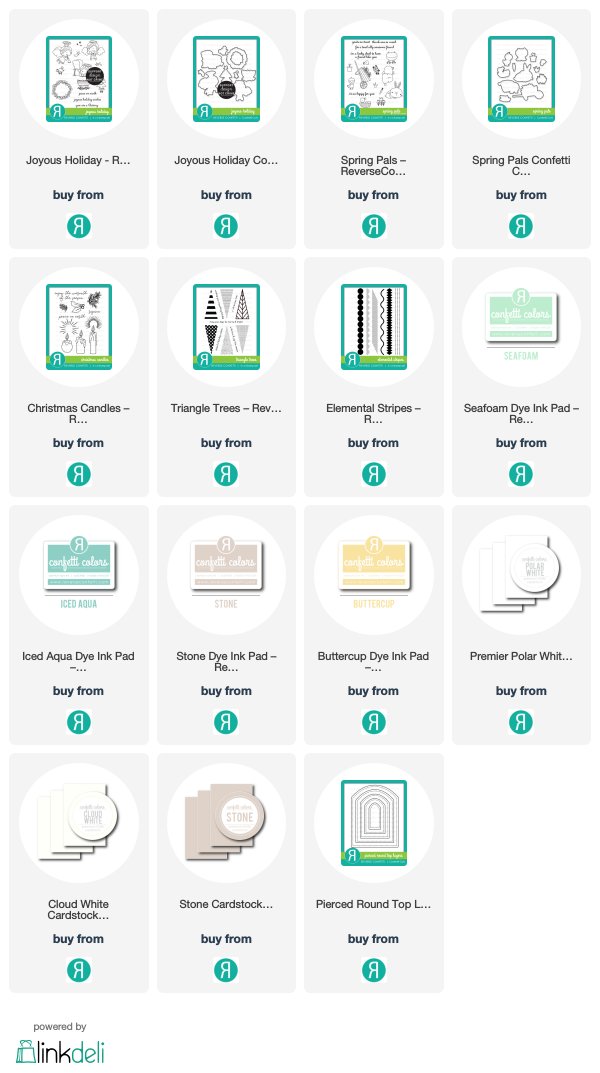
To start, I stamped out the angel, manger and mouse from Joyous Holiday and the lamb from Spring Pals onto Premier Polar White cardstock and colored with my Copic markers.    I then die cut them out with the Joyous Holiday and Spring Pals Confetti Cuts.   Next to build my scene I die cut Cloud White cardstock with the Pierced Round Top Layers using the largest die.   I stamped three of the trees from Triangle Trees using Seafoam and Iced Aqua inks.    To ground the images, I used the Elemental Strips stamp set and stamped the dashed lines in Stone ink. 


I determined my placement for all the images onto the Pierced Round Top Layer.  Behind the angel, I stamped the illumination mark from the Christmas Candles stamp set using Buttercup ink.     I stamped the sentiment from Christmas Candles at the top of the panel.   I just love the script in this set.   I used the other sentiment in the stamp set and stamped that onto the interior of the card panel.   The card panel is made from Stone cardstock.   


I popped up all my images with some foam tape.   I used some of the thinner foam from Scrapbook Adhesives to have the manager a little inset in the Christmas scene.    I loved how soft the card turned out.   I added some final details with my white gel pen and a clear sparkle pen.   I love being able to mix and match my stamps together.  If you have never used Reverse Confetti papers, I am a big fan of the Premier Polar White to color with Copics and I love the weight of the cardstock.    Cloud White and Stone are more of my favorite colors.  The Cloud White has a slight texture to it and is the softest white.   Just gorgeous! 


Friday, October 4, 2019

Reverse Confetti - Joys of the Season

I am over on the Reverse Confetti Blog sharing a holiday card using Joys of the Season!   
Hop on over to the Reverse Confetti Blog for all the details!  


Thanks for stopping by! 


Wednesday, October 2, 2019

SugarPea Designs - Mix It Up Challenge - Sweet as Pie

Hello!   I love this time of year and so excited that it is now October!   This is one of my most favorite month's of the year.  With a new month, there is a new Mix It Up Challenge at SugarPea Designs!   You can use the sketch or the inspiration photo or mix it up and do a combination of them.    Once I saw the inspiration photo, I knew that I wanted to use the new Sweet as Pie stamp set.  


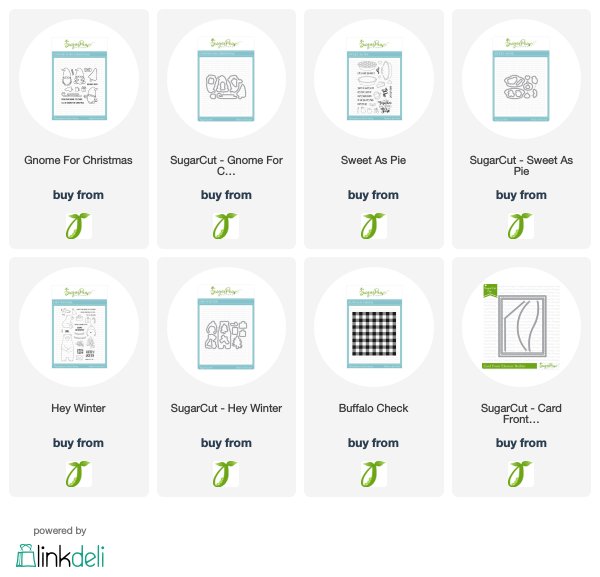
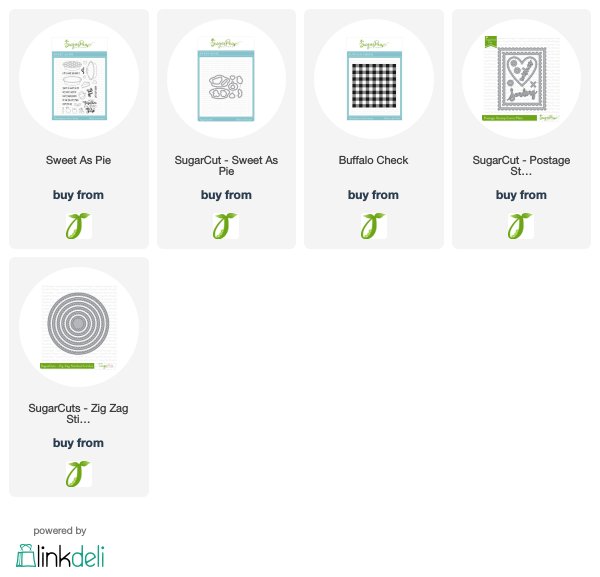
I stamped the images from the set out onto Neenah cardstock and colored with my Copic markers.   I then die cut them out with the Sweet as Pie SugarCut.   I created an apple pie, cherry pie and pumpkin pie!  YUM! 


I used the new Buffalo Check stamp and stamped on some light grey cardstock with light grey ink and then die cut it with the Postage Stamp SugarCut.    I layered this onto a kraft card base.   To layer my pies, I die cut some Neenah cardstock with the Zig Zag Stitched Circle SugarCut and then added my pies with some foam tape.   I stamped a sentiment from the Sweet as Pie stamp set onto some black cardstock and white heat embossed it.    I added some final touches with Nuvo Crystal Glaze and a clear sparkle pen.    


I hope that you will play along with the challenge this month!  See the box above for the Challenge Rules and chance to win!   Thank you so much for stopping by!