Wednesday, April 29, 2020

Reverse Confetti - Another Mother's Day Card!

Hey there!  Hope you are doing well!  I am sharing another Mother's Day card that I created with several Reverse Confetti stamp sets and Confetti Cuts.   I decided to do another slimline card design with this card.   I love these because I can fit so much more on the card!   


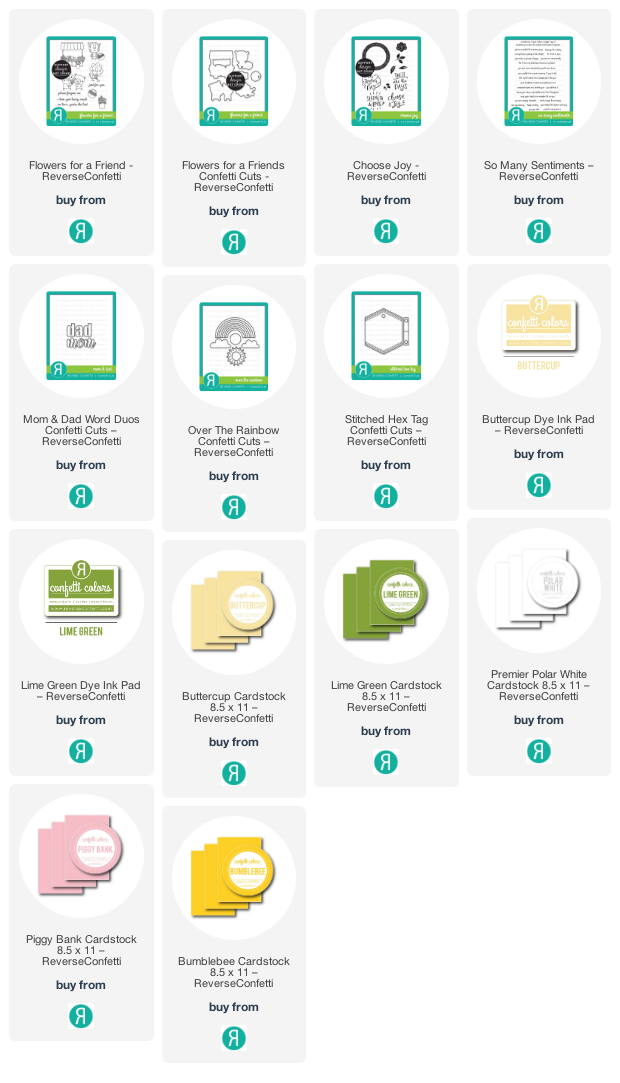
I started by stamping with the Choose Joy stamp set onto Buttercup card stock with Buttercup and Lime Green ink to create a patterned background.  You end up not seeing much of it on the card but just little peeks here and there.   


I die cut two Stitched Hex Tags for the base of my two little scenes.   I used the Flowers for a Friend stamp set and stamped several images from the set and die cut with the Flowers for a Friend Confetti Cuts.  I colored the images with my Copic markers.   


I added a sun and clouds using the Over the Rainbow Confetti Cuts.   I stamped two sentiments out form the So Many Sentiments stamp set and white heat embossed it onto Lime Green card stock.  I die cut the Mom from the Mom & Dad Word Duo from Piggy Bank card stock and die cut several mom's and stacked them together.  


I am so happy with how it turn out and now I am ready for Mother's Day!  I hope you have a wonderful day!   

Thanks for stopping by! 


Saturday, April 25, 2020

Reverse Confetti - Mother's Day Card

Hello!  I had this idea in my head for my mom's Mother's Day card and I am so excited how it turned out!  I used a combination of stamp sets from Reverse Confetti.   I started off with the OMG stamp set and stamped it out in Iced Aqua and Island Blue ink.   I used the "OM" from the OMG stamp set and stamped an extra set to create the "MOM".   I die cut it out with the matching OMG Confetti Cuts.   I stamped and embossed a sentiment "You're Freaking Amazing" onto a strip of white card stock and embossed it with clear embossing powder.   


Next I used Chalk It Up and Cheerful Pals stamp set onto white card stock and colored the images with Copic markers.  Both of these sets are just adorable and so much fun to color!   I stamped the bear from Chalk It Up and stamped the Luv You.   I die cut the images with the Chalk It Up and Cheerful Pals Confetti Cuts. 


I added my images to the card with tons of foam tape!   Because this is going to be hand delivered, I let some of the images come off the card.   This is a slimline line design and the main panel is 3 1/2 inches by 8 1/4 inches.  So it already is a big card but still would fit into a business size envelope!   


I ink blended onto the panel with Spun Sugar and Twisted Citron Distress Oxide inks.   It is hard to see because there are so many images on the card but I used the Bubbles Confetti Cuts to create a cloud border using the edge of the die cut. 


I think she is going to love it! For sure, I know it will put a smile on her face!   Thank you for stopping by today!   I hope you have a wonderful day! 


Friday, April 24, 2020

Whimsy Stamps - Polka Dot Pals Mini Release


Hey there! I hope that you are doing well!   I am back again today to share another Mini Release for Whimsy Stamps.   Today I have two cards to share - for my first project I am using Polka Dot Pals Mason.


I colored my image with Copic markers.  I love these Polka Dot Pal stamps and digital images!   They are super cute.  You can also mix different elements from the various sets.   This set has a super cute unicorn with it.    


For my background, I used the Grass and Cloud Edger die and created a stencil from card stock by die cutting with both the cloud dies on the 5 1/4 inch panel.   I then ink blended with the die cut stencil and used Distress Oxides: Worn Lipstick, Picked Raspberry, Squeezed Lemonade and Wild Honey with a blender brush.   


For the sentiment, I used the sentiment from the Polka Dot Pals Mason set.   I added a few crystals to finish off the card.   

Take a look at some of the Design Team inspiration projects with this mini release! Aren't they amazing! 


For my next project, I used one of the Polka Dot Pals Fern Grassland Ponder Coloring Scene.   I printed the image onto Neenah 80 lb card stock and then colored with my Copics but also added in some colored pencils with my Copic coloring.  


When coloring a full scene, I find that using Prisma Colored Pencils is something that has been new for me.  I added to the grass and was not too happy with it but it's a learning experience.   The more I practice the easier it will be to use them!    


These are great images to print out for my niece's and nephew when they come to my craft room.   They love to make cards and use my craft supplies.  I think these are great because if they mess it up, it is ok, they just get another one to color! 


I die cut the panel out with the Zig Zag Stitched Rectangle.  I used the Giraffe Smiles stamp set for the sentiment.   I added some twine to the top of the card to finish it off.   


Check out the new release on the Whimsy Blog Here!  

Zig Zag Stitched Rectangles Die Set - Whimsy StampsGiraffe Smiles Clear Stamps - Whimsy Stamps

Wednesday, April 22, 2020

SugarPea Designs - April Mix It Up Challenge

Hey there!   I am sharing a card I made with this month's SugarPea Designs Mix It Up Challenge!  I am sharing a thank you card today with the Wheelie Amazing stamp set.    This is such a cute set that you can build your bicycle with several different accessories. I started by stamping all my images out.  


I decided to do some colored ink stamping for the bicycle and then the accessories with black ink.   The colors were pulled from the inspiration photo - I went a little darker with the gray.  :-)  I die cut the images with the Wheelie Amazing SugarCut. 


I colored the accessories with my Copic markers.   To create the card, I used the Honeycomb Cover Plate to create the background.  One of my favorite techniques to do with this Honeycomb Cover Plate is to dry emboss.   I trimmed the panel down and backed it with dark gray panel.   


I added a circle die cut with the Zig Zag Stitched Circle SugarCut.   I added another green circle die cut with the Zig Zag Stitched Circle SugarCut and trimmed it down for grass and stamped my sentiment from the Wheelie Amazing stamp set.   

See the details below for the challenge rules and opportunity for a prize!  You can use the sketch or the inspiration photo or sketch!  Either one or both!   

Here is the link to the SugarPea Designs Blog and on the right side bar you can get to the current challenge! 


Affiliate links used at no extra cost to you! 

Sunday, April 19, 2020

Reverse Confetti - Moon Men

Happy Sunday!   Hope your day is going well.   I am sharing this card that I made with one of my favorite Reverse Confetti stamp sets called Moon Men.  


I started off by ink blending a panel with Distress inks:  Twisted Citron, Peacock Feathers and Faded Jeans.   I then splattered with water and paint and then set it aside to dry.    I stamped my images onto Premier Polar White card stock and die cut with the Moon Men Confetti Cuts.    I colored all the images with my Copic markers.   


I used the Double Stitch Window Cover Panel and die cut a white panel and stamped with a sentiment from Moon Men.   I then added the inked panel to a white card base and adhered the Double Stitch Window die cut with foam tape.   I added my images to the panel.   I added some silver stars cut from the star die from the Moon Men Confetti Cuts set.    To finish this off, I added crystal glaze to the spaceship and Moon Men helmet.   


Thanks for stopping by today!  Stay safe and healthy! 


Saturday, April 18, 2020

Whimsy Stamps - Butterflies and Hexagon Treat Boxes

Happy Saturday!  I am so happy it is the weekend and it has been just a beautiful week!   The sun has been shining and it has been getting warmer.   I love being outside and enjoy when we can start doing outdoor activities!  


I am popping in to share with you some treat boxes that I made with the Whimsy Stamps Butterflies 
stamp set and Hexagon Treat Box die.   


I started by stamping with one of the butterflies onto some light grey card stock.  I repeated the stamp all over the card stock to create a background pattern.   Next I assembled the boxes together.   


I stamped out several of the butterfly images onto white card stock and then cut them out.   I colored them in with my Copic markers and added details with a white gel pen.  Just look at how the white gel pen makes the coloring and images pop!   


I adhered them to the boxes with foam tape and bent them upwards so that they added dimension to the boxes.   I stamped sentiments from the Butterflies stamp set and die cut them out with the Quick Strips die.  


Thank you so much for stopping by today!   I hope that you have a wonderful day!!  

Affiliate links used at no extra cost to you!
*NEW Butterflies Clear Stamps - Whimsy StampsHexagon Treat Box Die - Whimsy StampsQuick Strips Die Set - Whimsy Stamps

Friday, April 17, 2020

Spread Joy Not Germs Blog Hop!

Hello! I participating one large hop today #spreadjoynotgerms and this is a huge hop with a ton of prizes! The theme is to make happy cards to make people smile!  To encourage and inspire you to craft, create and mail your cards to someone that may need a little sunshine! 


There are 31 sponsors participating today with over 50 prizes!  Be sure to comment along the way, the more you comment along the more chances to win! Deadline to enter for the giveaway is April 24th and winners will be announced on the Catherine Pooler Designs and Hedgehog Hollow Blogs!  


 I will be giving away a $15 gift card to Whimsy Stamps!!!  To be eligible, please comment below and let me know what has been something positive that you have experienced as a result of all this chaos!   For me - family dinners have been a regular nightly event and that has been so nice to have the whole family together!  


So now for my inspiration!  I created this very SPARKLY card using a new to me stamp set called Unicorn Sparkle from Whimsy Stamps!  Aren't these images adorable!!! I just love adding sparkle to my cards.  I created a background with Distress inks: Picked Raspberry, Mustard Seed,  and Peacock Feathers.   I then used the Sun Rays stencil and went over the panel again.   


After stenciling, I covered the panel in Nuvo Moonstone Glimmer paste and let it dry overnight.   I added a white panel that had been die cut with the Grass and Cloud Edger Die Set.  I stamped the sentiment "sending you some sparkle".  


I stamped two of the unicorns from the Unicorn Sparkle stamp set and colored with my Copic markers. Aren't these so cute!  I just love the one that is prancing - she cracks me up! 

This card is almost blinding - it has so much sparkle - I added more with my Spectrum Noir Clear Sparkle pen.   


Well - you need to get hopping on now so that you can visit all the spots along the way - make sure to comment!  


Be sure to hop along to the Whimsy Design Team posts as well! 


Thank you for stopping by and stay healthy! 

Affiliate Links used at no extra charge to you! 

Unicorn Sparkle Clear Stamps - Whimsy StampsSun Rays Stencil - Whimsy StampsGrass and Cloud Edger Die Set - Whimsy Stamps