Sunday, March 31, 2019

Reverse Confetti - Hatbox Florals & Mod Floral Stack

Happy Sunday! Hope you had a great weekend.  I played along with two challenges today.   The Fusion Card Challenge and CAS(E) this Sketch.     I used the Hatbox Florals and Mod Floral Stack to create a mono chromatic card with a pop of Rose.    


I started off with Lead cardstock and cut it out with the Diagonals Stitches Cover Panel.   The stitching lines help me stamp the Mod Floral Stack into a pattern to create a background.    I used Lead ink to stamp one of the Mod Floral images repeatedly.     I stamped a floral image from Hatbox Florals onto Midnight card stock and white heat embossed the image.   I also stamped a sentiment from Word Up and white heat embossed it as well.   


I die cut from Rose card stock the word Mom from Mom & Dad Word Duos Confetti Cuts.   I die cut it three times and then layered them with glue.   


Here is the link for the challenges!    I hope you have a great week!  


Fusion Card Challenge- Inspiration from the Photo 


Thanks for stopping by! 


Wednesday, March 27, 2019

SugarPea Designs Mix It Up Challenge #53 - Over the Moon

Hey! Hey!   I am playing along with this month's SugarPea Designs Mix It Up Challenge #53 with Over the Moon.   This is such a sweet image!  When I saw the sketch I had this idea to create a galaxy sky and create a glow like you sometimes see around the moon in a night sky.   I started off with some Bristol Smooth cardstock and ink blended with Distress Oxides in Black Soot, Chipped Sapphire, Peacock Feathers and Tumbled Glass.   


I started with the Tumbled Glass in the center and then worked my way outward.    I used the Zig Zag Stitched Rectangles to trim down the panel to an A2 size.    Next I watered down some white paint and flicked it all over the background using a toothbrush.  You get really fine splatters with a toothbrush.   Then I flicked some white paint with a paint brush to get the larger white stars.   I then sprayed the background with some Perfect Pearls mixed with water to get shimmer all over the card panel.     


I stamped my image from Over the Moon onto some Neenah 110lb card stock and trimmed it down.   I colored it with my Copic markers and then added some Distress Stardust Stickles and added some details with a white gel pen.   I love the bright cheeks on the sun, this image just calls for bright rosy cheeks!   


To add more "haze" to my card, I used the Zig Zag Stitched Circle Sugar Cuts to create a vellum circle to layer underneath the sun and the moon.    I used foam tape to pop up the sun/moon and then I could hide my adhesive under the image to adhere to my galaxy background.    


The sentiment was stamped onto some Neenah card stock with Versafine Onyx Black ink and trimmed it down to match the sketch.    I added some dark blue jewels to the card for more sparkle!!!  

Come play along in the challenge!  See the details below for a chance to win!!! 

Thank you for stopping by!  


Supplies: 

Stamps:  Over the Moon


Other supplies used, affiliate links used at no extra cost to you! 

Tuesday, March 26, 2019

Reverse Confetti - Spring Pals

Hello 'Fetti Fans!   I am playing along with this month's Stock Your Stash Challenge over at Reverse Confetti.   This month's theme is Easter/Spring and the new Spring Pals stamp set was just perfect for the card idea that I had in mind.     I am really into the slim line cards right now!   I love that you can use a business size envelope to send in the mail and it does not cost any extra in postage!   This panel give you so much room to add a ton of stamped images!  


I started off with some Bristol Smooth card stock and ink blended with Distress Oxides in Tumbled Glass, Twisted Citron and Mowed Lawn.    I used the Nuts about You Confetti Cuts to make a grassy border for the Spring Pals. 


I then splattered the sky and grassy pieces with water.   The card panel is 3 1/2 in x 8 1/2 in.   The panels were trimmed down a 1/4 in.   I popped up two of the grassy card panels with foam tape.   
Aren't these images just adorable!   I love the little duck with the baby chicks.  There are many accessory stamps that you can use to build some great scenes! 


I stamped all my images onto Premier Polar White and then colored with my Copic markers.    I added small details with a white gel pen.    The clouds are from Honey Bear Confetti Cuts.   The sentiment is from Spring Pals and was stamped with Island Blue ink.   I added a few sequins here and there for a little sparkle.    


There is a few days left to play along with the Stock Your Stash Challenge!  Click on this link to find out more details on the challenge! Come check it out and play and if you post your creations on social media, please be sure to use the hashtag: #SYSChallenge


Thanks for stopping by!   Hope you will play along! 


Thursday, March 21, 2019

Confetti Camera - over on the Reverse Confetti Blog Today!

Hey 'Fetti Fans!  I am over on the Reverse Confetti blog today with my turn on the Confetti Camera!    This is where we have a running theme and each of the designers take a turn showcasing their interpretation!    Here is a little sneak of my projects using one of my favorite stamp sets, Moon Men!   

Please go check it out!  Have a great day! 


Tuesday, March 12, 2019

SugarPea Designs - Pretty Peonies

Happy Hello to you!   It's Tricia here today and I am sharing a card that I made with the Pretty Peonies stamp set.    This time of year, I am so ready for spring and start thinking about flowers to plant.   When I look at this stamp set, I think of the pretty vintage seed packets and so this is what inspired my card for today.    


I started off by stamping the largest flower from Pretty Peonies with a waterproof ink onto some Arches Cold Pressed Watercolor paper.   Now, I am going to admit to you that the first time I colored the image, I was not happy at all with it and so this is my round two colored image.  


I used my Zig Clean Color Real Brush markers to watercolor the flower.    Once it was done, I splattered it with some black ink.    


I die cut the image with the Sugar Cut Postage Stamp.    I wrapped some twine along the bottom.    


I stamped a sentiment onto black card stock and then white heat embossed it.    I trimmed the edges into a flag shape.   For my card base, I used some Kraft card stock and die cut some ice blue card stock with the Sugar Cut Arrow Cover Plate.   


 I sponged some kraft ink along the edges of the ice blue and the stamped image.    I always need a little bit of sparkle on my card so I added some crystal sequins to finish it off.    Hope you have a wonderful day! 


Thank you for stopping by! 


Sunday, March 10, 2019

Reverse Confetti - Floral Gem & Word Up

Happy Sunday!   We are finally seeing the sun today after several misty rainy days!    I am so ready for Spring and warmer days with sunshine!     I made a Mother's Day card today using the Color Throwdown Challenge and some of the new products from Reverse Confetti.  


The color challenge was using Gray, Purple, Lavender and Kraft.    I stamped the images from Floral Gem onto some Arches Cold Press watercolor paper and then clear heat embossed it.    I colored it with my Zig Clean Color Real Brush markers using the colors from the challenge.    


I used the new Mom & Dad Word Duo Confetti Cuts and die cut mom several times from Royal Purple card stock and layered them on top of one another.    Next I stamped a sentiment onto Midnight from Word Up and trimmed it down to place under the Mom die cut.     I die cut the images from Floral Gem with the Floral Gem Confetti Cut and then layered them onto a Stone card base with foam tape.  


 I had taken the Stone card stock and ran it thru my Big Shot with the Stitched Rays Cover Panel.    I added several purple and lavender jewels to finish off the card.   That is it for me today!    Here is a link for the Color Throwdown Challenge #533.    I hope you get a chance to get crafty today!  


Friday, March 8, 2019

SugarPea Designs - Sweet 2 Repeat Blog Hop!

Hello SugarPea Friends!  Today is the Sweet 2 Repeat Blog Hop!  I am excited to share that I will be joining the SugarPea Design Team!!!   SQUEAL!!!!   I just loved this last release and could not wait to get the new Elephant Parade and Balloon Numbers stamp sets!    They are just adorable.    I knew that I wanted to make some special birthday cards for my kids with the new Balloon Numbers. 


I wanted to create a scene card and decided that the elephant would pop up the bunny with a piece of cake, tossing it up into the air so that he could catch it!   I thought this would be funny for my 23 year old son, seems like something he would do.  :-)   I water colored the images with my Zig Markers.   I stamped the images with Versafine Onyx Black ink and then clear heat embossed it.   It makes it so much easier for me to watercolor.   


  I created the background using Distress Inks:  Tumbled Glass, Peacock Feathers and Mowed Lawn.   I used the Zig Zag Stitched Rectangles to add some stitching details on the card panel.   I stamped the balloon strings directly onto the card panel and popped up all the other images with foam tape.   The Elephant Parade stamp set gives you several little accent stamps like the grassy details.   I stamped them directly to the panel with the Mowed Lawn Distress ink.   


Every birthday card needs some sparkle!  I added some clear sparkle to the balloons, you cannot see it in the photos.    I also added some colored gems to the card for additional sparkle.   I added a few details with a white gel pen and then decided to add some blue and white twine at the top.   The sentiment is from Elephant Parade.   


I stamped the inside with an additional sentiment from the Elephant Parade stamp set and then paired it with a yellow envelope.    I am all ready for his birthday!  

There is a $20 gift certificate to the SugarPea Designs store up for grabs so please be sure to comment along the hop for a chance to win! 


Thank you for stopping by today!  


Reverse Confetti March Release Blog Hop!


Welcome to the Reverse Confetti March Release Blog Hop!   You should have hopped to me from the wonderful..........    I have three projects to share with you today using the new release.  


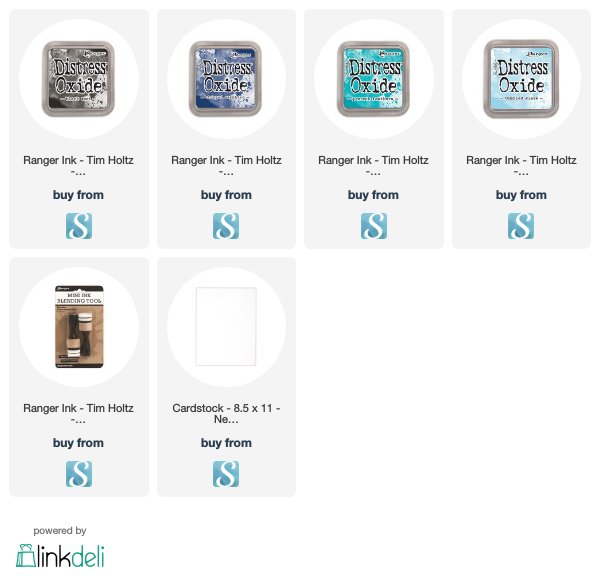
 First up, I loved how this card came out.   It is so cheery and perfect ray of sunshine when we have been having nothing but cold, wet and rainy days forever!     I started with a white card panel and then using post it tape, I created a sunburst with Bumblebee ink.   


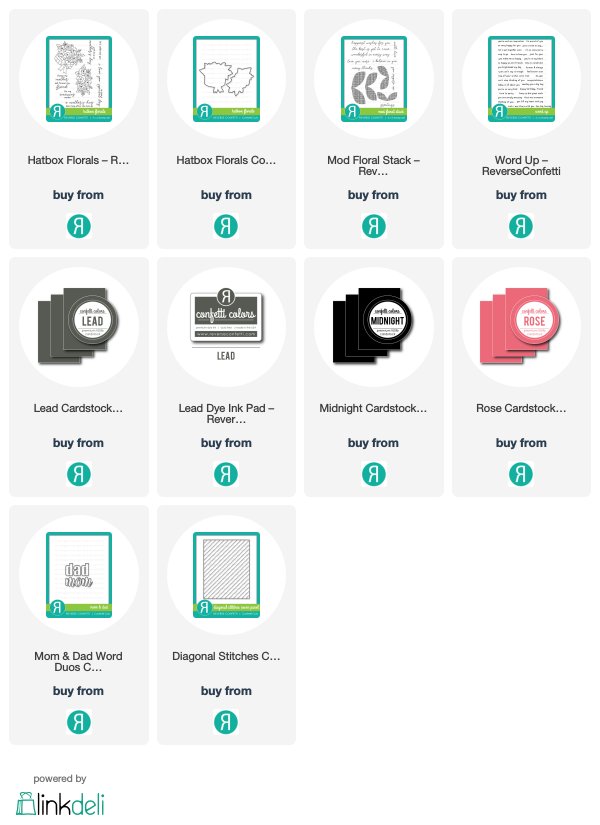
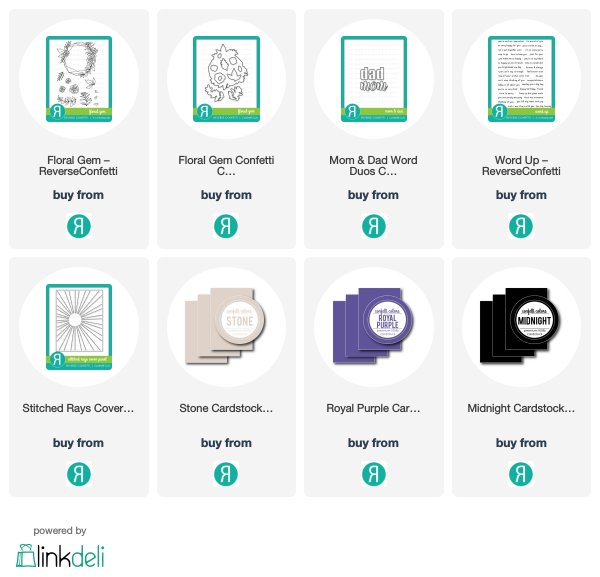
I then die cut the panel with the Stitched Note Frames Confetti Cuts and then replaced the center panel with a plain white die cut panel.   I had some left over watercolor cardstock that I used for day one of the sneaks and die cut hello from the Word Duo: hello & thanks Confetti Cuts.    


I layered it with several die cut layers and then adhered it to the center of the card for that pop of color!   For the frames, I layered the outer frame onto several die cut frames to have it the same width as the hello.  The inner frame was then inlaid with the center note panel.   


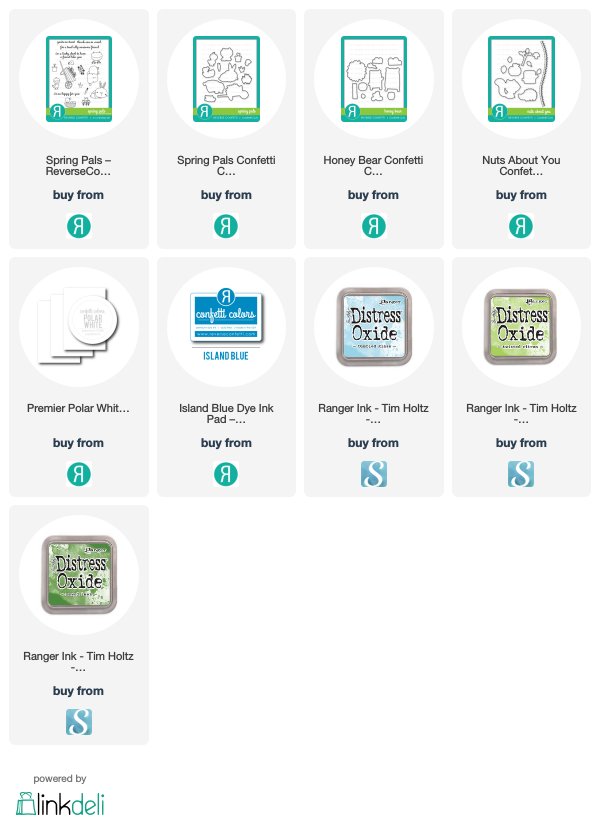
Next up, I had to use Spring Pals again.  It is so adorable.  For today's card, I colored the images with my Zig Clean Color Real Brush markers.    I wanted to create another scene card and paired it with the Stitched Note Frames.   


I used the inner panel and ink blended with Iced Aqua, Lagoon, and Parakeet inks.   I then added my frame from Stitched Note Frames and popped it up with some foam tape.   The sentiment was stamped with Wisteria ink onto a die cut sentiment strip from Flowers for Mom Confetti Cuts.   


My scene was placed onto a card base that had been covered with some patterned paper from Darling Dots 6x6 inch paper pad.   I love the little frog with his crown!    I used the Nuts About You Confetti Cuts to create the grassy border.  I added some details with a white gel pen.  So cute!   


For my last project today, I knew that the new So Super stamp set would be perfect to make party favors for a birthday party!   Who doesn't love superheroes!    For each party bag, I stamped each bag with several images from So Super with Sand ink.    


I created a unique tag for each bag using So Super and the Stitched Hex Tag.   I added sentiments from Word Up.    Just like the first card I made today, for each tag, I used post it tape and created a sunburst on each tag with Bumblebee, Stone and Navy ink to match each of my Superheroes outfits!   (I googled Superhero and found tons of color combinations for them! :-)   I used the new Word Up stamp set and stamped a variety of sentiments to add to each tag.   I die cut them with the Stitched Hex Tag so that they matched the tag.  


I stamped the images onto Premier Polar White card stock and then colored with my Copic markers.   I then die cut them out with the So Super Confetti Cuts.   Each one has a word bubble stamped in matching inks with a lightening bolt!     I used my Crop-a-dile and punched a hole in the bag and tied it with some sparkling twine and added a clip to the top.   I had filled the bags with a variety of candy.  I picked these bags up at my local craft store.   These were super easy to make and came together pretty quickly.   They would be really easy to reproduce.   


That is it for me today!    What is your favorite from the release?  Let me know in the comments below.   It is really hard to pick one favorite for sure!   Well it is time for you to hop along to the next stop, which is Kelly Lunceford!   I can't wait to see what she has to share today!  There is more special guests as well so have fun hopping along!   See you again soon!