Saturday, October 27, 2018

Reverse Confetti - Fall Foliage

Hello!   Hope you are having a wonderful evening!   I created this card for this week's Color Throwdown Challenge.   This week is Dark Teal, Rust and Cream.   It was perfect for the Reverse Confetti's Fall Foliage stamp set.   


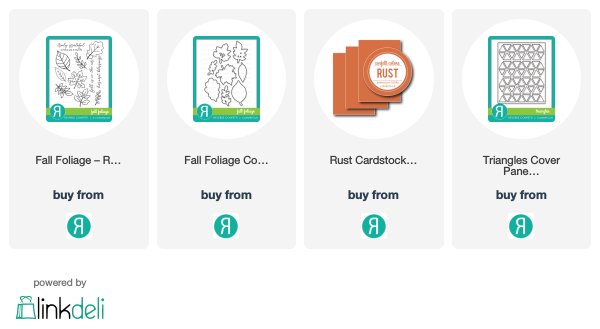
I stamped my images and colored with my Copic Markers.    I die cut them out with the Fall Foliage Confetti Cuts.    I layered them on top of a panel of cream cardstock that had been die cut with the Triangles Cover Panel.   


 I stamped my sentiment in Liquid Platinum Embossing Powder onto some teal cardstock that I had in my collection.   I also added some Rust cardstock from Reverse Confetti.   


 I tied off a twine ribbon and added some clear droplets.   Here is the link to this week's Color Throwdown Challenge.   You have a little time left to play!  


Thanks for stopping by!  


Friday, October 26, 2018

Reverse Confetti - October Stock Your Stash Challenge

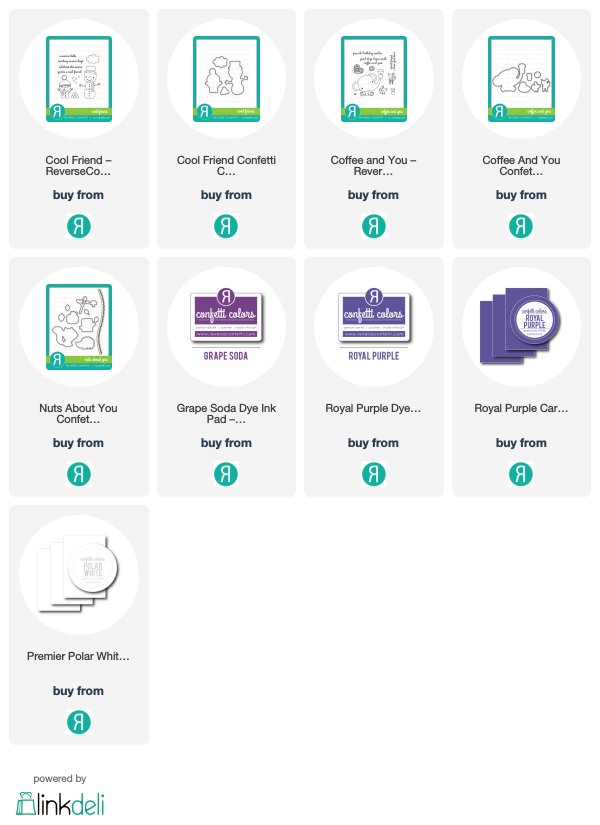
Hey there!   I am sharing my card for the Reverse Confetti Stock Your Stash Challenge for October!   This month's there is Thanksgiving & Friendship.    I went the Friendship route and decided to combine two stamp sets to create a scene for my little snowmen to share hot chocolate and donuts with a little mouse!    I used Cool Friend and Coffee and You stamp sets.   


 I started by ink blending Royal Purple and Grape Soda inks onto some Bristol Smooth cardstock.   I then splattered it with Copic Opaque White paint and set it aside to dry.    I them stamped my images, the two snowmen from Cool Friend and the donut, mouse and coffee cups are from Coffee and You stamp sets.   


I used the matching Confetti Cuts to die cut the images.    I die cut a piece of Polar White cardstock with the Nuts About You Confetti Cuts border die and stamped my sentiment in Royal Purple ink onto the Polar White cardstock.   My card base is made from Royal Purple cardstock. 


There is a few days left to play along with the Stock Your Stash Challenge!  Click on this link to find out more details on the challenge! Come check it out and play and if you post your creations on social media, please be sure to use the hashtag: #SYSChallenge

Thanks for stopping by!   Hope you will play along! 


Sunday, October 21, 2018

Reverse Confetti - Fall For You

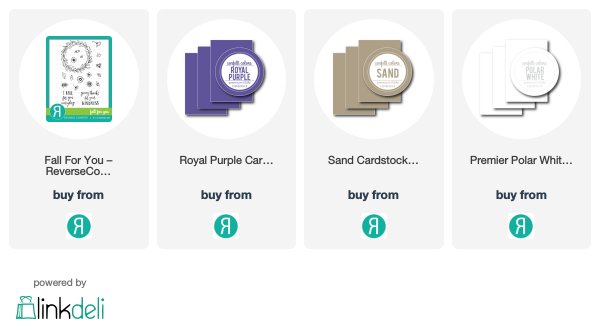
Happy Day to you!  Fall is my FAVORITE time of the year!    I love the cooler weather, camp fires to warm you up,  and the beautiful colors of the fall leaves!   I wanted to create an Autumn Wreath and used the Fall for You stamp set and some masking.   


 The masking went pretty quickly because the images were really small.   I first stamped my wreath in a very light ink and left it in my MISTI so that I could stamp again with black after I masked my flowers.   I stamped several of the flowers onto masking paper and cut around them.  


I love the font of the sentiment in this stamp set!   I added some clear sequins for a little sparkle! 


To finish it off, I added a bow tied from twine.   I mounted the panel on a panel of Royal Purple cardstock and then mounted onto an A2 card base from Sand cardstock.   


 I then was able to position my flowers along the lightly inked wreath and know exactly where to place them!    Once all the flowers were stamped and masked, I stamped the wreath again using black ink.   I colored the wreath in with my Copic markers.    

Thank you for stopping by and visiting me today!   Happy Fall! 


I am using three challenges today: 


Wednesday, October 17, 2018

Reverse Confetti - Frightening Friends

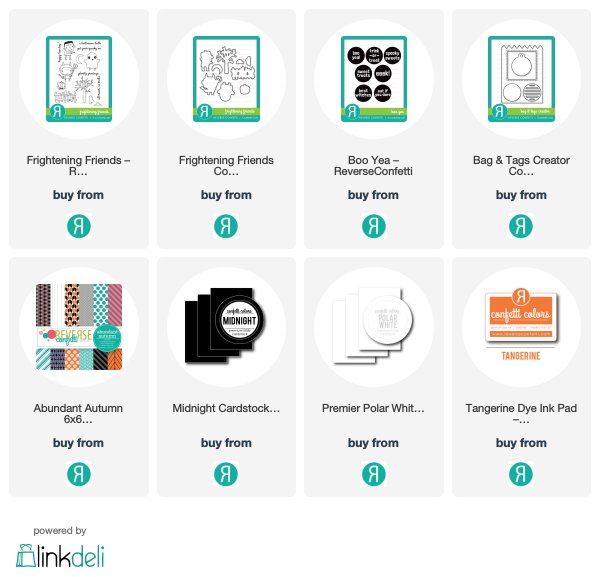
Hey there!  I am popping in to share another Halloween card that I made with some of the new products from Reverse Confetti's September release.   I used the new stamp set, Frightening Friends along with the new paper pad, Abundantly Autumn for one of my last Halloween cards.  I have one more Halloween project to share next week but I am moving on to other holidays if you know what I mean!  


For my inspiration, I used a card sketch from Case this Sketch but did not realize that I pulled up an old sketch challenge!   OH Well!   It was really cute and I loved how the card turned out!   


I cut down some of the patterned papers from the Abundantly Autumn paper pad and adhered them directly to the card base made from Midnight card stock.    I stamped the sentiment from Boo-Yea! stamp set with Tangerine ink onto Premier Polar White card stock.   I also stamped the ghost from Frightening Friends stamp set on Premier Polar White card stock and then die cut it out with the matching Confetti Cuts.   I also die cut some clouds from the Frightening Friends Confetti Cuts.   I covered the ghost with a clear sparkling pen and then some glossy accents.   It was a very simple card but I love the black and orange pops!    


Thank you for stopping by!   I will have one more Halloween project to share next week! 


</

Friday, October 12, 2018

Reverse Confetti - Cool Friend

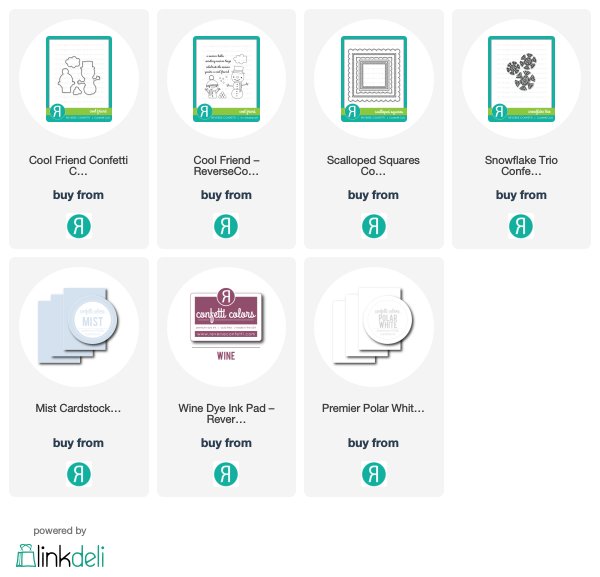
Hey there!    I am sharing a cute little holiday treat bag playing along with the Simon Says Wednesday Challenge - Anything but a Card and Addicted to Stamps Holiday Challenge this week.   I used the recently released Bag & Tags Creator along with the previously release Cool Friend stamp set.   How cute is this!  It comes together so easily with the Bag & Tags Creator Confetti Cuts!   


I die cut two panels from card stock and score on the bottom at 1 inch on both panels.  Then add adhesive and adhere the two panels together.    To decorate the outside of the bag, I die cut some white cardstock with the Scalloped Squares.   I ink blended on the inside square piece with Reverse Confetti Wine ink.    I die cut two snowflakes using the Snowflake Trio Confetti Cuts.  


The snowman was stamped using the Cool Friend stamp set onto Premier Polar White card stock and then die cut with the Cool Friend Confetti Cuts.   I colored with my Copic markers and added details with my Sakura White gel pen.    I added a few sequins and paper clipped the top of the bag to close it and added some blue/white twine.    I few pieces of candy were placed in a cellophane bag and clipped inside the bag held closed with the paper clip.    It came together so quickly and can be whipped up to give some special treats out this holiday season!     


There is so many things that you can do with the Bag & Tags Creator Confetti Cuts.  Check out the Reverse Confetti Pinterest board for more inspiring projects that you can make with this die!     

That is it for me today!  Hope you have a wonderful day!


Wednesday, October 10, 2018

Reverse Confetti Fall-idays - Christmas Blog Hop


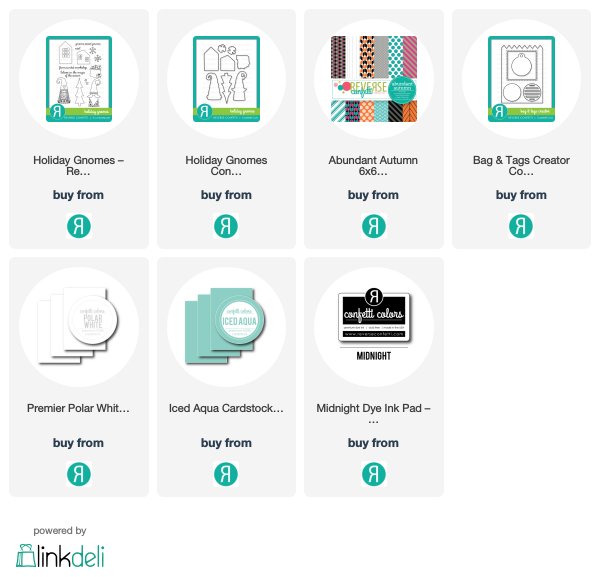
Welcome back to Day 3 of the Fall-iday Blog Hop!   Today we are sharing Christmas projects.   I created a Christmas card using non traditional colors of Turquoise, Pink and Black!   I used the new Holiday Gnome stamp set and colored the girl gnome in turquoise and pink.   I also stamped a tree but instead of coloring it, I covered it in glue and sprinkled glitter all over it.    You can barely see it in the photos but it looks great in real life!   


 Pardon my photos!  I got a new Photo light set up and with the natural light leaving me earlier and earlier each day, I needed to break out the Photo Lights and get used to using them.   I used some of the patterned papers from Abundantly Autumn paper pad and pulled out the turquoise, pink and black papers to add to my card.  


I also used the Bags & Tags Creator die to cut my main panel and then cut two squares one from white card stock and one from patterned paper.   I stamped my sentiment to the side.   Here is a close up but you still cannot see the sparkle on the tree.  I wrapped a black and white ribbon from my stash around the card panel and then mounted it to the card with some foam tape.  


Don't forget that today is the last day for the sale at Reverse Confetti!   You can save 15% off your total order!    

Please hop along to see what the Confetti Crew and Friends Christmas Creations!   


Tuesday, October 9, 2018

Reverse Confetti - Happy Fall-idays Blog Hop & Sale!

Today is the second day of our Fall-idays celebration at Reverse Confetti.   Today it is about Thanksgiving.  I am hosting Thanksgiving at my house this year and planning out the decor while my husband plans the menu!   He is the cook in our house! :-)   Lucky me!

I decided to make some decor for the place settings.  My place settings are a mix and match from my years of vintage flea market finds.  I wanted to create something homespun to add to the vintage flair.


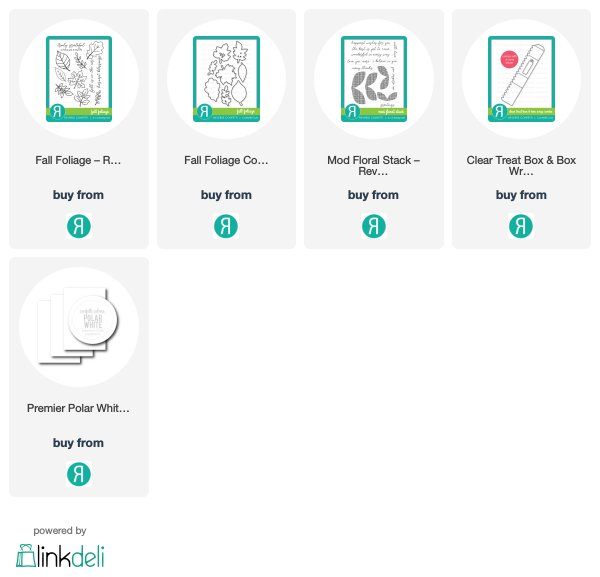
For my supplies:  I used a small round embroidery hoop, fabric to stretch across the hoop, buttons, embroidery floss, felt, some ribbon and twine, water colored leaves from the Fall Foliage stamp set and Confetti Cuts, a sentiment from Mod Floral Stack and tag from the Box Wrap Combo.


To start, cover the hoop with your fabric panel and pull tightly thru and cut around the hoop to remove all excess fabric.    Next, I added the ribbon to the outer portion of the hoop with 1/8 inch Score Tape.   I water colored several pieces of paper with fall colors: yellow, orange and green and then stamped and heat embossed the images from Fall Foliages with white embossing powder.   


There is a sale going on right now with Reverse Confetti.  You can save 15% off your entire order by entering the code above.   The sale is October 8-10, 2018.   Take advantage of the discount while you can! 


I then die cut them out with the Fall Foliages Confetti Cuts.   I then used the Fall Foliages Confetti Cuts and die cut several pieces from the felt.    I did very primitive sewing with the embroidery floss on a couple of the leaves to give it that home spun feel.   Next I thread some vintage buttons with some hemp twine.    

I used my trusty glue gun to adhere the various pieces together.   I finished it off by stamping a sweet sentiment from the Mod Floral Stack onto the tag and tied it off on the hoop with more twine.