Tuesday, February 26, 2019

Reverse Confetti February Stock Your Stash Challenge

Hey there!    I am playing along today with Reverse Confetti's Stock Your Stash Challenge.   You can make any type of card you want with this month's theme of Encouragement & Congratulations.    I decided to use Big Bear to create a scene card.     I actually made a long and skinny card by making it 3.5 inches by 8.5 inches, which fits into a business size envelope.     


I stamped my images with Versafine Onyx Black ink and clear embossed them.   I used Big Bear, Holiday Gnomes and Bearing Gifts to create my scene.   I colored them with my Zig Clean Color Real Brush markers.    I used the matching Confetti Cuts to die cut the images out.   


I then ink blended a panel with Distress Inks - Salty Ocean, Tumbled Glass and Mowed Lawn.    I then adhered my images with foam tape.    The sentiment is from Bearing Gifts stamp set.    I added some jewels to the card for a little sparkle.     


There is a few days left to play along with the Stock Your Stash Challenge!  Click on this link to find out more details on the challenge! Come check it out and play and if you post your creations on social media, please be sure to use the hashtag: #SYSChallenge


Thanks for stopping by!   Hope you will play along! 


Monday, February 25, 2019

SugarPea Designs - Parisian Holiday

Happy Monday!   It’s Tricia Barber and I am over on the SugarPea Designs Blog sharing my last guest designer post.  I used the Parisian Holiday stamp set and created a shaker card pairing it with the ParisScape Sugar Cut.   When I first got this set, I stamped out several of these images and colored them with my Copic markers.  I love doing this, as I love the coloring process.   I had several to pick from and I ended up building my card around this sweet image that I colored.   Now I have several left over for some cards in the future. 


For the card base, I used the largest Zig Zag Stitched Rectangle with some peach card stock and then used post it tape to mask off stripes and ink blended with some peach ink.  I used the Zig Zag Stitched Circle SugarCut to create my shaker foundation.   I started by selecting two of the largest circle dies and created a grey frame and then layered it with a piece of acetate that had been die cut with the largest circle.


I used the next smallest circle die and die cut a white circle and then layered the ParisScape on top and trimmed the edges down.   The bonus was I got an inner layer of the stitching to the window.   I stamped the Bonjour sentiment on the white circle.  I adhered this to the card panel that had been inked.    I added all my shaker bits on top of the circle and used several different types and colors.   I prefer putting the shaker bits on top of my card and then adding the window, I find it is much easier to add the window on top rather than line your card panel up with the filled window.   


For the shaker window, I added a double layer of foam tape.   I remove the adhesive backing of the foam tape and it makes it easier to curve around the circle cut. The clouds are from Whatever the Weather SugarCuts.    I finished it off by adding a few more sequins to the outside.    I have had such a great time joining in with SugarPea Designs.   Thank You Wendy for the opportunity!  

SugarPea Designs Products Used today: 


Monday, February 18, 2019

SugarPea Designs - Easily A'Moose'd

Hey there crafty friends!  It's Tricia and I am sharing a card today with one of my favorite SugarPea Designs stamp sets called Easily A'Moose'd!   I love the images and the sentiments in this set.   They are perfect for creating a masculine card, which can be tricky for me but you need them when you live in a house full of men!   


I started off by creating my background, which was made with the SugarCut Log Cabin Mountainscape. I die cut it from Neenah cardstock and then colored it with my Copic markers.   I inked blended a sky onto Bristol Smooth cardstock with some Distress inks:  Chipped Sapphire, Black Soot and Peacock Feathers.   


I used the Zig Zag Stitched Circle and trimmed both pieces out.  Next I took another piece of Neenah cardstock and created a frame by using the two largest Zig Zag Stitched Circle SugarCut.    The card base was covered with patterned paper from Spots & Stripes Brights Patterned Paper Collection.  


I colored the images from Easily A'Moose'd with my Copics and added some details with my Prisma Colored Pencils.  The sentiment is from the same stamp set and I white heat embossed it and then trimmed it down.    I added some Crystal sequins, which pick of the color of the inked background.  

That is it for me today!   I hope you have a wonderful week! 


SugarPea Designs Products used today: 


Sunday, February 17, 2019

Reverse Confetti - Patterned Hearts and Pattern Blocks

Happy Sunday!   I am playing along this week with the Fusion Card Challenge.   I used the sketch and inspiration photo for my card.


 I loved the sweet sherbet colors in the inspiration photo.   I stamped the floral block from Pattern Blocks onto white card stock and then colored in with my Copic markers.  I then die cut it out with the largest heart from Patterned Hearts Confetti Cuts.  I layered it with two more die cut hearts. 


 I die cut with the square die from the Bag & Tags Creator Cuts with Rose card stock and then stamped with the chevron pattern from Pattern Blocks with Rose ink.   


My sentiment is from Patterned Hearts stamp set.    For my card base, I used the Criss Cross Cover Panel and die cut a white card panel and then layered it onto a white card base.   I love the texture that it adds but not too distracting.   Here is a link to the Fusion Card Challenge.   Thank you for stopping by today!    


Sunday, February 10, 2019

Reverse Confetti - Big Bear

Happy Sunday to you!  I hope you had a great weekend.   We were definitely busy this weekend but I still managed to get a little crafty time in today to make a card using the Big Bear stamp set that I had colored on Saturday for the #thedailymarker30day challenge.    I played along with the TGIF Challenge #198 sketch challenge.


I colored Big Bear with my Zig Clean Color Brush markers.   I have been using my Copics so much lately that I have gotten a little rusty with watercoloring.   So with Kathy's challenge this month, I decided I would try to focus on using them more to get more comfortable again.    I have been thinking of buying the Polychromes pencils, but I need to break my Copic habit first.    I did just buy some new Zig Colors, I did not realize that they had new colors out.  I ordered a number of colors that I did not have yet and hopefully I will receive them soon!  


I colored Big Bear with my Zigs and used watercolor paper.   I die cut him and his little Rae Dunn mug (😊) with the Big Bear Confetti Cuts and he served as the small heart in the sketch.  For the sketch's big heart, I used the sun for mine.   I used the My Sunshine stamp set and Bumblebee Ink.   I stamped and die cut the images with the My Sunshine Confetti Cuts.   I also die cut some clouds from Honey Bear Confetti Cuts for the strip, I actually flipped the sketch.    


I layered all my images onto some white card stock that had been die cut with an older Confetti Cut, Lacy Scallop Frame.   I added it to some patterned paper from Under the Umbrella 6x6 pad.   I added this to a white card base.   For a final touch, I added some sequins.   That is it for me today!   I hope you have a great week!  


Friday, February 8, 2019

Reverse Confetti February Blog Hop

Hey 'Fetti Fans!   Today is the Reverse Confetti February Blog Hop!    Today I have a couple of felt projects to share using the recently release Patterned Hearts Confetti Cuts and stamp set.  


 First up, I have two Valentine cards to share and then a Valentine's Day Heart garland.    I just love making Valentine's Day projects!  


 I die cut a ton of hearts using the Reverse Confetti 
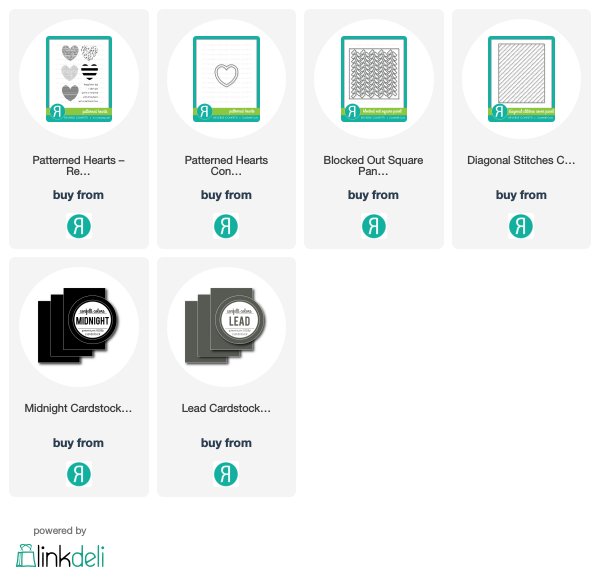
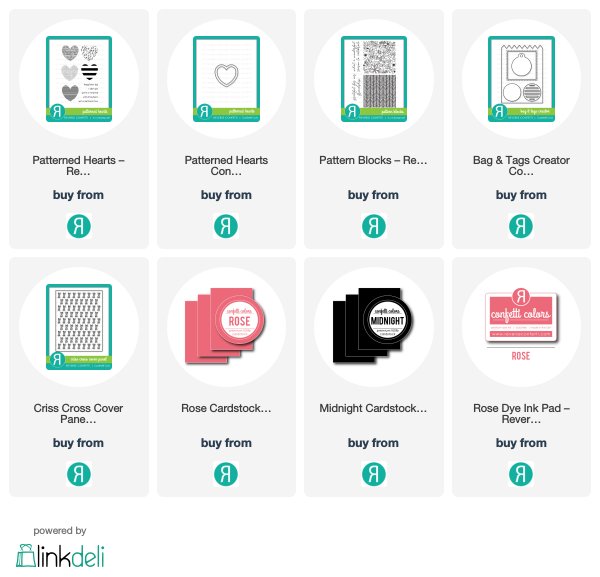
Patterned Hearts Confetti Cuts from red, white, hot pink and light pink felt.   I then created the backgrounds for each card, for the small white, I used the Blocked Out Square Panel from white card stock.   I then added my two felt hearts and sewed them thru the middle using a Zig Zag stitch.   I then added the sewed panel to a 4 1/4 inch square card base.


For the next card, I created die cut the Diagonal Stitches Cover Panel from Lead card stock.   I then layered my hearts onto the panel and then sewed them on one side with a Zig Zag stitch.   I stamped a sentiment from Patterned Hearts onto a strip of Midnight card stock and then white heat embossed it and added to the card.   I added my panel to a Lead card base.   


Next up, I am sharing a Valentine garland that I made using more felt hearts.   I have wanted to make one of these for years and the Patterned Heart Confetti Cuts make the perfect layering die cuts for this!    I ended up with 68 felt hearts from the four colors of felt.    


I then created an assembly line with the hearts and started stacking them together.   It came together pretty quickly.  Once I had the small and large hearts paired up, then I started stitching with a straight stitch one right after another.  


I added some Baker's Twine to each end so that I could hang the garland.   I also added another Baker's Twine to the middle so that I could create the swag.   My swag is a little off balance!   I realized after I took the photos that I put the Baker's Twine off center, but easy to fix - I left it as just a loop so that I can take it off or use it to loop up the middle and slide it back and forth wherever it is needed.   :-)  I collect Antique Cookie Jars and these are some of my favorites!   I have another set of favorites in my craft room. 


I already have more plans for next year using the Patterned Hearts Confetti Cuts to create more Valentine decor but I am running out of time for it this year! 

Check out what all the designers have to share with you today!   Next stop on the hop is the always inspiring Kelly Lunceford!    I can't wait to hop along and see all the wonderful inspiration!  Thank you for stopping by!   


Monday, February 4, 2019

SugarPea Designs - Eskimo Kisses - Stretching Your Dies!

Happy Monday!   I am on the SugarPea Designs Blog sharing a card that I made using two techniques: Die Cutting Inlay and Altered Die Cutting.  Let's get started! 

For the card panel:  Altered die cutting allows you to take a die cut and alter the size or an area that is normally cut from the die.  It works best with symmetrical dies.   For this technique you run the die and the card stock thorough as normal. For my project I used the Zig Zag Stitched Rectangles Sugar Cut with a white card stock panel and ran it thorough once.    Then I slide the die partially down the panel to create a smaller rectangle.  I line up the stitching lines as best that I can to avoid duplicate stitches and run through my die cutting machine again.


For the Die Cutting Inlay:   I used three sizes of the Zig Zag Stitched Circles Sugar Cut and laid them down to determine the placement that I wanted each.   Determine which one that you want inlayed on top of the other.   Run your white panel thru the die cutting machine with the size of the circle that you want behind and then leave the die cut piece in the panel and run it thru again with the smaller circle where you want it to overlap.     Just like when you are stamping and masking, the images behind will be cut with the images on top and then pieced back together like a puzzle.    I actually did this first and then ink blended my circles in a rainbow of Distress Oxide inks.


I stamped several images from the SugarPea Designs Eskimo Kisses stamp set.    I colored each of the images with my Copic markers and then added some details with a white gel pen, clear glitter pen and some glaze for the noses and eyes.   To add more detail to two of the circles, I used the Sugar Cut Star Dust to add stars and backed them with some silver glitter paper.


For the blue inked circle, I popped the circle on the card base up with foam tape and then trimmed the edges that hung off the panel.   I added my the images from Eskimo Kisses with foam tape.   The sentiment is also from the stamped set and was heat embossed onto some black card stock trimmed with a fishtail edge.    


That is it for me today!    See you guys back next Monday with another project!    Have a great week!


Products used today from SugarPea Designs: