Monday, May 31, 2021

Whimsy Stamps Octopi Guys

 Hello!  Popping in to share a card made with the Whimsy Stamps Octopi Guys stamp set.   I paired it with the new Big Hugs Word Die set and the Wonky Window 4 die.  


I die cut the Wonky Window die from Aqua and white cardstock.   Before I die cut the Aqua panel, I stamped the panel with the Zebra Stripes Mini Background.   I die cut a circle from the center to create a place for my shaker.   


I stamped the images from the Octopi Guys Stamp set and colored with my Copic Markers.  I die cut them out with the Octopi Guys die set.   I then die cut the large Big Hugs word die from black cardstock and started building my shaker card. 


The sentiment is from the Octopi Guys stamp set and was stamped onto a Quick Strip die.   I added some stickles to the heart for the hugs.   Check out the May Whimsy Stamp release here! 


Thursday, May 20, 2021

Whimsy Stamps Octopi Guy

 It's a new mini release at Whimsy Stamps!   Today, I am sharing this Slimline card with the new Octopi Guys and the new Under the Sea Slimline paper pack!


The new Under the Sea Slimline paper pack is so much fun!!!   It makes it super easy to create quick and easy cards.   I used the Slimline Scenic Countryside die to create my under the sea coral and stamped the sentiment from the Octopi Guys stamp set.   


I love this new stamp set.   You can create your own designs by creating different images with the legs.   I stamped my images from Octopi Guys out and then colored with my Copic markers.  I die cut the images with the matching Octopi Guys die set.  


I could not help myself!  I had to use the stamp upside down! 

Please check out what the design team has in store for you with this new mini release


Tuesday, May 18, 2021

SugarPea Designs Take Us to Your Cake

 Hello!  I just love this new stamp set, Take Us To Your Cake.   Perfect for any type of birthday.  I started by die cutting a Stitched Rectangles with some blue and yellow ink using the new In the Spotlight Stencil. I splattered it with watered down white paint and had a few rouge splatters!  Does that ever happen to you? 


I stamped the sentiment from Take Us To Your Cake onto a Stitched Rectangle panel and die cut it with the rounded border from Card Front Element Builder.  I added this to the splattered panel and adhered the panel to a white card base.  


I stamped all the images from Take Us To Your Cake onto Neenah cardstock and colored with my Copic markers.  I die cut each of the images out with the matching Take Us To Your Cake SugarCut.  I layered them onto the panel with some foam tape.  I added some details with my white gel pen.  What is your favorite from the Spring Release?   I hope you have a wonderful day! 


Monday, May 17, 2021

Whimsy Stamps Doodle Frames

Hello!  Whimsy Stamps has a new mini release this month and I am sharing Doodle Frames and Doodle Frames die cuts.   
 

I really love when you can create a focal point on your cards.  This new Doodle Frames stamp set has so many options to choose from! 


I stamped out one of the larger frames with a blue ink and then cut it out with the outer and inner dies from the Doodle Frames die set.   I ink blended on the interior piece with some light aqua ink!   I stamped the sentiment from Doodle Frames onto the ink blended panel. 


I stamped the pig with the donuts from Pig Puns 2 stamp set.  Are you a donut fan?   This little pig is just adorable!   I colored him with my Copics and then used my Scan and Cut to trim it out.    For my main panel. I used the Buffalo Plaid Background stamp set and used dark brown ink onto a kraft card panel.  


Check out the new release at Whimsy Stamps!  Just look at the fun inspiration that the design team has created with this release!    


Monday, May 10, 2021

Whimsy Stamps Doodle Frames

 Hello! Whimsy Stamps has a new mini release today!  I used the new Doodle Frames and Doodle Frames die set to create this colorful birthday card!  


I used the Butterflies stamp set and stamped out the butterflies and then colored with my Copic markers.  I then cut the butterflies with my Scan and Cut.   I added some details with my white gel pen.   


I stamped the Doodle Frame onto white card stock and stamped a sentiment from the stamp set as well.   I added color with my Copic markers.   How fun is this new Doodle Frames stamp and die set! 


I stamped my main panel with the Tree Ring Background stamp set.   I stamped with dark brown ink onto kraft cardstock.   

Thank you for stopping by! 

Check out the new release at Whimsy Stamps!  Just look at the fun inspiration that the design team has created with this release!    


Saturday, May 8, 2021

Reverse Confetti May Release Blog Hop

   Do


I started off by ink blending with Island Blue and Lagoon ink.   I then used the Stitched Scallops Cover Panel and only partially die cut the slimline panel.  


I stamped the images from The Bear Up There and colored with my Copic markers.   I die cut them out with the matching The Bear Up There Confetti Cuts.  


I die cut the Happy Confetti Cuts from Buttercup cardstock and white cardstock.  I stamped it with the Pattern Blocks stamp set and Iced Aqua ink.  I stamped the Mother's Day sentiment from Happy Coordinates onto the bottom of the panel.  


I hope you enjoy today's blog hop!  The new release is now available at Reverse Confetti!  Have fun hopping! 


Friday, May 7, 2021

Countdown to Confetti Day Three

 Welcome back to the final day of the Countdown - the new 8th birthday release from Reverse Confetti will be available tomorrow!  Today we are sharing The Bear Up There and Punny Party! 


I used the new Punny Party, Hooray and Letter Cuts to make this big birthday card!   I stamped the images onto white cardstock and colored with my Copic Markers.  I die cut the images with the Punny Party Confetti Cuts.   


I love that you can create your own sentiments with the Letter Cuts!  I die cut the word big and added it to my Hooray sentiment!  


The background and burst are previously released products:  Stitched Scallops Cover Panel and Big Burst Confetti Cuts.   I used RC Aqua and Bumblebee cardstock.  


I made this super cute baby card with the new The Bear Up There stamp set.  How adorable is it!  


I used the new Oval Window Cover panel to create the main panel.  I layered several layers of cardstock in Piggy Bank, Buttercup and white.   I ink blended with some Sunshine and Bumblebee inks.  


Reverse Confetti is giving away a $15 gift certificate to one blog commenter and also to one Facebook commenter.   Here is a link for the Reverse Confetti Facebook page.   Please leave a comment on each sneak peak post for each designer, below is a link list for each one!  


 Comments will close at noon CST on the 7th and the winner will be announced at 5pm CST on May 7th on the Reverse Confetti Blog and Facebook page!  Please check out the Reverse Confetti Blog for all the details on the giveaways!!  

Well that is it for me today!  You need to check out what the design team has in store for you today!  Check it out below! 

Reverse Confetti Blog

Amy Kolling

Tricia Barber

Lisa Henke

Deanne Kuntz

Leica Palma

Ali Farmer

Jeanne Jachna

Norine Borys

Audrey Tokach

Emily Leiphart

Candice Fisher

Olga Matyushevskaya

Amy Tsuruta

Olga Moss


Thursday, May 6, 2021

Countdown to Confetti Day Two

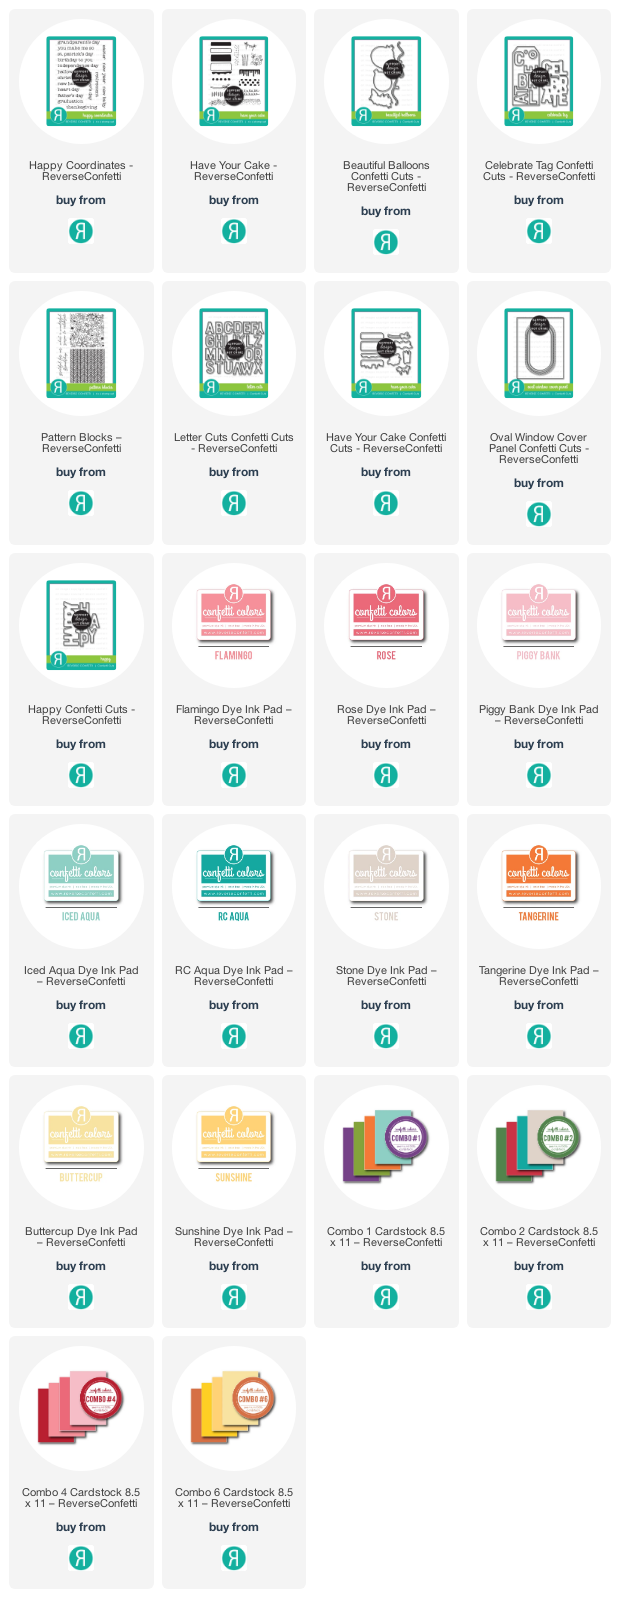
 Hello! Welcome back to day two of the Countdown to Confetti 8th Birthday release!  Today we are sharing Beautiful Balloons and Have Your Cake. I am also sharing the new Letter Cuts and Celebrate tag!  


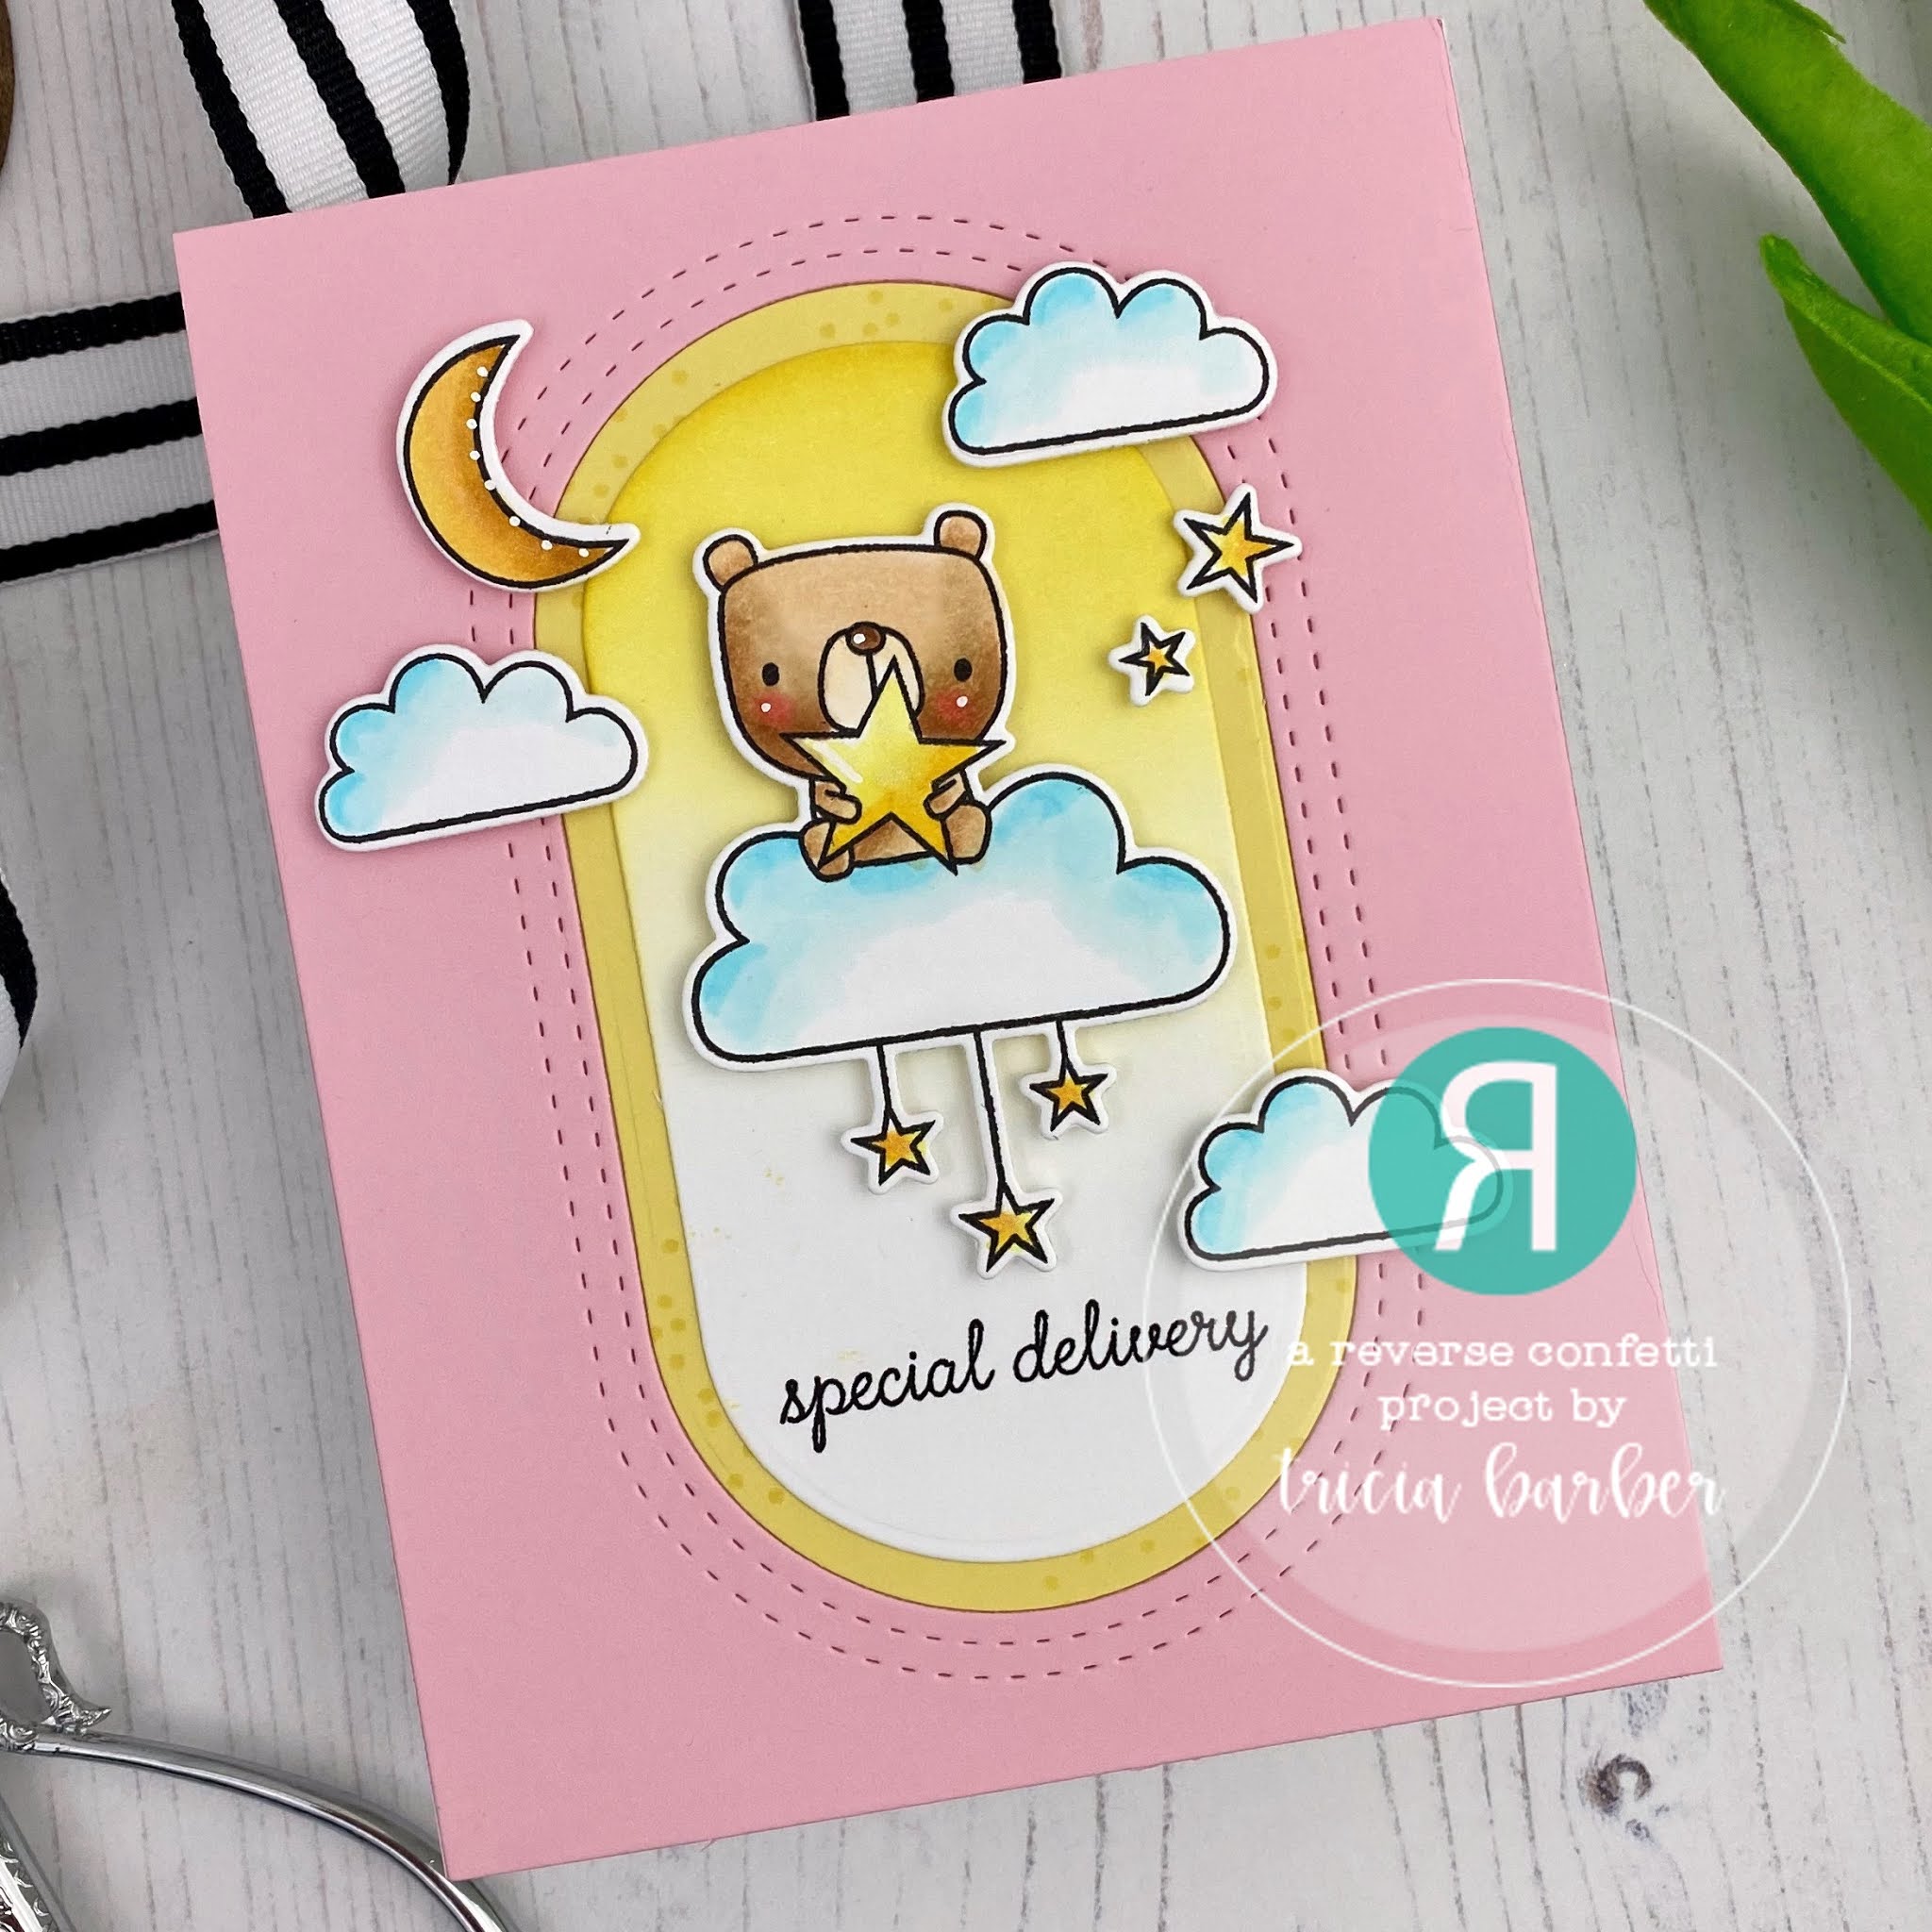
I created a birthday shaker card with the new Have Your Cake stamp set.   I stamped out the images onto white panel and heat embossed some of the details from Have Your Cake stamp set.   I stamped out the flowers and colored them with my Copics and die cut with the matching Have Your Cake Confetti Cuts. 


I die cut a Buttercup panel with the Oval Window Cover Panel and then stamped it with the Background Builder stamp set.   I die cut out the word Happy from Piggy Bank and white cardstock and then layered onto the panel.   I stamped a sentiment from Happy Coordinates onto the main panel.  


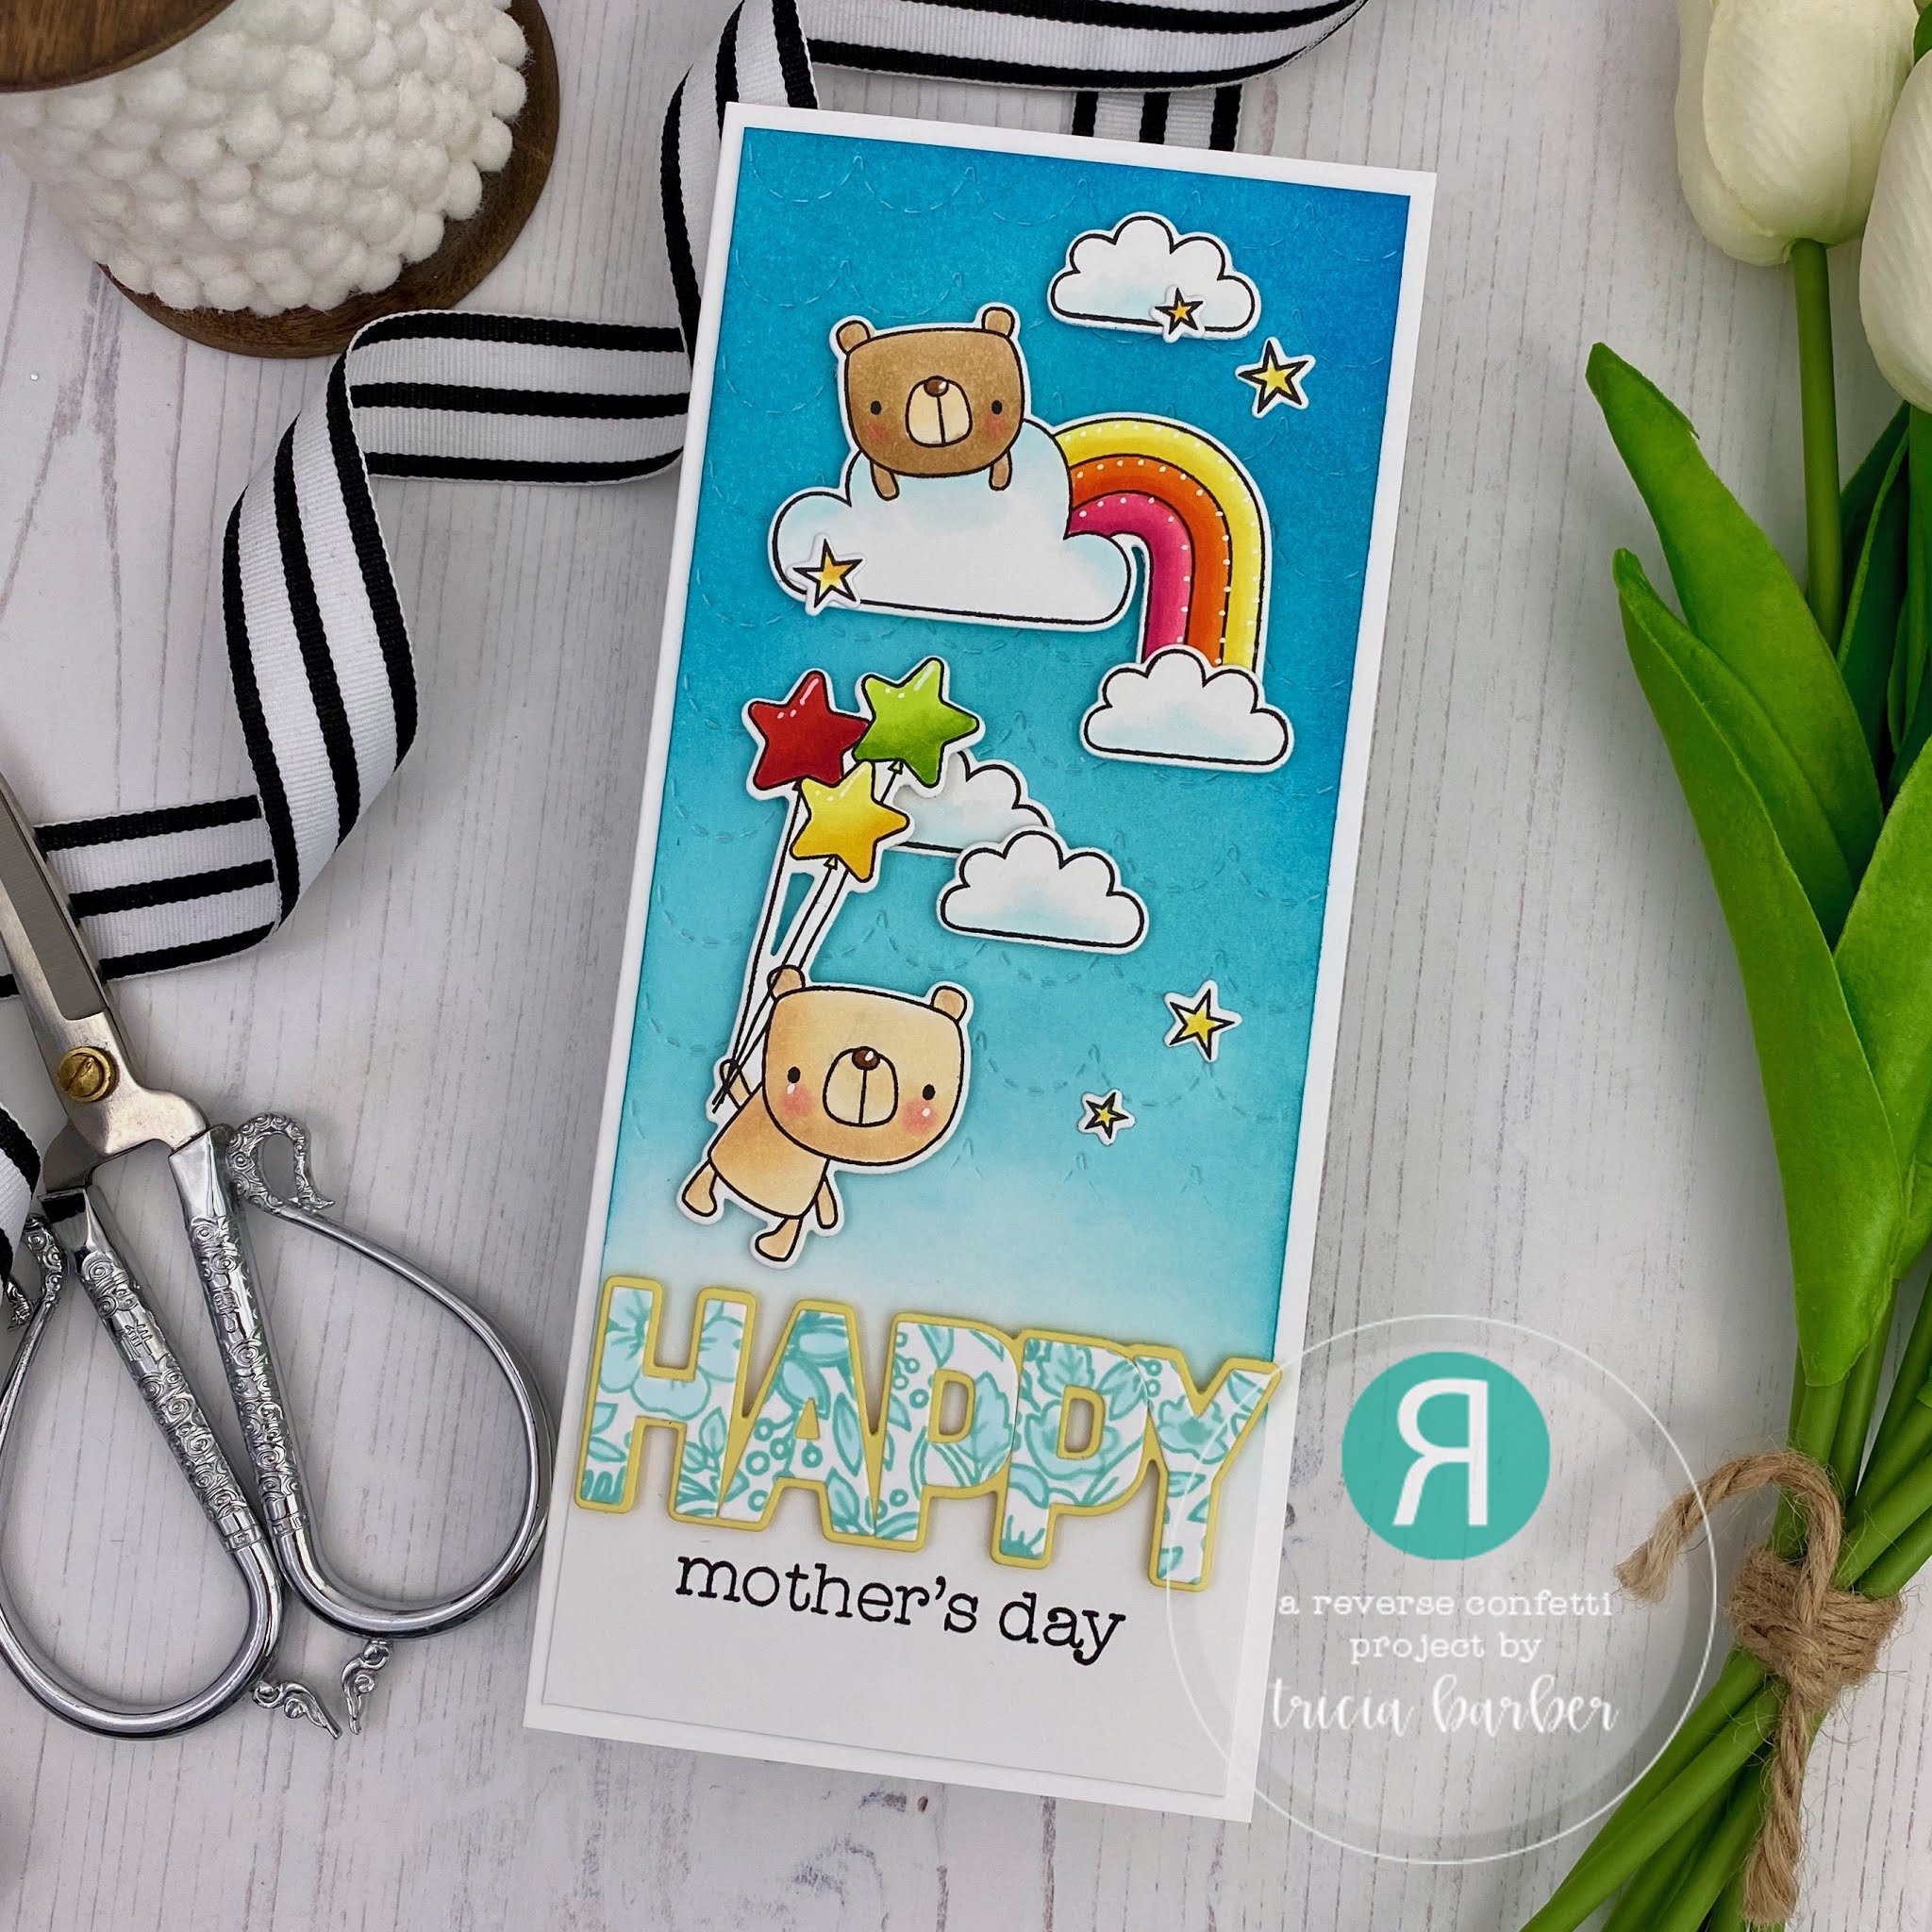
Next up, I created this slimline card using the new Beautiful Balloons stamp set.  I die cut several balloons out from Rose, Flamingo, Piggy Bank, Tangerine, Sunshine, Buttercup, RC Aqua and Iced Aqua cardstock.  I stamped all of the balloons with the outline image.   I then double stamped them with the Pattern Blocks stamp set alternating between the chevron and flower block stamps.   

\

The CONGRATS was created with the new Letter Cuts.  I die cut twice and stacked them on each other and layered onto the balloon.   I stamped the sentiment from Beautiful Balloons onto the panel and then stamped the strings with Stone ink.   I layered the balloons popping some up with foam tape!   This card idea actual came together from my son.   He was watching me stamp the balloons and had the idea for the letters on each!   I love how it turned out! 


For my final project today, I created this tag using the new Celebrate Tag!   I used the some of the same cardstock colors that I used on my Congrats card and stamped the letters with the Pattern Blocks stamp set.  


I love the rainbow of colors and the layers for the word dies!   This is a new tag from Reverse Confetti - Jen has some of the best tags.   Celebrate fits perfectly onto this tag but it can be used with many other word die cuts!  


I loved added the pattern to each of the letters.  The possibilities are endless!  I tied this around a bag of caramel popcorn - my favorite!  To finish my tag, I added some crystal jewels!  


Thank you for stopping by today! 

Reverse Confetti is giving away a $15 gift certificate to one blog commenter and also to one Facebook commenter.   Here is a link for the Reverse Confetti Facebook page.   Please leave a comment on each sneak peak post for each designer, below is a link list for each one!  


 Comments will close at noon CST on the 7th and the winner will be announced at 5pm CST on May 7th on the Reverse Confetti Blog and Facebook page!  Please check out the Reverse Confetti Blog for all the details on the giveaways!!