Friday, September 27, 2019

Reverse Confetti - Inspiration Station!

Have you signed up for the Reverse Confetti Newsletter?   We share a project exclusive to newsletters subscribers only!    Here is a just a peek at my project!  To sign up,  to to the Reverse Confetti Blog here and go to the bottom of the page and enter your email address!    


Thanks for stopping by! 

Tuesday, September 24, 2019

Here Comes Santa - SugarPea Designs

Hey there!   Tricia here with you today and I am all in the holiday spirit!   I just love the new Holiday release so much and it has really gotten me in the mood for creating holiday cards.   Christmas Characters is so adorable and it is so much fun to use.    


Instead of putting Santa on a tag, I decided to make him the focal point of my card!   I did the traditional colors for Santa and just used plain cardstock.  They are so easy and fun to put together.   Once I put him together,  I popped him up on my card panel with foam tape.  I could see repeating this design with several of the Christmas Characters. 


For my background, I used the new Oh So Jolly sentiments and stamped them repeatedly and white embossed them on black cardstock.   I covered the black cardstock with an embossing buddy to ensure that I don't get the stray embossing powder.   I used the largest die from the Card Front Element Builder and added the stitched details to the edges of the card panel.   I decided to add this to a kraft card base.    I tied some red and white twine around the top of the card.   


For the sentiment, I used the Everyday Sentiments and stamped the Merry Christmas and die cut it out with the Sentiment Strips.  I white heat embossed the sentiment as well.    To finish off the card, I used Christmas Red Stickles to the holly berries.  


Thank you for joining me today!   I hope that I have given you some inspiration to start your holiday crafting!  


Monday, September 23, 2019

SugarPea Designs - Simon Says Stamptember

Happy Stamptember peeps!   Isn't it one of the most wonderful months of the year!   There has been so much inspiration and one fabulous month long release!    I am sharing the SugarPea Design and Simon Says Stamp collaboration stamp and die set called Nordic Village.


This set is super adorable, I just love the cute little houses that you create a snowy village scene!  I had visions of a Swedish Ski destination with lot's of snowy hills and trees!   I love the church and all the different trees that come with the set!  I decided to make a slimline card for my scene and have really steep slopes for skiing!   


I started by ink blending with Distress Ink Oxides in Pine Needles, Evergreen Baugh and Cracked Pistachio.   Once it was completely dry, I stenciled on some white embossing pasted with the Falling Snow Stencil.   I used the Card Front Element Builder with one of the border dies and created by ski slopes.   To the very bottom panel, I stamped Merry Christmas from Nordic Village in red ink and then stamped the from Our Home to Yours in black ink just below it.   I took a red and white tiny strip of Spots & Stripes in Brights and added it to the bottom of the card panel.   


I stamped all my images out using the collaboration Nordic Village onto watercolor cardstock and clear heat embossed them.   I used my Zig Clean Color Real Brush markers to color the images.   I stamped out some of the trees with the Pine Needles Distress Oxide ink.   All the images were then die cut with the Nordic Village die cuts.    The final measurements of the card are 3 3/4 inches by 8 1/2 inches.


That is it for me today!    Remember, this stamp set is a limited release - so hurry to get the SugarPea Designs and Simon Says Stamp Collaboration before it sells out!    

Happy Stamptember! 


Friday, September 13, 2019

SugarPea Designs Sweet Peek Week Day 5


It's the last day of the 2019 SugarPea Designs Sweet Peek Week for the Holiday Release!   Today, we have such a super cute SugarCuts called Christmas Characters You will absolutely love this SugarCut!   There are FIVE different characters that you can make all winter long!    They are absolutely adorable and can be paired with the new Floral Pocket Tag to create a gift card holder!     I could not wait to use the little elf!!!!!   


I die cute all the the pieces from various colors of card stock and decide to ink blend some stripes across his hat and suit! I just used my grid paper and used masking tape and inked on some green stripes.  I adhered him to the new Floral Pocket Tag.    Once I put it all together, I layered it on to a piece of aqua card Zig Zag Stitched Rectangle that had been stamped with the Buffalo Check stamp.   I was careful not to put any adhesive onto the top of the elf so that I can still insert my gift card in easily. 


To match the stripes in my elf, I did the same inking and masking of stripes onto my red card base.  For the sentiment on the gift card holder,  I used the new Joy SugarCut with the shadow die.   The font is so beautiful and delicate!  I loved the pop of white off the red and green!   To finish it off, I added some Red Christmas Stickles to the little berries on his hat!    Look at the details on the ears! 


This release has been so much fun!  They are so super easy to put together and just adorable!   These would be perfect craft to make with your kids and have them create their own Holiday cards.  I cannot wait to make more of the Christmas Characters  I have some cool ideas for the new Floral Pocket Tag that I am planning for the Sweet to Repeat Instagram Hop that will be coming soon!    


   The links will go live today for the 2019 Holiday Release at 6 pm EST!

But WAIT!   There is a full list of designers to hop along with today full of inspiration for you!  


Blog Hop List:

Thursday, September 12, 2019

SugarPea Designs Sneak Peek Week Day 4

Welcome back to day four of the SugarPea Designs Sweet Peek Week!   Today I am sharing a Thanksgiving card made with the new Cutie Pie, Sweet as Pie and the new Leaf Cover Plate


I dry embossed my background with the Leaf Cover Plate on cream card stock.   I stamped some green card stock with the Buffalo Check stamp and then die cut it with the Zig Zag Stitched Rectangle.   


Image may contain: text


I then framed it with some Kraft cardstock cut with the same Zig Zag Stitched Rectangle SugarCut.     The sentiment is from Sweet as Pie and was white embossed onto the Buffalo Check panel.   I then die cut the pie and pumpkin from the new Cutie Pie SugarCut. 


No photo description available.


  I inked the edges to give them that cooked look!   I added some twine and a felt heart that was die cut from a heart in the Cutie Pie Sugar Cut set.   

Image may contain: text


There is a chance to win one of five giveaways this week!  We have a full hop list of inspiration for you today.  Remember to leave comments along the way for a chance to win one of five giveaways!   Check back in with me for more inspiration as we will be sharing the sweet peeks thru Friday! 

Thank you for stopping by today! 


Blog Hop List:


Wednesday, September 11, 2019

SugarPea Designs Sweet Peek Week Day 3


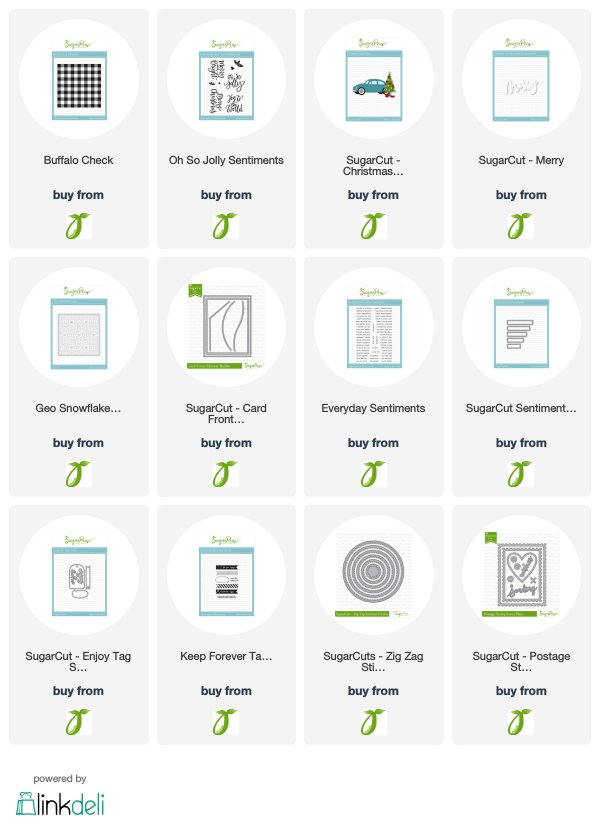
Welcome back to the Sweet Peek Week day three!   Today we are sharing Oh So Jolly Sentiments stamp set and three new SugarCuts - Christmas Car,  Joy Word with Shadow and Merry Word with Shadow!

I made two projects to share with you today!   First up, I love making handmade holiday tags for my Holiday gifts.    The new Oh So Jolly Sentiments was perfect to create these tags!  


 I absolutely love the 4 sentiments in this stamp set and used all of them embossing them on a Zig Zag Stitched Circle die cut.   


I stamped the new Buffalo Check Background stamp onto several Postage Stamp SugarCuts from red and green cardstock.   I used the new Christmas Car SugarCut for the Christmas tree cut outs to accent the tag.   


 I used the Keep Forever Tag and SugarCut and stitched to the top.  I stamped again the Keep Forever onto the backing from Kraft cardstock.     


For my next project, I made a holiday card with the new Christmas Car SugarCut.   I die cut all the pieces from white card stock and colored with my Copics.   


I inked the background and then applied the new Geo Snowflake stencil and covered the background with Black Soot Distress Ink.    I added a some snowy hills using the Card Front Element Builder.   


For my sentiment, I used the new Merry Word with Shadow from red and white card stock.   I added an additional sentiment from Everyday Sentiments.   I added some details with Distress glitter.    


There is a chance to win one of five giveaways this week!  We have a full hop list of inspiration for you today.  Remember to leave comments along the way for a chance to win one of five giveaways!   Check back in with me for more inspiration as we will be sharing the sweet peeks thru Friday! 

Thank you for stopping by today! 

Blog Hop List: