Tuesday, November 27, 2018

Reverse Confetti - Kitchen Love & Christmas Candles


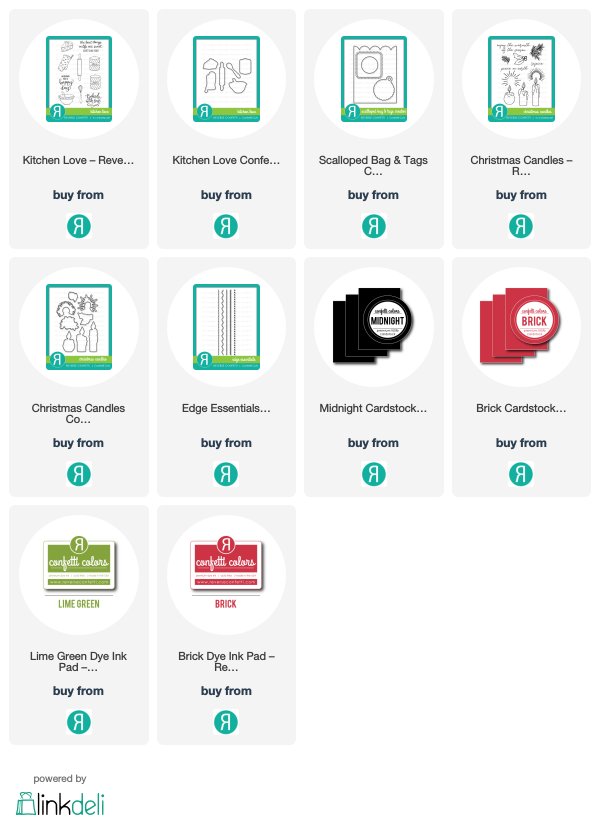
Last week I made a card for a challenge that I absolutely loved and wanted to recreate it as a tag for Christmas treats that I plan to give out this year.   


Here is a link to my original card.    For my tag, I wanted it large so that I have plenty of room for me to personalize a message to the recipient.   I stamped my images from Kitchen Love onto Midnight cardstock and then white heat embossed them.    


I then used the Scalloped Bag & Tags Creator Confetti cut to create the large tag.   I also die cut it from white and Brick cardstock.  The Brick card stock piece was trimmed down with the Edge Essentials.    I die cut the rounded square from the center of the Midnight panel and added my sentiment stamped in Brick ink.   


To embellish the tag, I stamped some of the trimmings from Christmas Candles and used the matching Confetti Cuts to die cut them out.    I used some crystal glaze and added it to the berries to make them sparkle and shine.    


Thank you so much for stopping by to visit with me!    


Monday, November 26, 2018

Reverse Confetti - November Stock Your Stash Challenge

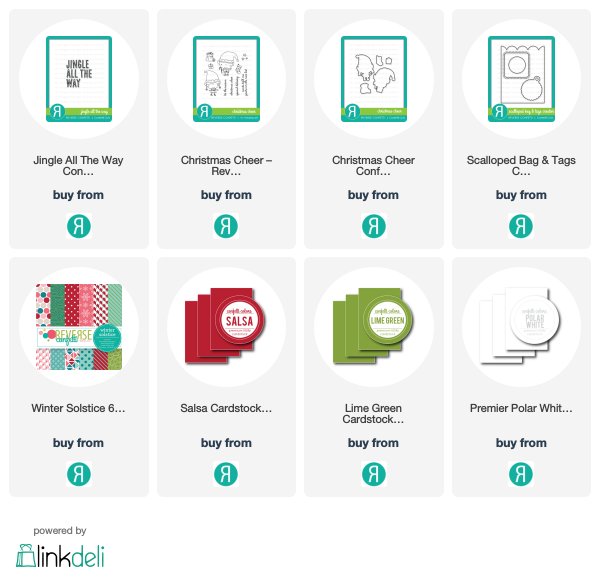
Hey there!   I am sharing my card for the Reverse Confetti Stock Your Stash November Challenge.    This month's there is Holiday & Winter.   I decided to use the Christmas Cheer stamp set, I had not inked it up yet for a holiday card and went with a traditional colors of Lime Green and Salsa.    


 My sentiment was created with the Jingle All the Way Confetti Cut.    I die cut it from Salsa and Lime Green card stocks and then alternated the colors in the sentiment.    I have enough letters left for another card or tag.   


I stamped my images from Christmas Cheer onto Premier Polar White cardstock and colored with my Copic markers.   I used the new Winter Solstice and the Scalloped Bag & Tags Creator for my card base.   


I covered my card base with a piece of the patterned paper from Winter Solstice and then trimmed down another small piece and backed it with Lime Green cardstock.     The Scalloped Bag & Tags Creator is such a versatile die that you can use in so many ways.   It has become one of my most favorite dies from Reverse Confetti.   


There is a few days left to play along with the Stock Your Stash Challenge!  Click on this link to find out more details on the challenge! Come check it out and play and if you post your creations on social media, please be sure to use the hashtag: #SYSChallenge

Thanks for stopping by!   Hope you will play along! 


Friday, November 23, 2018

Reverse Confetti - Inspiration Station

 I am sharing a sneak of my project for this week's Reverse Confetti Newsletter!  Only newsletter subscribers receive exclusive inspiration from the Confetti Crew.   Sign up on the Reverse Confetti Blog and don't miss out!   Look up in the left hand corner for the sign up.    Don't forget about the sale going on now with Reverse Confetti!!!! 


Thanks for stopping by!   Have a wonderful Black Friday! 


Monday, November 19, 2018

Reverse Confetti - Kitchen Love & Christmas Candles

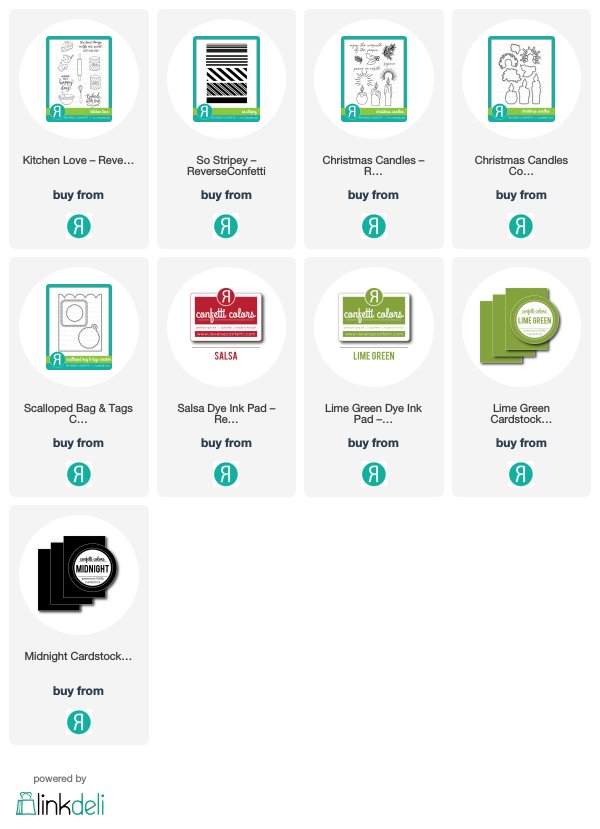
Happy Monday to you!   I saw this challenge with The Paper Players Clean and Simple Sweet Treats challenge and immediately had an idea for a card pop in my head.   Now, you may take a gander at my card and think - how is that clean and simple?   It is mostly black with lot's of stamping!   The black is my canvas for setting off the real focal point that I hopefully created with my card in the pops of red and green!   The cluster of greenery and holly berries along with the pop of green and red candy cane stripes along the side.   I think it draws you eyes towards them. 


I made a background onto Midnight card stock with the Kitchen Love stamp set.   I stamped the images and white heat embossed them.   I die cut a sentiment window out of the Midnight panel with the Scalloped Bag & Tags Creator Confetti Cut and stamped a sentiment in Salsa ink from Kitchen  Love.   


The greenery comes from Christmas Candles, I stamped out the greenery twice and then a holly berry cluster and colored with my Copic markers.   I added some clear sparkle to the centers of the berries and then coated them with some crystal glaze.   


The candy cane stripe was stamped with Salsa ink using the So Stripey stamp set along the card base.   I added a strip of Lime Green card stock to the Midnight panel before mounting it to the card base.   I thought the Kitchen Love images and the candy cane stripe went well with the image from the challenge!   The sketch I used today is from CAS(e) this Sketch #298.  


Don't forget about the sale that is going on now at Reverse Confetti!  


Well that is it for me tonight.   I had so much fun making this card!   I just loved the pop of green and red against the background so much that I have a tag idea coming soon to my blog inspired by this card!   
Thank you so much for visiting me today!   Here is a link if you would like to play along with The Paper Players Challenge.  


SaveSave

Saturday, November 17, 2018

Winter Bears with Snowflakes

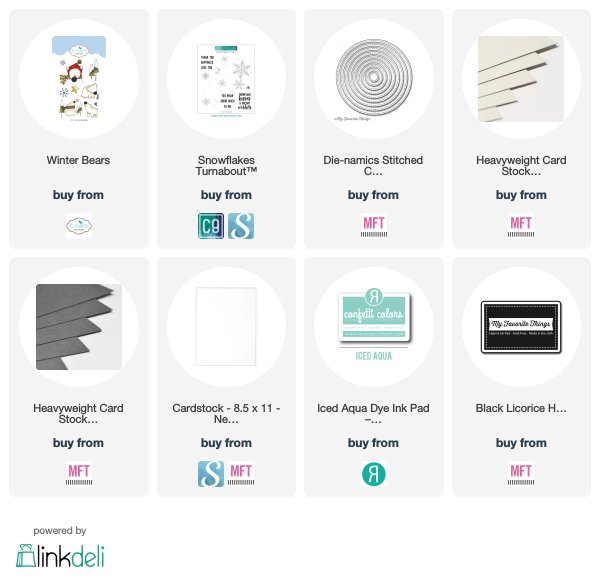
Popping in today to share a winter card that I made with some new goodies that I got.   I used Winter Bears from Elizabeth Crafts Designs and a Snowflake Turnabout stamp set from Concord & 9th.   I stamped my image out and then colored in with my Copics.    


I then did a little creative masking so I would not have to fussy cut the image from masking paper and stamped the snowflakes all over the panel from the Winter Bears Stamp set.    I then die cut it out with a circle die that appears to be retired from MFT.    I die cut another layer of Steel Grey cardstock from MFT with another circle die.     


My card base is Grout Gray and it was stamped with Smoke ink from Simon Says Stamp onto the Grout Gray cardstock.   It had some left over ink from stamping with a blue ink pad - I thought I had cleaned it!   But I liked the way the blue and gray ink combined that I continued to stamp like this and loved how it turned out.    


I added some glittery baker's twine and some Tim Holtz snowflake and wish charm.    I added some clear sparkle to the pom pom and his snowflake on his nose.   I just love his nose!   It is so cute!    Thank you for stopping by today!    


Affiliate links used below at no extra cost to you.  

Product list:  


Wednesday, November 14, 2018

Reverse Confetti - Snow Bunnies


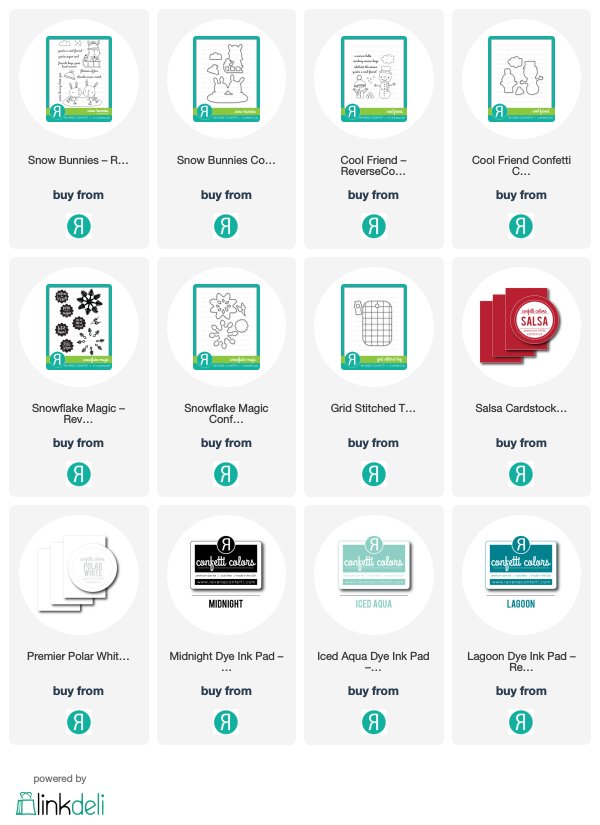
Happy Wednesday!   I had some crafty time and decided to play along with the Color Throwdown Challenge.    The colors were some of my favorite colors for Christmas!   I actually used several stamp sets from Reverse Confetti to create my card.   I love the color combination of aqua, red and silver.   I also used the photo as inspiration as well.   See the photo at the bottom of my post.


 I started my card by stamping with the new Snowflake Magic stamp set and versamark ink onto Salsa cardstock and created a background.   I die cut the new Grid Stitched Tag from white cardstock and then ink blended with Iced Aqua and Lagoon inks onto the tag.   The bottom of the tag I covered with glue and added some white glitter.  


I stamped some images from Snow Bunnies and Cool Friend onto Premier Polar White cardstock and colored with my Copic markers.    I then die cut them with the matching Confetti Cuts.   I stamped a sentiment from Snowflake Magic using Midnight ink onto more Polar White cardstock and die cut it with the Snowflake Magic Confetti Cut.  


Here is a link for this weeks Color Throwdown Challenge.   


Thank you for stopping by!  I hope you get a chance to play along with the Color Throwdown Challenge! 


Sunday, November 11, 2018

Reverse Confetti - Snow Bunnies

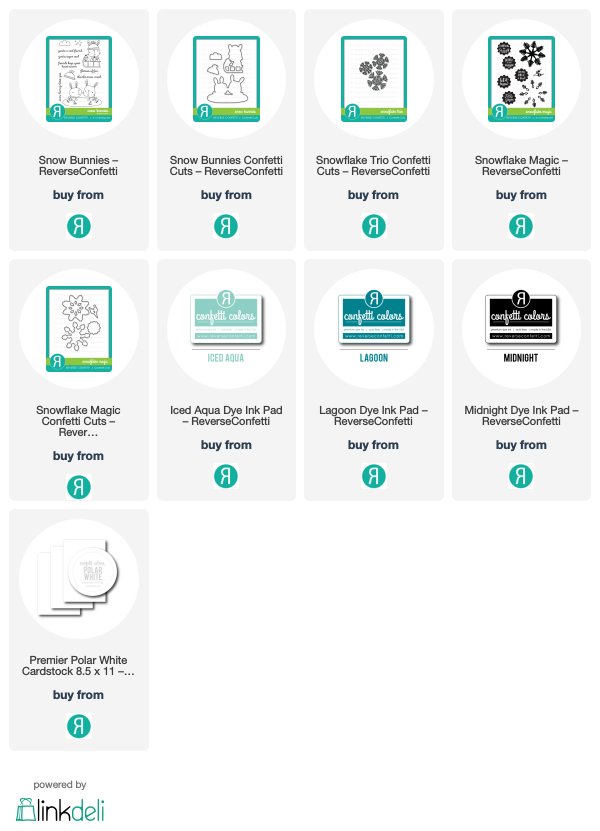
Happy Sunday!   I have had a busy weekend but I managed to sneak in this card using some of the new release products from Reverse Confetti's November release!    I also used the new Life Changing Blender Brushes from Picket Fences and man, they are right!   These make ink blending so much easier!   I am really happy, I tried these out because I love to ink blend on my cards. 

I started off ink blending with Lagoon and Iced Aqua.   These are two of my most favorite colors to blend a background.    I love this color background and it is one of my most favorite ones to do.    I used some post it tape to mask off the snowy hill. 


Next, I die cut several snowflakes from the Snowflakes Trio and backed the white cardstock with adhesive to make it easier to adhere the snowflakes.    I love it when I remember to do this, 9/10         I forget to back the cardstock before die cutting.    I randomly added them to the background and then added some sparkling jewels in an aqua color.    


The Snow Bunnies were stamped onto Premier Polar White cardstock and then colored in with my Copic markers, adding details in with a white gel pen.   I decided to try a different color palette and went with some vintage color combinations.   See this pin on my Pinterest board for more color combos like this.    I added some clear sparkle to the skates and then coated them in a Nuvo Crystal Glaze.   


I added some stamped and embossed trees from Triangle Trees.  I used Iced Aqua and then silver embossed the second one.     My sentiment is stamped in Midnight ink and I used the Snowflake Magic stamp set for my sentiment.   I love the pop of black agains the cool aqua background.    I die cut the sentiment with the Snowflake Magic Confetti Cuts.   The Midnight ink stamps so crisp!   


I added all my stamped images to the inked panel with lot's of foam tape!   I doubled up the bunnies so that they really popped off the card.   I added the panel to a white A2 card base.    I am joining a few challenges with this card: 


Thank you so much for stopping by to visit my blog!    Let me know below your favorite colors to blend together for a background.   I would love to try new combinations!    

Please follow me on Instagram and Pinterest!   


Thursday, November 8, 2018

Reverse Confetti November Release Blog Hop!

Have you checked out all the fantastic new products from the November Release?   We have given you sneak peeks for the past three days and all the products are available for purchase now!    Today, we are celebrating the New Release with a Blog Hop!   We have some wonderful people joining us today so grab your favorite beverage or snack and hop along!   

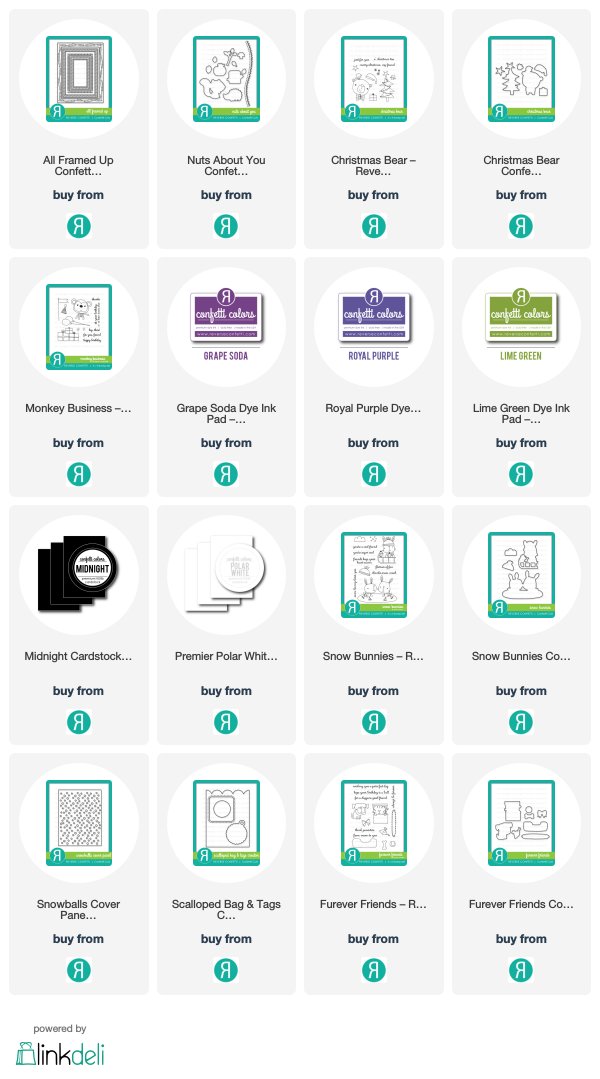
I have two cards to share with your today! I used a new Snowballs Cover Panel two different ways today. 


Here is one way to use the Cover Panel - I actually created by own stencil but die cutting the panel from an acetate sheet.  I love when I can stretch my dies!    I used white embossing paste with the new homemade stencil on top of an ink blended panel from Grape Soda and Royal Purple.  


I stamped and die cut the cute bunnies from Snow Bunnies and colored with my Copic markers.   I added the Christmas tree from the previously released Christmas Bear stamp set.   The Let It Snow sentiment is from the new Snowflake Magic stamp set and went perfectly with the scene.   I love how the Snow Bunnies Confetti Cut trims out the inside between the two bunnies!    I love little details like this!   


Next up, I used the new Furever Friends and created a birthday card using the Snowball Cover Panel and added a party hat from a previously released stamp set, Monkey Business.     I thought the Snowball Cover Panel also looks like birthday confetti!   I simply die cut it out of Premier Polar White cardstock and then layered it onto a Kraft card base.   


I die cut from the center a stitched square from the Scalloped Bag & Tags Creator Confetti Cuts and then ink blended with some Lime Green ink on the interior piece.    I stamped my images out and then colored with my Copics.   I popped them all up with foam tape.   


I stamped my sentiment onto Midnight cardstock and white heat embossed it.    There are so many cute images in the Furever Friends stamp set - you can use them for the holidays and non holiday cards!   Isn't this little doggy adorable!   


That is it for me today!   The new release is available now!    There is so much cuteness in this release!   Have fun hoping along with all the designers today!   Next up on the hop is Kelly LuncefordShe has some gorgeous projects this week.    The complete hop list is below!  I can't wait to check out everyone's projects for today!   Have fun hopping and shopping!