Monday, January 28, 2019

SugarPea Designs - Chunky Monkey


Happy Monday!   It's Tricia back again today on the SugarPea blog with a birthday shaker card using the Chunky Monkey stamp set along with some SugarPea Sugar Cuts to build my shaker.  I stamped all the images from Chunky Monkey out twice on Neenah 80 lb card stock and colored them several different ways.   It was fun to practice coloring techniques and color combinations.    I only used two for my card, but now I have ton's of little monkeys for a future project.    


To create the shaker card, I water colored with Distress inks  (Twisted Citron and Mowed Lawn) onto some water colored card stock and added multiple layers to get all the neat water lines.   I splattered the panel with water droplet's as well.  You end up not seeing much of it in the window because of the sequins but it was fun making it!  :-)    I die cut with the largest rectangle die from the Sugar Cut Zig Zag Stitched Rectangles a panel from 110 lb Neenah card stock and a small piece of green card stock.   I also used a circle from the Sugar Cut Zig Zag Stitched Circles and die cut the same panel to create a window.  


I layered some acetate behind the window and then added two layers of foam tape around the window and card panel.   To make it easy to add your foam tape, I use a big roll of Scotch 3m tape and double it up.  Then I remove the backing from both sides and it allows you to form the circle all the way around the window to create a well for your sequins.    I added a bunch of different types of sequins and some jewels to the water colored panel and then laid the window panel on top.   It is much easier for me to add the window panel directly to the card base then trying to add the card base to the window panel.   I stamped a sentiment from the Chunky Monkey stamp set onto the green panel and then embossed it with clear embossing powder.  


For some finishing details, I added some more clear sequins to the top panel and a little bit of clear shimmer to the bananas.    I also added crystal glaze to the noses of the monkeys!    That is it for me this Monday!  See you next week with another project!   

I hope you have a fabulous and crafty week!  


Saturday, January 26, 2019

Reverse Confetti Stock Your Stash - Heart Pals


Hello 'Fetti Friends!   I am here today to share my card for January's Reverse Confetti Stock Your Stash Challenge.   This month's theme:  Love is in the air!  

 I created a Valentine's card with the new Heart Pals stamp set.   I colored the puppy with my Copic markers and die cut it out with the Heart Pals Confetti Cuts.    For my card panel, I used the Diagonal Stitches Cover panel add such sweet stitching lines to the entire card front. It will die cut a perfect panel for the front of an A2 card base.    To decorate the panel,  I die cut some Salsa card stock with the Scallop Stripe Panel and then used the negative cuts on my card.   


 I applied some Stick It adhesive to the card stock before cutting.  This makes it easier for adhering the negative pieces down to the card panel.   I flicked it with some black paint and stamped a sentiment from Heart Pals.    I die cut some hearts from Piggy BankRose and Salsa card stock using the XOXO Confetti Cut and popped them up with foam tape.  

Quick reminder.....right now there is a sale going on with Reverse Confetti and you can save a 15% discount!  See the details below! 


There is a few days left to play along with the Stock Your Stash Challenge!  Click on this link to find out more details on the challenge! Come check it out and play and if you post your creations on social media, please be sure to use the hashtag: #SYSChallenge

Thanks for stopping by!   Hope you will play along! 


affiliate links used at no extra cost to you! 

Monday, January 21, 2019

SugarPea Designs - Stuck on You


Happy Monday to you!   I am over on the SugarPea Designs Blog sharing a Valentine's Day card along with some quick and easy Valentine's Day treats.    


The Stuck on You stamp set has some really fun sentiments that are perfect for Valentine's Day.  First up, let me share with you how I made the card.    I started off with a white card panel and used the Zig Zag Stitched Rectangles and using the largest die, ran my card panel thru with the die.   


I then stamped two of the cacti stamps along with one of the pot images from Stuck on You with Stone ink.   I stamped them randomly across the card to create a background.   I used a small sentiment from the set and stamped it in-between the cacti images with black ink.    I added a flower to several of the cacti with some red ink to give them a pop of color!   


Next I die cut a red heart using the Postage Stamp Sugar Cut.    I stamped another sentiment onto a strip of black card stock and white heat embossed it.   I trimmed it so that it goes across the entire card panel. I added the red heart with foam tape and for the black sentiment, I added adhesive to the middle with foam tape on the ends so that it is level with the heart.   That is all for the card!   


Now, for the Valentine treats.   I stamped just like I did on the card but I die cut it with the largest die from the Postage Stamp Sugar Cut.   I added a lollipop by cutting two slits in the card to slide the stick from the lollipop.  I then added the heart with foam tape on top of the slits.   The sentiment was trimmed down to fit the heart.   


That is all for me today!   

~Tricia


All supplies used can be found on the SugarPea Designs Shop: 


Sunday, January 20, 2019

Reverse Confetti - Hello Lovely & Patterned Hearts


Hello 'Fetti Friends!   Today I am sharing a card that I made with the recently released Hello Lovely Confetti Cuts and Patterned Hearts stamp set.    I used this week's Freshly Made Sketches for my layout.  


 First I ink blended with pink and green inks to get an ombre effect onto panels of white card stock.   For the green inked background, I used the Diagonal Stitches Cover Panel to add the stitching detail to the panel.   I trimmed it down to 4 by 5 14 inches.    I die cut two Grid Stitched Tag Confetti Cuts and ran them both thru the die cutting machine with the Hello Lovely Confetti Cut.   I layered the tags on top of one another and then layered it with foam onto the pink inked panel.   The pink panel was trimmed down to fit underneath the tag.


I popped up one layer of the inside pieces into the o's and e's.   I die cut a heart from Piggy Bank card stock with the smallest heart from Patterned Hearts Confetti Cuts and then stamped it with Piggy Bank ink.    I also stamped out a sentiment from Patterned Hearts onto Midnight card stock and white heat embossed it.    I followed the layout pretty closely with my images.


There is a sale going on right now with Reverse Confetti!   See information below regarding the sale! 


For one last touch, I sprayed it with some shimmer mist made from Perfect Pearls.    I love the color combination of pink, lime green and black!    One of my favorites.   That is it for me today!  Hope you get some crafty time today!  

Here is the link for the Freshly Made Sketch Challenge. 


Monday, January 14, 2019

My Favorite Things - Cute Chemist

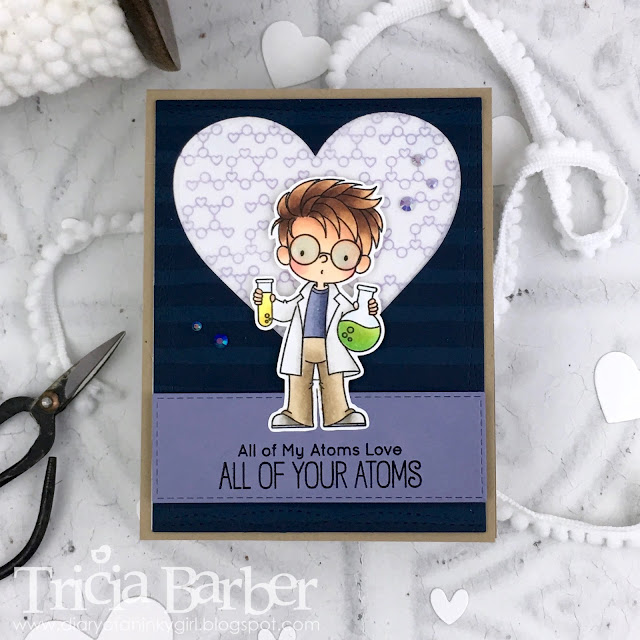
When I saw these stamps by Birdie Brown, I just had to have them!   Aren't they adorable!  It's called Cute Chemist.  I used this week's sketch challenge with the MFT Card Challenge.


  I colored the boy with my Copic markers.   I added the glasses that come with the stamp set and then glazed over the eyes with my Copic Blender and then added a glaze of blue.    I covered them with Tonic Crystal Glaze to look like real glasses.  


For the background I used the Cute Chemist set and the molecular string and stamped it with Grape Jelly ink thru the heart background.   The main cover panel was stamped with Watercolor Stripes background stamp with Nightshift Blue cardstock and Navy ink.  I die cut it with a Stitched Heart Stax.    I added a Grapesicle card stock piece that had been trimmed down with the Horizontal Stitched Rectangles.    Here is the link for the Card Challenge.


That is it for me today!   Thank you for stopping by! 

Affiliate links used at no extra cost to you! 

SugarPea Designs - Bewitched - Extending your Holiday Stamps thru the Year


Hello everyone!   It’s Tricia here today and I am on the SugarPea Designs Blog today sharing a card using a Halloween  stamp set in a different way!    I love the images from the Bewitched stamp set and there are several images and sentiments that you can use to create a card that is not Halloween related.     


I stamped the little witch reading the magic book and the cat images from Bewitched and colored them with my Copic markers.    There is several sentiments that pair with these two images, I decided to go with “I’m under your spell”.   I was thinking this could be a really cute Valentine card.     


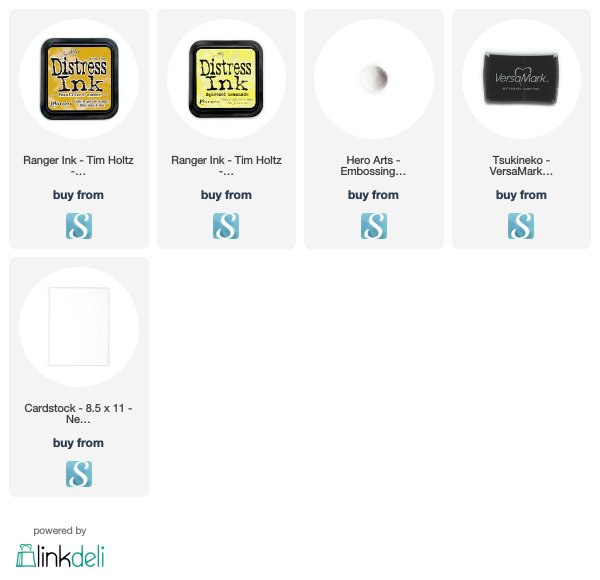
I looked thru my dies to see what would pair nicely with the stamped images and decided to use the heart from Sugar Cut Postage Stamp and Arrow Cover Plate.    Hearts and Arrows, going along with my theme here!   I die cut the heart from white card stock and ink blended with Distress Inks in Fossilized Amber and Squeezed Lemonade (to match her dress).   The Arrow Cover Plate will add some more interest to the card without being too distracting when you use it tone on tone.  It adds just enough texture but also blends in nicely with the other images.   


I played around a little with the sentiment, trying to decide if I wanted to put it on a strip and go across the entire card, flagged banner or simply trim it down to the size of the sentiment.   After playing around a little with where to position, I decided to keep everything clustered together with the small pop of black.   

So don't put your holiday stamps sets away for another year!   Take a look and see how you can use them thorough out the year!  

Thanks for stopping by and see you next Monday!  

You can find the SugarPea Design products here! 


Sunday, January 13, 2019

Reverse Confetti - Heart Pals & Love You Most

Happy Sunday!  Whew! It has been a busy weekend!   We are back to rain and cold, I am so looking forward to warmer weather.   I made a card using the sketch from the Fusion Card Challenge and the  colors used in my card from the inspiration photo on The Card Concept. 


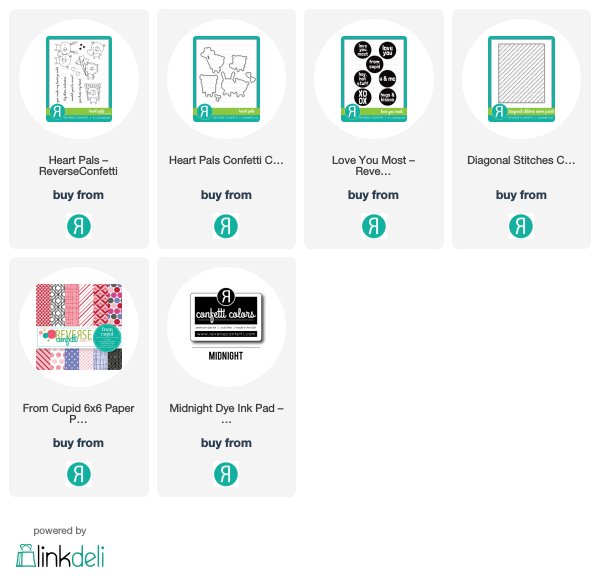
I started off with the Heart Pals stamp set from Reverse Confetti.   I watercolored the image with my Zig markers.   The pattern paper is the new paper pad, From Cupid.    For the card panel, I used the Diagonal Stitches Cover Panel.    I ran both a piece of white card stock and the patterned paper with the Diagonal Stitches Cover Panel so that the stitching detail was on each. 


For my circle sentiment, I used the new Love You Most and stamped it in Midnight ink.   I die cut it with the circle die from the Bag & Tags Creator Confetti Cuts.   For my little cat, I add Icicle stickles to the ballon and then covered it with a clear glaze.    It had a TON of sparkle.   That is it for me today, it was a very simple card but I love the pop of pink against the black.    


Here is a link again to both challenges:

Fusion Card Challenge 

The Card Concept 106


Thanks for stopping by!   


Tuesday, January 8, 2019

Reverse Confetti January Release Blog Hop!


Welcome to the Reverse Confetti January Release Blog Hop!!!!   This is such a fabulous release and it is now available to purchase in the Reverse Confetti Shop!    The full blog hop list is at the end of my post below for you to hop along!   You should have arrived from Amy Sheffer's blog! 
I can't wait to see what she has created with the new release!  She always has such gorgeous projects!   


Speaking of.....I have two to share with you today.   First up, I am sharing a quick treat that you can make for a more mature Valentine.   I purchased a specialty candy bar and then wrapped it in the new patterned paper From Cupid!  It was super each to create the wrap by using the Bag & Tags Creator Confetti Cuts.   I just scored each side at 1/4" on both pieces and then made sure that my candy bar slide thru it easily.   


To decorate the wrap, I stamped with Grape Soda ink onto white card stock and then die cut another piece of white card stock with the tag and added to the wrap with a pink bow.   To add some more decoration, I had this patterned heart left over from day one's project.   It also uses the patterned paper From Cupid and was die cut with the larger heart die from Patterned Hearts Confetti Cuts.   


I die cut the smaller heart with white cardstock and sent it thru again with the Diagonal Stitches Cover Panel - this is going to be a FAVORITE!!!!   I die cut several XOXO Hearts Confetti Cuts and layered them on top of one another and added it to the stitched heart.  I off set it onto the candy bar wrap!  


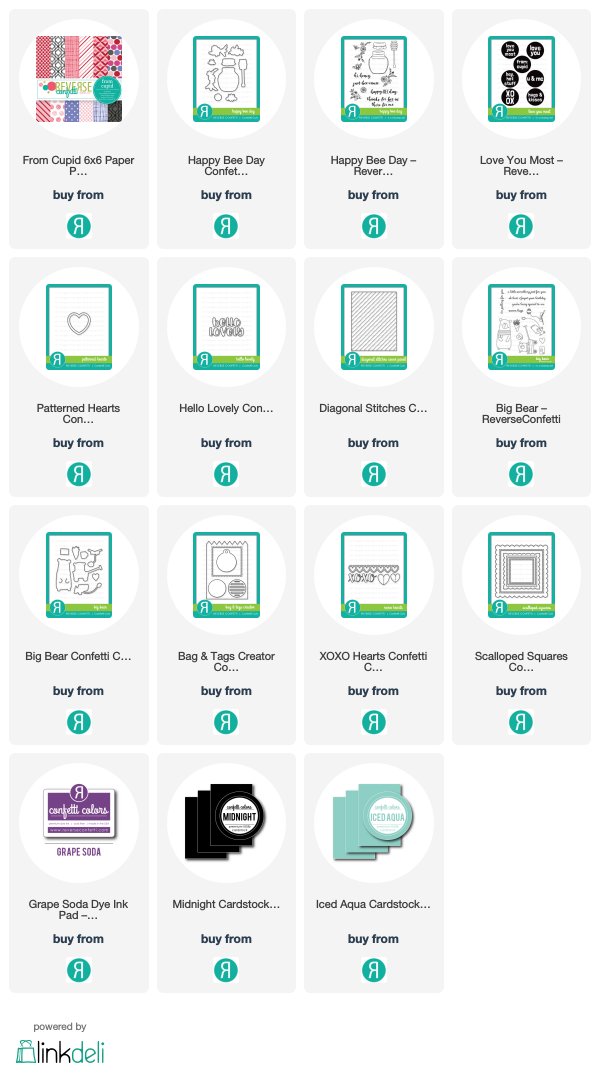
Next up, I have a card to share using several of the new release products!   I had been crazy with the From Cupid paper pad and loved this grey and black patterned paper.   I really want to hold this paper pad but I will be buying a couple more to use.    I started by covering my card base with the patterned paper.   Next I die cut a Scalloped Squares Confetti Cuts from Midnight and white card stock.  


 I die cut the white piece with the Diagonal Stitched Cover Panel and then added the Hello Lovely die cut on top.   I stamped and colored some of the flowers from the Happy Bee Day Stamp Set.   The Big Bear images were stamped onto Bristol card stock and watercolored with my Zig markers.  I added some crystal sequins and white gel pen highlights here and there!   


That is it for me today!    What is your favorite from the release?  Let me know in the comments below.   It is really hard to pick one favorite for sure!   Well it is time for you to hop along to the next stop, which is Kelly Lunceford!   I can't wait to see what she has to share today!  There is more special guests as well so have fun hopping along!   See you again soon!