Tuesday, March 8, 2022

Reverse Confetti New March Release Blog Hop

Hello!  I am excited to share with you today two new card projects using several new products from the March release from Reverse Confetti.  

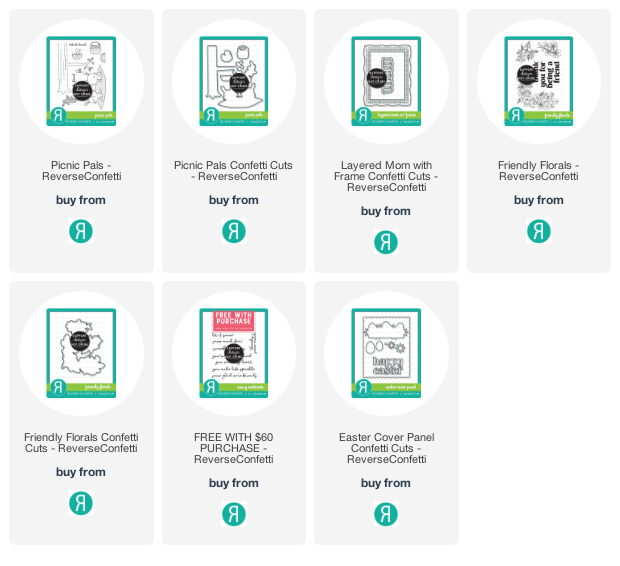
I started with the cute new Picnic Pals stamp set.   This set is so adorable and I just love the images from this set.   I stamped the images out onto Neenah cardstock and then colored with my Copic markers. I love the two bunnies on the blanket!  So much fun to color! 


I die cut each of the images out with the matching Picnic Pals Confetti Cuts.  To create my panel, I used the new Layered Mom & Frame Cover Panel and die cut the frame from royal blue cardstock two times and layered them together.  I cut a smaller white panel and ink blended with Twisted Citron, Salvaged Patina and Tumbled Glass inks onto the plain white panel.  I layered the inked panel onto a cardbase and then layered my frame with foam tape.  Love the curvy and stitched detail on the frame.  


I then used a combination of foam tape and liquid adhesive to adhere the images to the card panel.   I stamped a sentiment with Versafine Onyx Black ink onto the main panel.   I added some final details with a white gel pen.   


For my next project, I used the new Free with $60 purchase on the Reverse Confetti website with the new release!  This new stamp set is called Dot to Dot and must be added to your cart to receive.   I love these Free stamp sets.  This one is so cool with the solid and outline circles and several other images that you can get so creative with!  


I randomly stamped with the solid circle image using several Distress Inks: Salvaged Patina, Peacock Feathers, Prized Ribbon and Tumbled Glass.   I deliberately used Distress Inks because I wanted a texture that the Distress inks will add with solid stamps.  With some of the inks, I stamped off to get a lighter version of the color.   I layered all the solid circles onto the right side of the panel.  I then used the outline image and stamped with black ink and off set it with some of the circles or layered on top of the solid circles.  I stamped the dotted rectangle with a dark grey ink. 


I stamped a sentiment from Friendly Florals using my MISTI and Versafine Onyx Black ink and stamped it directly onto the panel.  I die cut the panel with the new scalloped die from the Easter Cover Panel. 


To frame the sentiment, I stamped out a flower bunch from Friendly Florals stamp set and colored with my Copic markers. I die cut the flower bunch using the Friendly Florals Confetti Cuts and popped up on the panel with foam tape.  I layered the panel on a dark blue card panel.  I added some twine to the top and a little Diamond Stickles to each of the flowers.   

Check out all the new products available today!   To celebrate the March release, there is a HUGE blog hop to inspire you with the new products!   Shop now with the links below or head over to the Reverse Confetti Blog to see the entire new release!   


Tuesday, February 8, 2022

Reverse Confetti February Creative Blog Hop

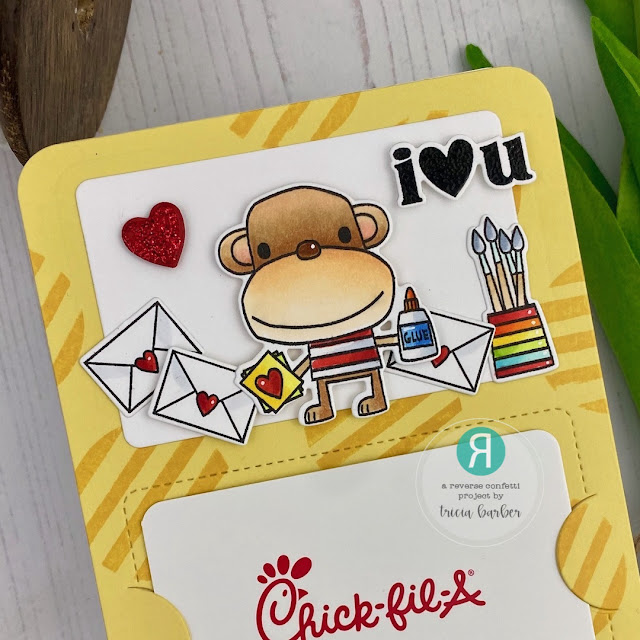
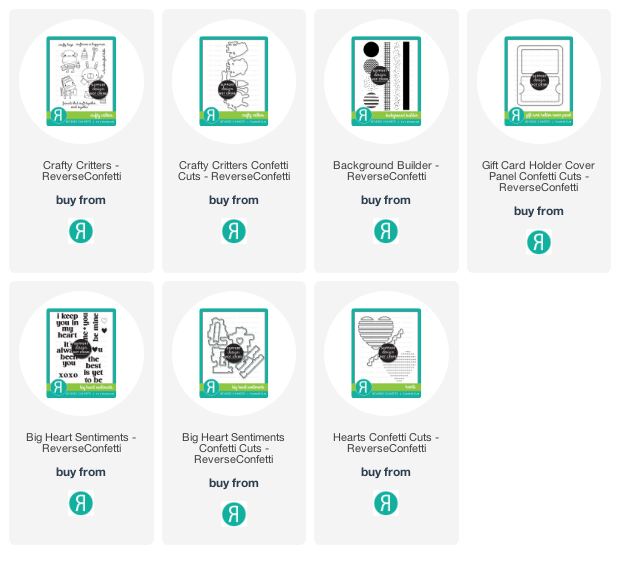
Welcome to the Reverse Confetti February Creative Blog Hop!  I have some Valentine's Day treats to share with you today.  I used the Gift Card Holder Cover Panel  along with Crafty Critters stamp set to create these Valentine's Day cards.   

I started out by die cutting three of the Gift Card Holder Cover Panels in yellow, pink and light aqua cardstock.   I then stamped each one of the panels with the Background Builder stamp set using the same color inks. 


I stamped out the Crafty Critters images and then colored with my Copic markers.   I love added all the little extras with the envelopes, glue, and scissors.   I die cut the images out with the matching Crafty Critters Confetti Cuts.  I die cut the gift card panel and added to each of the card panels and then adhered my images with liquid adhesive and foam tape.   I added some details with a white gel pen.  


I stamped the sentiments from Big Heart Sentiments stamp set and clear embossed each one.  I then die cut them out with the Big Hearts Sentiments Confetti Cuts.  I also die cut a small heart from the Big Hearts Sentiments Confetti Cuts and covered the heart with Christmas Red Stickles.   I adhered the sentiments and hearts with foam tape.   

I trimmed a white panel down to add to the back of each of the card panels and die cut it with the stitched heart from the Hearts Confetti Cuts.   I added a gift card and will write my message on the back of the panel! 

Be sure to check out all the designers participating in today's hop!   There is so much inspiration to be had!  Have fun! 


Reverse Confetti

Andrea Shell

Audrey Tokach

Maria Russell

Lien Leysen

Lisa Henke

Amy Kolling

Tricia Barber

Kellianne Wilson

Dana Kirby

Amy Tsuruta

Olga Moss

Melissa Phillips

Jeanne Jachna 


Saturday, January 8, 2022

Reverse Confetti January Release Blog Hop

 Welcome to the Reverse Confetti January Release Blog Hop!   The new release is now available and is such a wonderful release.  I have two projects to share with your today!  

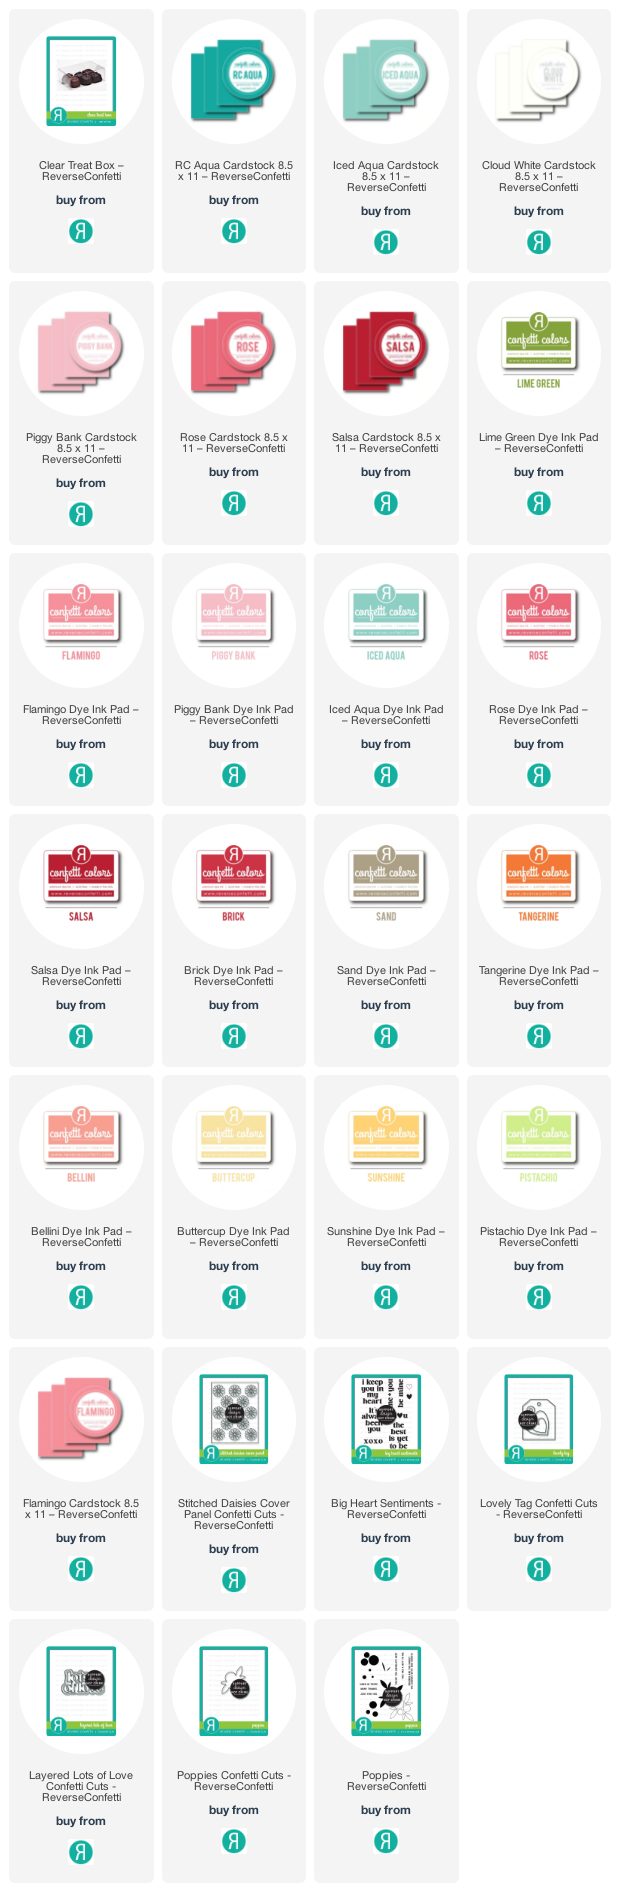
First up, I created the pastel card using the new Poppies and Big Heart Sentiments.  I started my card panel die cutting Sand cardstock with the Stitched Daisies Cover Panel.  How beautiful is this Cover Panel! 


I stamped the Poppies out using the Poppies stamp set with the following Reverse Confetti inks: Piggy Bank, Bellini, Rose, Flamingo, Salsa, Buttercup, Sunshine, Tangerine, Pistachio and Lime Green. 


I stamped the sentiment in Piggy Bank ink and used the Big Heart Sentiments stamp set.  I die cut the sentiment out with the matching Big Heart Sentiments Confetti Cuts.  I added some crystal jewels to add a little sparkle. 


Next up, I created some treat boxes using the new Lovely Tag Confetti Cuts along with the Layered Lots of Love Confetti Cuts.  I used the Clear Treat Box and filled them with lot's of Valentine goodies! 


I die cut the Lovely Tags from Cloud White and Iced Aqua card stock.  I filled the interior hearts with strips of Reverse Confetti cardstock.  


For the Iced Aqua tag, I used the smaller heart and die cut from Salsa cardstock.  For the Cloud White tag, I used the new Layered Lots of Love and die cut the word die twice and slightly offset the words to create a small shadow. 


Check out all the new products available today!   To celebrate the January release, there is a HUGE blog hop to inspire you with the new products!   Shop now with the links below or head over to the Reverse Confetti Blog to see the entire new release!