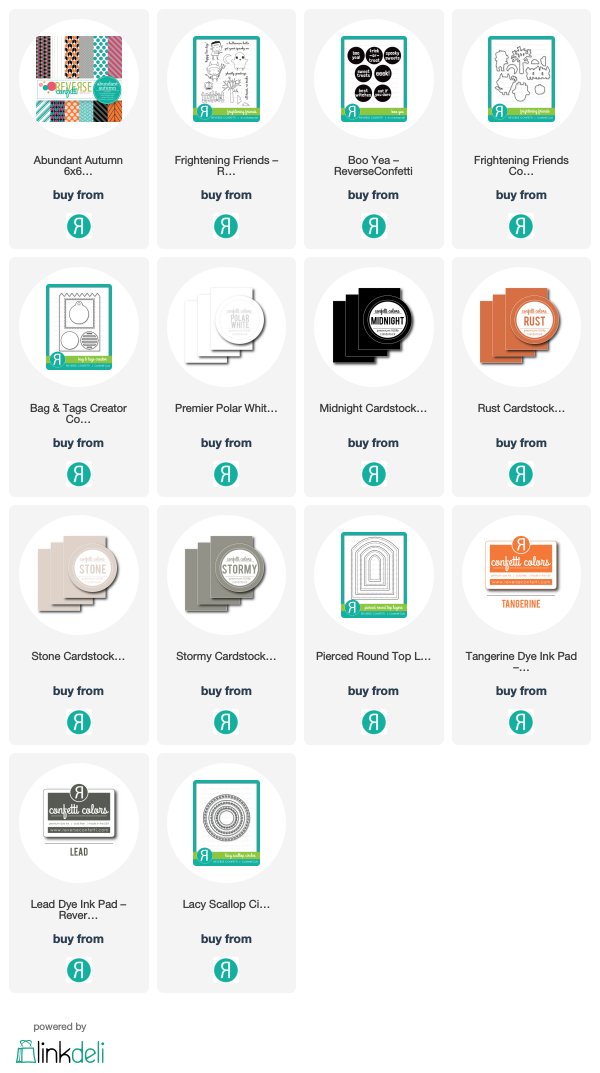
Welcome to day one of the Countdown to Confetti September release! Today, we are featuring the new Halloween stamp sets and matching Confetti Cuts for Boo Yea and Frightening Friends. These sets are so adorable! I am so excited for Halloween, I enjoy it just as much as Christmas. So I could not wait to get these sets all inky!

My project today is using both of the new stamps sets and I am also using the new paper pad, Abundantly Autumn and the new Bag & Tags Creator Confetti Cuts. I decided to go all out with these bags and make them a little interactive. The tags pull up to share a Halloween greeting. To create the bag from the new Bag & Tags Creator Confetti Cut all you need to do is score one side on two panels and then adhere. For my bags, I decided to create more of a hinge along the sides and the bottom to give me a little more room for my slider tag. I will have the dimensions of the hinges below.


Using the new Bag & Tags Creator Confetti Cut I trimmed down several of the patterned papers from Abundantly Autumn. From one of the panels, I used the window die that is included in the die set and cut a window from one of the panels and added a transparency to cover the window. My stamped images for each of the bags come from the new stamp set Frightening Friends. This is one of my FAVORITE sets from the release! You are going to love this cute new Halloween set.


I stamped the images on to Premier Polar White card stock and then colored them with my Copic markers. I die cut them out with the Frightening Friends Confetti Cuts. My tags were created with the new Boo Yea stamp set and the Bag & Tags Creator circle dies are sized to trim these down and add the tag that is also included.

Several different ways to create your bag:
You can ....cut the large piece 2x and then score in the same place on each. For the bottom, score where every you like and then adhere the bottom and sides.
You can ....cut the large piece 2x and then score in the same place on each. For the bottom, score where every you like and then adhere the bottom and sides.
Or you can create hinges with cardstock, I did this on my examples and used these measures to create my hinge: Sides - Cut 2 - 1 1/4 x 4 1/2 - score with the small side up at 5/8 (halfway point for 1 1/4). For the bottom, cut 1 piece 1 1/4 x 3 3/8 - score with the small side up at 5/8. Cut an angle off each end.
Or you can use the Partial Die Cutting method and die cut the upper portion of the panel on both sides of an 8 1/2 x 4 1/4. Score where the bottom of the die would have cut. Then add sides by measuring the width of your bottom plus 1/2 inch x 4 1/2. For example if your bottom is one inch then add two pieces of cardstock at 1 1/2 inches x 4 1/2. Score on the short side at 1/4 inch on each side. You end up with more of a Boxed Bag.
There are many ways that you can use the Bag & Tags Creator. I am sure that the Confetti Crew will come up with a few more ideas to make this a very versatile set!
There are many ways that you can use the Bag & Tags Creator. I am sure that the Confetti Crew will come up with a few more ideas to make this a very versatile set!
I went with the method number 2:


I had to much fun decorating my bags. I used the Pierced Round Top Layers as my grave stones and then got to decorating making each one a little unique. I even added action wobblers to a couple of the tags. The Frightening Friends Confetti Cuts also cuts little inside pieces as well, see the tree and the little devil's fork and tail in the photo below. I love this detail with the die cuts! I finished each one off with some bling and twine.

Reverse Confetti is giving away a $15 gift certificate to one blog commenter and also to one Facebook commenter. Here is a link for the Reverse Confetti Facebook page. Please leave a comment on each sneak peak post for each designer, below is a link list for each one!
Comments will close at noon CST on the 7th and the winner will be announced at 5pm CST on September 7th on the Reverse Confetti Blog and Facebook page! Please check out the Reverse Confetti Blog for all the details on the giveaways!!
Please be sure to check back with me for more sneaks on the 6th and 7th! We will have a new release hop on the 8th. All products will be available for purchase on September 8th!


So stinking cute, Tricia!!
ReplyDeleteTricia, these are FABulous!
ReplyDeleteRepeat, I don't need another Halloween stamp set, I don't neat another Halloween stamp set...it's not working because this one is so darn cute and I love what you created with it.
ReplyDeleteThese are all so fa-boo-lous! I love the treat bag with the
ReplyDeletesquare cut out so that you can see what's in the bag. So cute!!
Love your pull-out cards in each treat bag! Such a great idea (and they’d make a sweet bookmarker afterwards). :)
ReplyDeleteOh I already do love it all. Stamps dies and patterned papers. Hurry Sept. 8th......
ReplyDeleteThese are DARLING!!! WOW! You did a fabulous job!
ReplyDeleteVery cool and adorable bags! And your pull-out cards are just so precious! And so very creative too!
ReplyDeleteGreat Halloween projects, Kathy. Love the new RC paper pad!
ReplyDeleteThese are adorable!!! And the little slider tags are just too fun!!
ReplyDeleteCute bags. I like the interactive feature.
ReplyDeleteI really love those bags... So so cute!
ReplyDeleteJust darling. I love the new characters and on treat bags are soooo cute!!! Great tips. Just wonderful ideas.
ReplyDeleteGreat and Wonderful projects!
ReplyDelete