


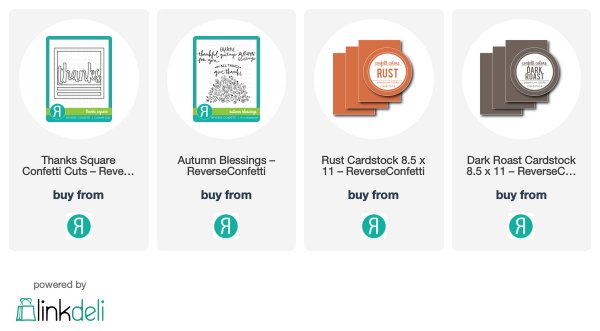
Now for the stamping. I stamped a panel with the Autumn Blessing stamp set, stamping it twice and layering it very close together to create a larger background. I then colored it messy with my Copic markers. This allowed for some quick coloring and I only did one color. I picked out Copic markers in fall colors just ensuring that I had some of the Rust and Dark Roast colors in my image. This panel was also scored over to create a hinge for the panel to lift and make a space for what you need to write on the card on the Rust card base. To bring that color of Rust out more, I die cut a few more of just the Thanks from the Thanks Square Confetti Cut to layer onto the Dark Roast die cut.

To assemble my card I layered the stamped image first and then marked where the panel ended and cut another partial die cut with a small circle die to create a clasp for the stamped panel. I then placed the Thanks Square Confetti Cut on top and adhered my hinge to both the white and Rust panel. Because it was super thick now at the top, I used some hemp twine and created a "belly like band" around the card and placed it at the top. This holds the Thanks panel down and once removed, you can access all the multiple layers. To finish it off, I added a few clear droplets.
That is it for me! I hope that you have a wonderful day and even more wonderful weekend! Thank you for stopping by!


Such a fun design Tricia!
ReplyDelete