Sunday, November 4, 2018

Reverse Confetti - 25 Days of Christmas Tags 2018

Hey there!   I am joining in this wonderful yearly tradition that Tracey McNeely has graciously hosted each year creating all this inspiration for creating your holiday tags for the season!   Please be sure to go to her site and follow each day.... here is the link for her blog:  In My Creative Opinion!!  She will have a list of all the participants and links to the blogs for you to look around.  There are prizes that are being given away so be sure to take a look at her blog and all the details!  I look forward to checking it out each day! 


I decided to go with a traditional color palette and my go to ink blending colors for my tag!   This tag took me no time to create and it would be very easy to mass produce. 


Can you believe all the sponsors! So many wonderful companies participating!    Be sure to stop by their sites and check them out along the way as well!    Support independent businesses!!!


 There are 25 days of sharing all month long and today I am sharing products from  Reverse Confetti  with a tag I created with Holiday Gnomes but you also get a little sneak of a new paper pad and tag die that is coming out with the November release!    


I started off by die cutting some card stock with the new Grid Stitched Tag that will be part of the November Countdown to Confetti.   I cut two from white card stock and one from the new patterned paper pad, Winter Solstice.  For one of the white tags, I used the Edge Essentials to create my snowy ground.     You are going to love this new paper pad!   Isn't this polka dot paper adorable! 


I inked blended some Iced Aqua and Lagoon ink onto the tag and then white heat embossed some snowflakes from the Holiday Gnome stamp set.    I stamped the images from the Holiday Gnome stamp set onto Premier Polar White card stock and colored with my Copic markers.  I added some details with my white gel pen and sparkle marker.     I added some sequins to the centers of the snowflakes!    I hope you have fun hoping along to all the stops, you will see some more sneaks of new release items for Reverse Confetti and stop by and visit us for the Countdown to Confetti starting on November 5th!  


Thank you for stopping by and don't forgot to comment as you hop along!


New release products available November 8th! 


Friday, November 2, 2018

Reverse Confetti - Fall Inspiration

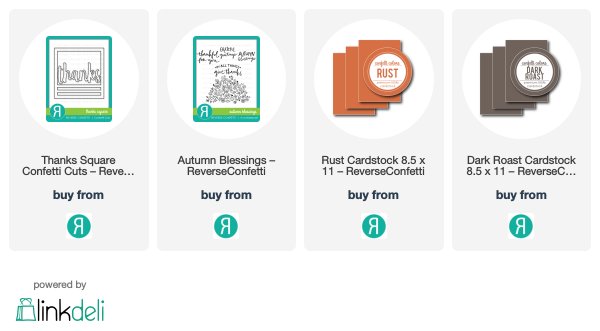
Hello and Happy Friday peeps!    I hope you have a wonderful and beautiful fall day today!   Can you believe that it is November already!    I know!   I have a fall inspired card to share with you using several Reverse Confetti products.   I made a multi layered card using the Thanks Square Confetti Cuts.    I will share with you how I created this card using some partial die cutting. 


I created a card base from Rust cardstock to 4 1/4 x 5 1/2 inches.    I then made another panel from white cardstock and trimmed it about an inch shorter.   See in the photo above.    I then trimmed a panel of Dark Roast card stock about and inch longer than the Thanks Square Confetti Cut.   This will allow partial die cutting to be done at the top and create a flag once scored to go over the white and Rust cardstock.   


Now for the stamping.  I stamped a panel with the Autumn Blessing stamp set, stamping it twice and layering it very close together to create a larger background.   I then colored it messy with my Copic markers. This allowed for some quick coloring and I only did one color.  I picked out Copic markers in fall colors just ensuring that I had some of the Rust and Dark Roast colors in my image.   This panel was also scored over to create a hinge for the panel to lift and make a space for what you need to write on the card on the Rust card base.    To bring that color of Rust out more, I die cut a few more of just the Thanks from the Thanks Square Confetti Cut to layer onto the Dark Roast die cut.    


To assemble my card I layered the stamped image first and then marked where the panel ended and cut another partial die cut with a small circle die to create a clasp for the stamped panel.    I then placed the Thanks Square Confetti Cut on top and adhered my hinge to both the white and Rust panel.   Because it was super thick now at the top, I used some hemp twine and created a "belly like band" around the card and placed it at the top.   This holds the Thanks panel down and once removed, you can access all the multiple layers.    To finish it off, I added a few clear droplets. 

That is it for me!   I hope that you have a wonderful day and even more wonderful weekend!   Thank you for stopping by!   


Saturday, October 27, 2018

Reverse Confetti - Fall Foliage

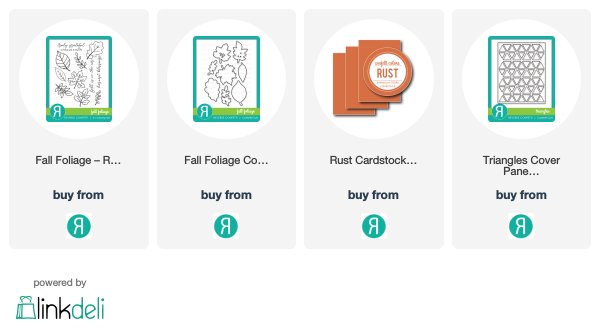
Hello!   Hope you are having a wonderful evening!   I created this card for this week's Color Throwdown Challenge.   This week is Dark Teal, Rust and Cream.   It was perfect for the Reverse Confetti's Fall Foliage stamp set.   


I stamped my images and colored with my Copic Markers.    I die cut them out with the Fall Foliage Confetti Cuts.    I layered them on top of a panel of cream cardstock that had been die cut with the Triangles Cover Panel.   


 I stamped my sentiment in Liquid Platinum Embossing Powder onto some teal cardstock that I had in my collection.   I also added some Rust cardstock from Reverse Confetti.   


 I tied off a twine ribbon and added some clear droplets.   Here is the link to this week's Color Throwdown Challenge.   You have a little time left to play!  


Thanks for stopping by!  


Friday, October 26, 2018

Reverse Confetti - October Stock Your Stash Challenge

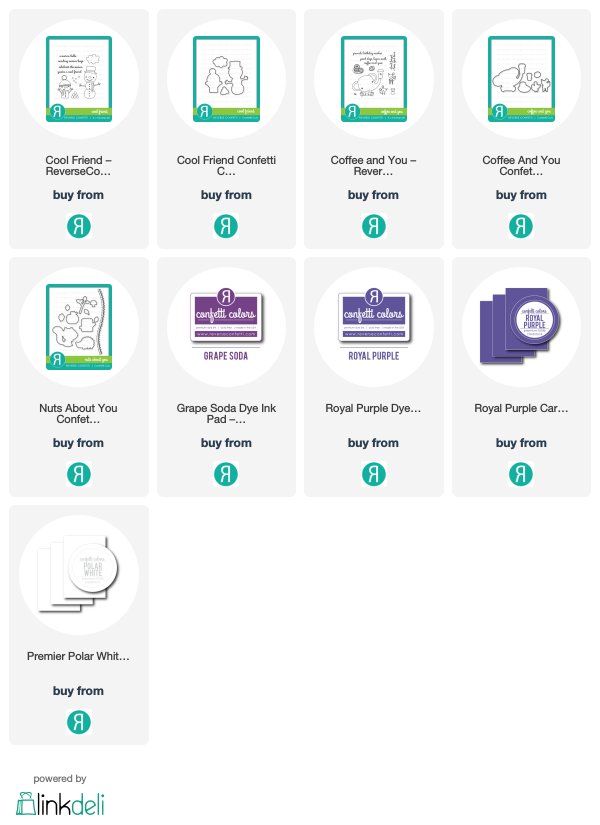
Hey there!   I am sharing my card for the Reverse Confetti Stock Your Stash Challenge for October!   This month's there is Thanksgiving & Friendship.    I went the Friendship route and decided to combine two stamp sets to create a scene for my little snowmen to share hot chocolate and donuts with a little mouse!    I used Cool Friend and Coffee and You stamp sets.   


 I started by ink blending Royal Purple and Grape Soda inks onto some Bristol Smooth cardstock.   I then splattered it with Copic Opaque White paint and set it aside to dry.    I them stamped my images, the two snowmen from Cool Friend and the donut, mouse and coffee cups are from Coffee and You stamp sets.   


I used the matching Confetti Cuts to die cut the images.    I die cut a piece of Polar White cardstock with the Nuts About You Confetti Cuts border die and stamped my sentiment in Royal Purple ink onto the Polar White cardstock.   My card base is made from Royal Purple cardstock. 


There is a few days left to play along with the Stock Your Stash Challenge!  Click on this link to find out more details on the challenge! Come check it out and play and if you post your creations on social media, please be sure to use the hashtag: #SYSChallenge

Thanks for stopping by!   Hope you will play along! 


Sunday, October 21, 2018

Reverse Confetti - Fall For You

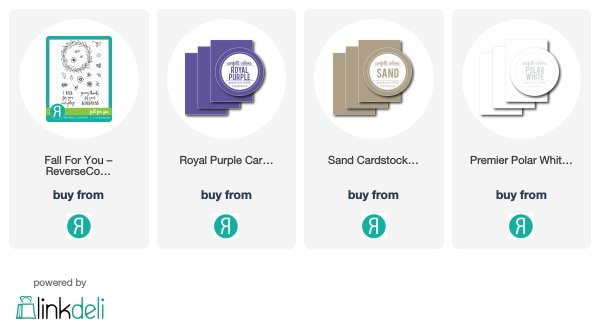
Happy Day to you!  Fall is my FAVORITE time of the year!    I love the cooler weather, camp fires to warm you up,  and the beautiful colors of the fall leaves!   I wanted to create an Autumn Wreath and used the Fall for You stamp set and some masking.   


 The masking went pretty quickly because the images were really small.   I first stamped my wreath in a very light ink and left it in my MISTI so that I could stamp again with black after I masked my flowers.   I stamped several of the flowers onto masking paper and cut around them.  


I love the font of the sentiment in this stamp set!   I added some clear sequins for a little sparkle! 


To finish it off, I added a bow tied from twine.   I mounted the panel on a panel of Royal Purple cardstock and then mounted onto an A2 card base from Sand cardstock.   


 I then was able to position my flowers along the lightly inked wreath and know exactly where to place them!    Once all the flowers were stamped and masked, I stamped the wreath again using black ink.   I colored the wreath in with my Copic markers.    

Thank you for stopping by and visiting me today!   Happy Fall! 


I am using three challenges today: 


Wednesday, October 17, 2018

Reverse Confetti - Frightening Friends

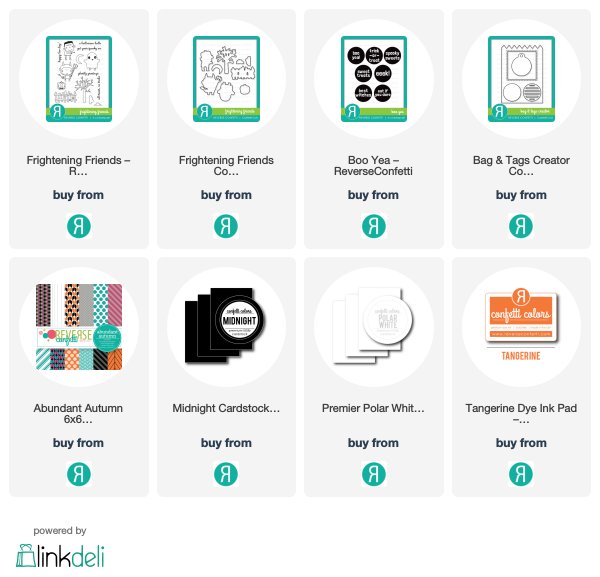
Hey there!  I am popping in to share another Halloween card that I made with some of the new products from Reverse Confetti's September release.   I used the new stamp set, Frightening Friends along with the new paper pad, Abundantly Autumn for one of my last Halloween cards.  I have one more Halloween project to share next week but I am moving on to other holidays if you know what I mean!  


For my inspiration, I used a card sketch from Case this Sketch but did not realize that I pulled up an old sketch challenge!   OH Well!   It was really cute and I loved how the card turned out!   


I cut down some of the patterned papers from the Abundantly Autumn paper pad and adhered them directly to the card base made from Midnight card stock.    I stamped the sentiment from Boo-Yea! stamp set with Tangerine ink onto Premier Polar White card stock.   I also stamped the ghost from Frightening Friends stamp set on Premier Polar White card stock and then die cut it out with the matching Confetti Cuts.   I also die cut some clouds from the Frightening Friends Confetti Cuts.   I covered the ghost with a clear sparkling pen and then some glossy accents.   It was a very simple card but I love the black and orange pops!    


Thank you for stopping by!   I will have one more Halloween project to share next week! 


</

Friday, October 12, 2018

Reverse Confetti - Cool Friend

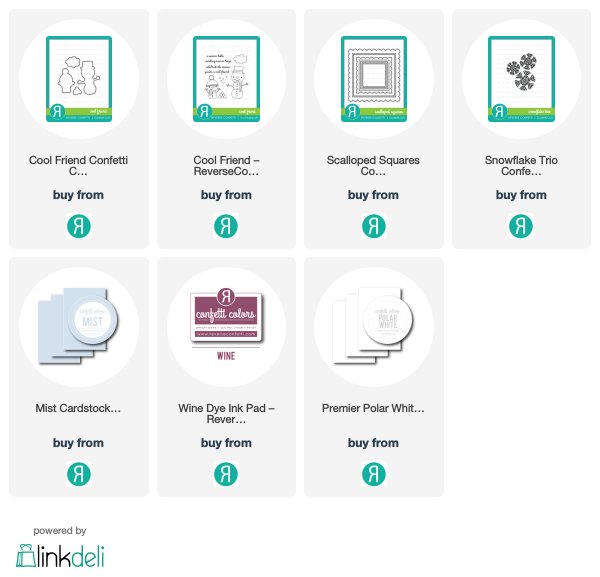
Hey there!    I am sharing a cute little holiday treat bag playing along with the Simon Says Wednesday Challenge - Anything but a Card and Addicted to Stamps Holiday Challenge this week.   I used the recently released Bag & Tags Creator along with the previously release Cool Friend stamp set.   How cute is this!  It comes together so easily with the Bag & Tags Creator Confetti Cuts!   


I die cut two panels from card stock and score on the bottom at 1 inch on both panels.  Then add adhesive and adhere the two panels together.    To decorate the outside of the bag, I die cut some white cardstock with the Scalloped Squares.   I ink blended on the inside square piece with Reverse Confetti Wine ink.    I die cut two snowflakes using the Snowflake Trio Confetti Cuts.  


The snowman was stamped using the Cool Friend stamp set onto Premier Polar White card stock and then die cut with the Cool Friend Confetti Cuts.   I colored with my Copic markers and added details with my Sakura White gel pen.    I added a few sequins and paper clipped the top of the bag to close it and added some blue/white twine.    I few pieces of candy were placed in a cellophane bag and clipped inside the bag held closed with the paper clip.    It came together so quickly and can be whipped up to give some special treats out this holiday season!     


There is so many things that you can do with the Bag & Tags Creator Confetti Cuts.  Check out the Reverse Confetti Pinterest board for more inspiring projects that you can make with this die!     

That is it for me today!  Hope you have a wonderful day!