Wednesday, December 15, 2021

SugarPea Designs Mix It Up Challenge - December

Hello!  I am sharing a Christmas tag I created today playing along with the SugarPea Designs Mix It Up Challenge!  With this challenge, you can use the inspiration photo or the sketch, or Mix It Up and use them both! 


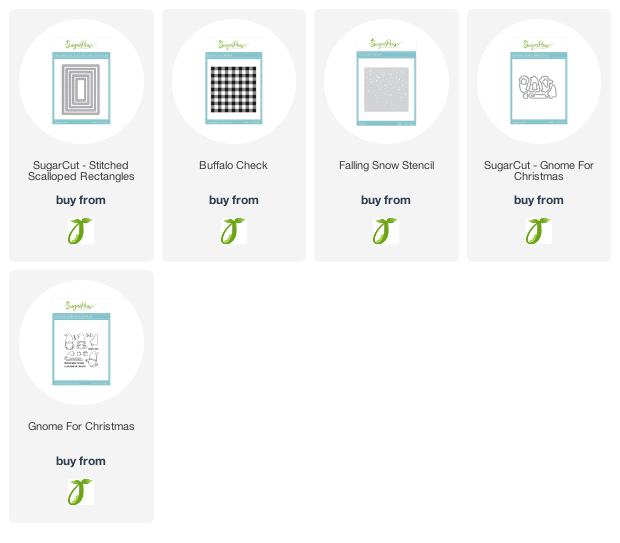
Instead of a birthday card, I created a Christmas tag!  I needed a few more tags for my Christmas presents, so I used the Gnome for Christmas stamp set along with the Stitched Scalloped Rectangles.  I started with die cutting two Stitched Scalloped Rectangles from kraft cardstock.   I used the Falling Snow Stencil and stenciled with white pigment ink onto one of the kraft die cuts.   I adhered both kraft die cuts together to create a really sturdy tag! 


I die cut a dark green panel with the Stitched Scalloped Rectangle die and then stamped the die cut with the Buffalo Check stamp with dark green ink.   I trimmed it down and adhered to the bottom panel of the tag.   I stamped the images from Gnome for Christmas and colored with my Copic markers.   I die cut the images with the Gnome for Christmas SugarCut.  I stamped a sentiment from Gnome for Christmas to the tag.   


Come play along in the challenge!   The full rules are below but you can also see this month's challenge and information on the SugarPea Designs blog post!  Thank you for stopping by! 


Wednesday, December 8, 2021

Reverse Confetti December Blog Hop

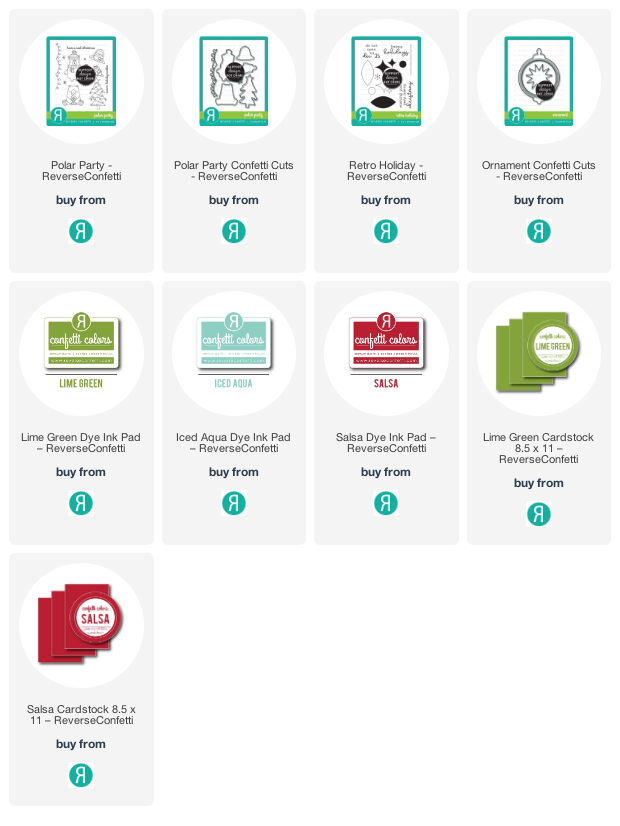
 Hello!  Welcome to the Reverse Confetti December Blog Hop!  I am knee deep in wrapping gifts and needed a few more tags for my presents.   The new Ornament Confetti Cut along with the Polar Party stamp set made for quick and easy tag making!  


I started out by die cutting with the Ornament Confetti Cut two Salsa, one Lime Green and three white Ornament die cuts.   I then mixed the white die cuts with the Salsa and Lime Green.  I doubled them up so that I have a finished front and back for my tag.   The back was left plain for me to add the To: and From: for the gifts.   Since the die cut will die cut the center as well as the outer ornament, I added a piece of copy paper in between to adhere them all together.   


I stamped sentiments on each of the tags using the Retro Holiday stamp set.  I positioned the sentiments to work with the images that I colored up for each of the tags.  I used one of the small snowflake images from the Retro Holiday and stamped repeatedly on the tag centers.  


I stamped the images from Polar Party and colored with my Copic markers.  Each image had red and green accents to go with the tags!  I added some details with a white gel pen.   I die cut the stamped images out with the Polar Party Confetti Cuts and added them to the tags with foam tape.  I love adding handmade tags to all my gifts!  This is one thing that I do every year! 


These tags were super easy and fast to create!   So much inspiration to share with you today in our Blog Hop!   Please be sure to check out all the inspiration below from all the designers!  I hope you enjoy hopping!   The next stop on the hop is Lisa Henke! 


Wednesday, December 1, 2021

Whimsy Stamps - Mini Release December


Hello! There is a new mini release with Whimsy Stamps today!  I am sharing Dragon Holiday Peekers with you.  They are so cute!  I colored each one of them images up with my Copic markers.  


I love the sentiments in this stamp set and chose two for the card.  Those little dragons may have been on Santa's naughty list!   I die cut the images out with the Dragon Holiday Peekers Outline die. 


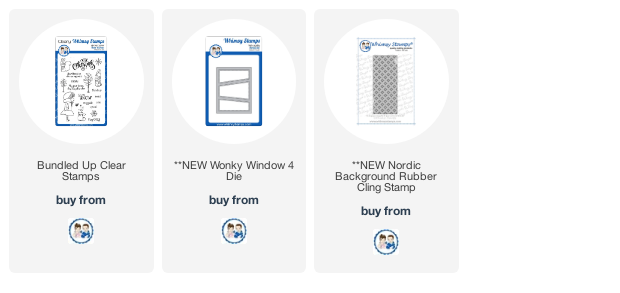
For my card base, I used the Wonky Window 4 die and stamped one of the negative die cuts with the Nordic Background.  I stamped some snowflakes from the Bundled Up stamp set. 


Those cheeky dragons are so cute and you can find many more on the Whimsy Stamp store!  Check out what the design team has created below with the new mini release!