Thursday, March 7, 2019

Countdown to Confetti - Floral Gem & Sentimental Gems

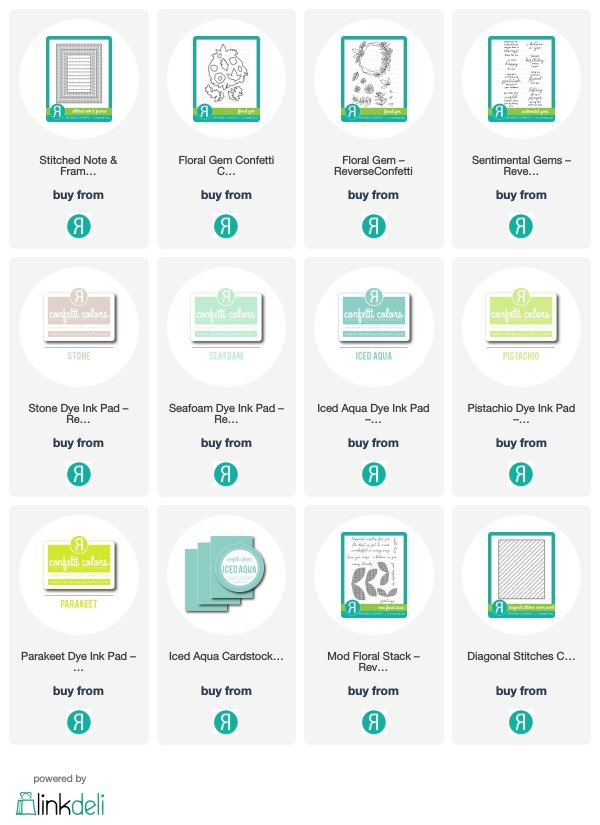
It's the third day of the Countdown to Confetti and today we are sharing Floral Gem and Sentimental Gems.   Sentimental Gems is designed to go with the Floral Gem stamp set but it can be used with many other sets as well.   


It has some of the beautiful script that are in several other Reverse Confetti stamp sets.    I used them both together to create two cards today.    They were each a little similar but I changed them slightly with placement and color combinations.   Today, I decided that I wanted to watercolor my images.    I stamped them onto watercolor card stock with Versafine ink and then clear heat embossed them.   


 I colored them in with my Zig Clean Color Real Brush markers.   I stamped my sentiment from Sentimental Gems into the middle of the large gem and embossed it as well.   I layered these images onto a panel that had been stamped with the Mod Floral Stack stamp set using Iced Aqua, Seafoam and Stone inks.  


 I then ran it thru with the Diagonal Stitches Cover Panel.   I layered it onto a Iced Aqua Stitched Notes Frames.   I again layered it on top of the frame instead of under so that I got the pretty stitching around the card panel.   I tied some jute twine around the panel and added several clear sparkling sequins.   


For the next card, I created the card base and panel like I did on the first card but used Stone, Pistachio and Parakeet inks instead.   I layered it onto a white Stitched Note Frames.  I trimmed the panel down so that you see one of the stitching lines from the Stitched Note Frames.  


For this card, I moved the image to the bottom left and tilted it.   I used reds and greens Zigs to color the images in.  I layered them with foam tape to give all kinds of dimension to the card.   I tied twine at the top and added several sparkling sequins to finish it off.  


That is all that I have to share with you today!   Isn't this an exciting release!   I just love everything in there release!  All the products will be for sale at Reverse Confetti on March 8th!  We will celebrate the release with a Blog Hop so be sure to come back tomorrow for several more projects that I created using products from the release.        


Reverse Confetti is giving away a $15 gift certificate to one blog commenter and also to one Facebook commenter.   Here is a link for the Reverse Confetti Facebook page.   Please leave a comment on each sneak peak post for each designer, below is a link list for each one!  

 Comments will close at noon CST on the 7th and the winner will be announced at 5pm CST on March 7th on the Reverse Confetti Blog and Facebook page!  Please check out the Reverse Confetti Blog for all the details on the giveaways!!  


Thank you for stopping by and checking out the new release! 

Here is a full list of designers sharing inspiration with today's products!   


Wednesday, March 6, 2019

Countdown to Confetti - Spring Pals & So Super


Welcome back to day two of the Countdown to Confetti March release!   Today we have So Super and Spring Pals stamp sets and matching Confetti Cuts from Dawn Machell!   These are just so super darling stamp sets.   I warned you that this release is just Awesome!    You are going to want everything in the release!    

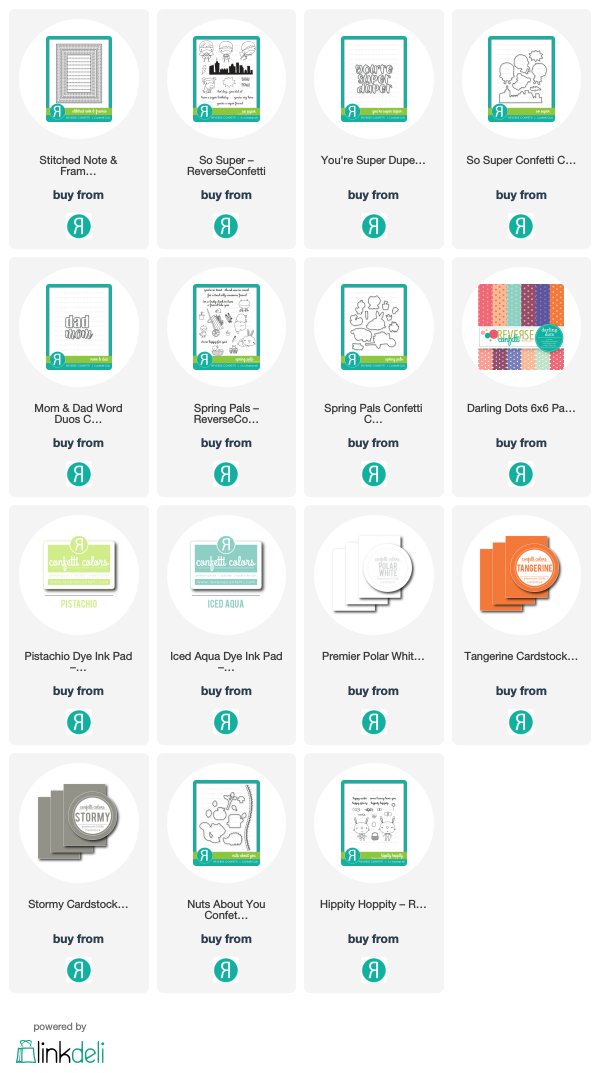
I used the new So Super stamp and Confetti Cut set and created a Father's Day card.   I paired it with the new Confetti Cuts You're Super Duper and the Word Duo: mom & dad.    I stamped my images onto Premier Polar White cardstock and then colored them with my Copic markers.   To figure out the colors for my superhero's, I just googled Super Hero and you can get so many ideas for colors to use!   


My flying Superman is popped up with an Action Wobbler.    I die cut the city scape from Stormy cardstock instead of stamping it.   I inked up a panel of Bristol smooth cardstock with several Distress Inks:  Blueprint Sketch, Mermaid Lagoon and Salty Ocean.     


My grass was made with the Nuts About You Confetti Cuts and some Distress inks in Mowed Lawn and Peeled Paint.     I did the die cut inlay technique for my word dies.   I die cut my ink blended panel with the You're Super Duper and then die cut it with white card stock and inlaid the letters.  


For the Word Duo: Dad, I die cut this from glittered card stock and then added some glossy accents on top.   I also die cut inlay the word dad.     I stamped several of the word bubbles and added to the card.    I did a long skinny card and you can put this into a business envelope, the card is 3.5 by 8.5.


Next up is a new set called Spring Pals.   This is SOOOOO cute!   I love the little ducklings in the stamp set and knew that I wanted to create a little scene with a momma duck and her little ducklings!


I stamped out my images onto Premier Polar White card stock and then colored them with my Copic markers.  I die cut them all out with the Spring Pals Confetti Cuts.    I decided to create two mini scenes and used the new Stitched Rectangles Frames and used the inner most die cut for my mini scenes.


I ink blended Iced Aqua ink and Pistachio inks onto the panels.  I sewed an Easter greeting from the Hippity Hoppity stamp set onto Tangerine cardstock.    I used some of the new Darling Dots 6x6 paper pad and covered my card base.    I then added my mini scenes and finished it off with some sequins.   


That is all that I have to share with you today!   We have one more day to share more of the March release and then we will celebrate the release with a Blog Hop on the 8th!   All products will be available for purchase on March 8th! 


Reverse Confetti is giving away a $15 gift certificate to one blog commenter and also to one Facebook commenter.   Here is a link for the Reverse Confetti Facebook page.   Please leave a comment on each sneak peak post for each designer, below is a link list for each one!  

 Comments will close at noon CST on the 7th and the winner will be announced at 5pm CST on March 7th on the Reverse Confetti Blog and Facebook page!  Please check out the Reverse Confetti Blog for all the details on the giveaways!!  


Here is a full list of all the designers to see more inspiration! 


Tuesday, March 5, 2019

Countdown to Confetti - Word Up & Hatbox Florals

Welcome to day one of the Countdown to Confetti March Release.   This is a fabulous release!   I am absolutely in love with everything that Jen has brought us with this release!!!!!    I had so much fun creating projects, so let's get started sharing the projects that I have for you today!   I have some of the new dies and I will be sharing several projects that I made with Word Up and Hatbox Florals.   

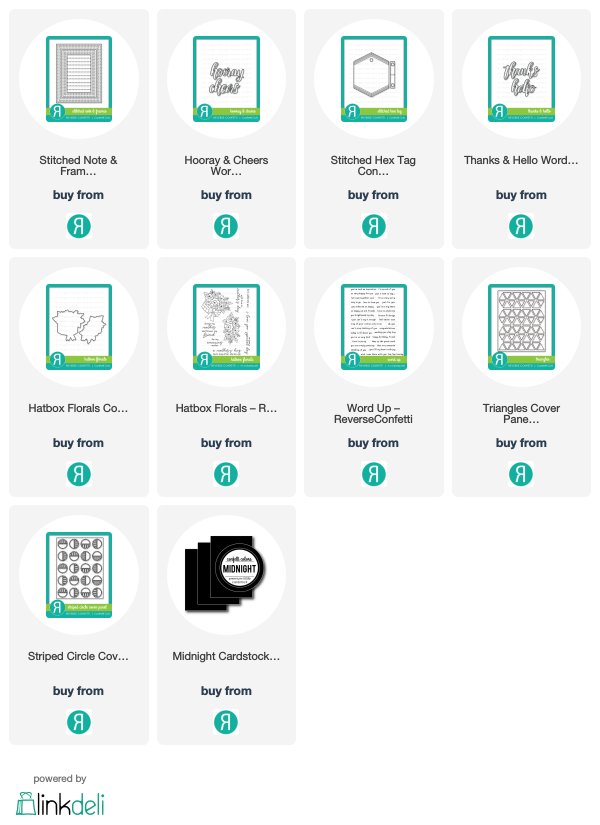
Word Up is such an awesome sentiment stamp set.   The font is tiny and perfect!   There are XX sentiments in this stamp set!   I stamped a sentiment on a strip of Midnight card stock and then white heat embossed it.    For my card I used the new Confetti Cuts Word Duo: hello and thanks.   


 I used my Gansai Tambi watercolors and created two panels with greens and blues.   I then die cut the word hello from the watercolor panel and layered several hello die cuts from white card stock.   The pocket is actual a new tag called Stitched Hex Tag.   I cut off the top of the tag with the hole and made it look like a pocket.    


I thought of this afterward but I could have just put adhesive on the sides and you could put a gift card in the pocket!   I layered my watercolored panel with a previously released Striped Circle Cover Panel Confetti Cuts.   


I made two cards with the Word Up stamp set and paired with the new Confetti Cuts Word Duo's.   I had so much fun with the watercolor panel in my first card, that I did another watercolor panel this time with a rainbow theme!   Again, I did two panels so that I could die cut the word hooray using the new Word Duo cheers & hooray Confetti Cuts.  


 I again layered the watercolor die cut with several hooray's cut from white cardstock.   I stamped my sentiment again onto a strip of Midnight cardstock and then white heat embossed it.   I nestled it with the Word Duo hooray die cut and adhered it directly to the card panel.     For my main card panel, I used another previous released Triangles Cover Panel Confetti Cuts.    I then added some jewels in the rainbow colors to the card for some sparkle. 


  I love these new Word Duos!   There are a total of four sets:  hello & thanks, cheers & hooray, love & xoxo, and finally mom & dad.    These are perfect to pair with the new Word Up stamp set!    


For my final project today, I made a Mother's Day card with the new Hatbox Florals Stamp and Confetti Cuts.   I started off with a white card panel and used the floral image and stamped it several times masking it to cover the top corner of the card panel.   I then colored it with my Copic markers.    


I die cut a Stitched Hex Tag and then stamped and embossed a sentiment from Hatbox Florals and then layered it on top of the colored card panel.    I stamped and die cut the floral hatbox and colored it with my Copics.    I then added it with foam tape to the tag.    The card panel was mounted onto a frame that was die cut with the new Stitched Rectangles Frame Confetti Cuts.    I layered it behind my card panel instead of on top of the panel.   You can see one of the three stitched lines on the rectangle frame.   


I added a thin ribbon to my tag that I had in my stash.   It was an older Martha Stewart ribbon.   I loved how it turned out and now I am ready for Mother's day!   This stamp set is perfect for creating really sweet feminine cards!   


That is all that I have to share with you today!   Didn't I tell you that this is such a fabulous release!   We have two more days to share more of the March release and then we will celebrate the release with a Blog Hop on the 8th!     


Reverse Confetti is giving away a $15 gift certificate to one blog commenter and also to one Facebook commenter.   Here is a link for the Reverse Confetti Facebook page.   Please leave a comment on each sneak peak post for each designer, below is a link list for each one!  

 Comments will close at noon CST on the 7th and the winner will be announced at 5pm CST on March 7th on the Reverse Confetti Blog and Facebook page!  Please check out the Reverse Confetti Blog for all the details on the giveaways!!  


All products will be available for purchase on March 8th! 


Here is a full list of all the designers to see more inspiration! 


Tuesday, February 26, 2019

Reverse Confetti February Stock Your Stash Challenge

Hey there!    I am playing along today with Reverse Confetti's Stock Your Stash Challenge.   You can make any type of card you want with this month's theme of Encouragement & Congratulations.    I decided to use Big Bear to create a scene card.     I actually made a long and skinny card by making it 3.5 inches by 8.5 inches, which fits into a business size envelope.     


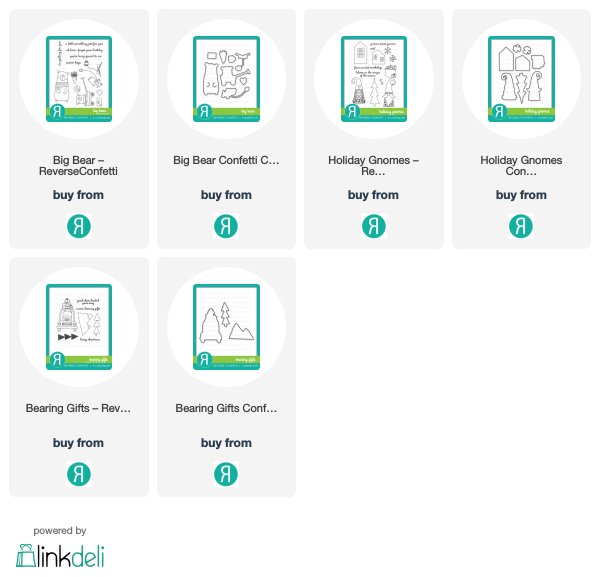
I stamped my images with Versafine Onyx Black ink and clear embossed them.   I used Big Bear, Holiday Gnomes and Bearing Gifts to create my scene.   I colored them with my Zig Clean Color Real Brush markers.    I used the matching Confetti Cuts to die cut the images out.   


I then ink blended a panel with Distress Inks - Salty Ocean, Tumbled Glass and Mowed Lawn.    I then adhered my images with foam tape.    The sentiment is from Bearing Gifts stamp set.    I added some jewels to the card for a little sparkle.     


There is a few days left to play along with the Stock Your Stash Challenge!  Click on this link to find out more details on the challenge! Come check it out and play and if you post your creations on social media, please be sure to use the hashtag: #SYSChallenge


Thanks for stopping by!   Hope you will play along! 


Monday, February 25, 2019

SugarPea Designs - Parisian Holiday

Happy Monday!   It’s Tricia Barber and I am over on the SugarPea Designs Blog sharing my last guest designer post.  I used the Parisian Holiday stamp set and created a shaker card pairing it with the ParisScape Sugar Cut.   When I first got this set, I stamped out several of these images and colored them with my Copic markers.  I love doing this, as I love the coloring process.   I had several to pick from and I ended up building my card around this sweet image that I colored.   Now I have several left over for some cards in the future. 


For the card base, I used the largest Zig Zag Stitched Rectangle with some peach card stock and then used post it tape to mask off stripes and ink blended with some peach ink.  I used the Zig Zag Stitched Circle SugarCut to create my shaker foundation.   I started by selecting two of the largest circle dies and created a grey frame and then layered it with a piece of acetate that had been die cut with the largest circle.


I used the next smallest circle die and die cut a white circle and then layered the ParisScape on top and trimmed the edges down.   The bonus was I got an inner layer of the stitching to the window.   I stamped the Bonjour sentiment on the white circle.  I adhered this to the card panel that had been inked.    I added all my shaker bits on top of the circle and used several different types and colors.   I prefer putting the shaker bits on top of my card and then adding the window, I find it is much easier to add the window on top rather than line your card panel up with the filled window.   


For the shaker window, I added a double layer of foam tape.   I remove the adhesive backing of the foam tape and it makes it easier to curve around the circle cut. The clouds are from Whatever the Weather SugarCuts.    I finished it off by adding a few more sequins to the outside.    I have had such a great time joining in with SugarPea Designs.   Thank You Wendy for the opportunity!  

SugarPea Designs Products Used today: