Wednesday, December 11, 2019

SugarPea Designs Sweet Peek Week - Day 3

Welcome back to the SugarPea Designs Sweet Peek Week Day 3!  Today, I am all about the love and Valentine's Day!!!!  

It's not too soon to be thinking about Valentine's Day.  I know we have not even celebrated Christmas or New Year's but I love getting a head start on!   I am such a planner nerd.   These cards would be super easy to recreate and make multiple versions.   I created my own background using the new Sentiments of Love stamp set and the Love Word with Shadow SugarCut.   


I pulled out some pretty pink and red inks and cardstock and got to stamping!   I love stamping out backgrounds and stamped the large LOVE repeatedly across the panel.   I eyeballed the stamping using the tail in the "e" and "l" along with the "o" to determine my placement.    I used one of the tiny hearts to stamp in between the words.   


I die cut the panels with the Card Front Element Builder.   I die cut the Love Word with Shadow SugarCut three times from matching cardstock and then layered it on top of one of the stamped Love's.  


I used the sentiments in the set and stamped several of them onto a piece of black cardstock and white embossed them.   I then trimmed them down to sentiment strips and then started placing them on the cards.  I just love the shadow die with the scripty Love word.  


I love all the pinks and really like how they all turned out.   But my favorite is that is this one!   I am a lover of bright and bold colors!    

Thank you for joining me today!   Remember to head over to the SugarPea Designs Blog and check out the post for Day Three and see all the details for the products being shared today along with more details on the giveaway.    Be sure to stop along to all the Designer Blogs and take a moment to comment along the way!   

Come back Thursday and Friday for some more of the December release!!!  


Tuesday, December 10, 2019

SugarPea Designs Sweet Peek Week - Day 2

It's day two of the Sweet Peek Week for SugarPea Designs! There is SO MUCH to share with you today!  You need to check out the SugarPea Designs post for Day 2 to see all the details!  In addition to the new stamps and dies, there are new envelopes that will be available and the colors are GORGEOUS!!!!!    And......Vera Yates designed the stamp set today!  And For Pug's Sake is just adorable!   


First up, I made this card and decorated one of the new envelopes with the new SugarCut - Envelope Liner.   This die comes with a die that will cut the liner for an envelope and has some additional dies to make a sweet floral spray, a word die and two tiny banner dies.   


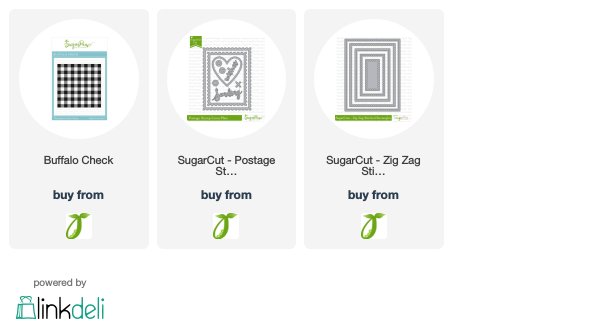
I created the card using the Love word die along with several of the floral images.  I used the Buffalo Check background stamp and used some kraft ink and created a background panel for the Envelope Liner die cuts.   I die cut the panel with the Postage Stamp SugarCut and added a black heart using the same SugarCut.  I added my die cut images from the Envelope Liner to the front of the card panel with liquid adhesive.     


I used the envelope liner die to create a matching liner to my card.   The envelope color is called Back to the Fuchsia.   Isn't that an adorable name?   See all the new colors and names below.  Just love all the yummy colors!!!   I love that I can now create matching envelope for my card to make it extra special!   


 I thought about it after I had created the card envelope liner but I think stamping the Buffalo Check background in gold ink would have been so pretty -  especially for that envelope liner!   I can guarantee you will see that from me probably in the future!   


I also decided to decorate the outside of my envelope as well.   I used some more of the floral die cuts and added them to one of the banner dies and to smallest Zig Zag Stitched Rectangle SugarCut.   If you mail this type of card with the envelope, I would put it in a clear plastic sleeve or add it to a large envelope. 


Next up is the card I made with the sweet stamp set designed by Vera Yates!   I wanted to create a one layer card, well as one layer as I could, I did pop up the panel onto a card base!    I used the images in the For Pugs Sake and created a little scene onto a white panel and die cut the panel with the SugarCut Postage Stamp.   


I colored the images with my Copic markers.   I added some light splatter to the white panel with some yellow ink.   I covered the little clouds with a crystal glaze.   I added some details with my white gel pen.   I then layered the die cut panel onto a light blue card base and added some Washi tape to the side to add some more color and tied some yellow and white twine.  


That is it for me today!   Remember to go to the SugarPea Designs Blog and check out the post for Day 2 of the Sweet Peek Week!  You can go to the post here! 


Please check out all the inspiration from the designers and leave some comments along the way for a chance to win!   

Vera Yates


Come back tomorrow for another Sweet Peek!


Monday, December 9, 2019

SugarPea Designs Sweet Peek Week - Day 1

Welcome to day one of the SugarPea Designs Sweet Peek Week with the December release!    There is so much goodness in this release.  Up first, we are sharing Cheers to You stamp set and the Cheers SugarCut.   


I loved the starbursts in the set and decided to heat emboss them using Gold, Silver and Liquid Platinum embossing powders.    I just love the metallics against the black cardstock.  I stamped the images repeatedly across the panel.  


I die cut the panel with the Zig Zag Stitched Rectangle SugarCut using the largest die in the set.    I stamped the sentiment from the Cheers to You stamp set with gold embossing powder and then added the Cheers SugarCut and cut the actual word die from silver cardstock and then the shadow image I cut from black and vellum cardstock.   


Be sure to check out the SugarPea Designs Blog for details for today's sweet peeks!

Check out the post for day one here.  You will find more information about the products from the release, inspiration and chance to win a prize!  Now go check out all the inspiration and be sure to leave some comments along the way!  


Sunday, December 8, 2019

Reverse Confetti December Blog Hop

Welcome to the Reverse Confetti December Blog Hop!  Today we are featuring an exclusive Snowflake stamp and Snowflake Confetti Cuts that will only be available thru the Reverse Confetti shop!  

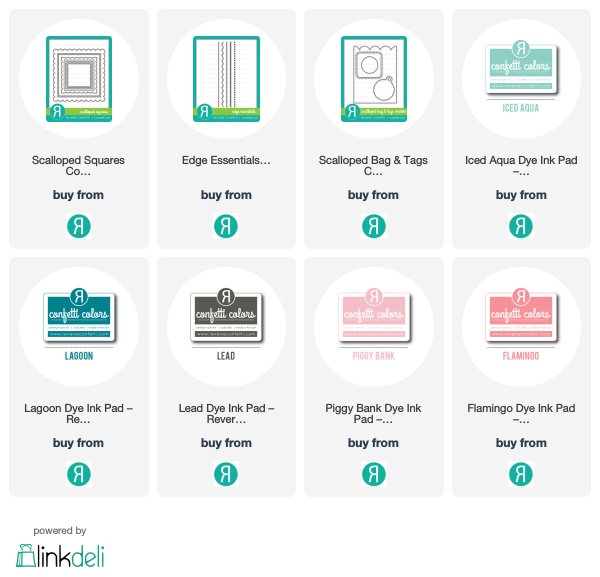
I love snowflake stamps and decided to create wintery backgrounds using some Reverse Confetti inks: Lead, Lagoon, Iced Aqua, Flamingo and Piggy Bank.  I white embossed the snowflakes after the ink blending had dried.  


For the icy blue background, I stamped a sentiment and repeated it getting lighter and lighter with the inks.  I used the stitched square from the Scalloped Square Frames for the stamped sentiments.   I then backed the square with some silver glitter paper.   I used the mini scalloped border to trim the edges off the panel to have some white of the card base showing.    I ink blended the Lead, Lagoon and Iced Aqua in an ombre pattern and left some of the white cardstock at the end.   The Lead ink really intensified the Lagoon and provided a nice contrast.   


For my next card, I had found a beautiful pink and blue snowy sky and decided to try it out on the second card panel.   I used Flamingo and Piggy Bank ink on one end and then intensified the ink blending with a little bit of the Lead ink on the edges.    The I blended the Iced Aqua and Lagoon on the opposite end.   This time I did not add the Lead and look at the difference between this card and the card above.   I never thought to add grey ink before in my ink blending but just like in Copic coloring it adds a shadow or intensifies the color - I was really happy with how it turned out!  


I decided to make a shaker card with the pink and blue panel.   I die cut the square center with the Scalloped Bag & Tags Creator Confetti Cuts and then stamped the sentiment into the center of my white card panel.   I then filled the shaker window with some Nuvo iridescent flat sequins and added some stars as well.   The colors went so nicely with the ink blended panel.   To the centers of the snowflakes I added a little bit of Stardust Stickles.    


I had so much fun making these cards!   I love how the white snowflakes just pop off the colorful panels.   There is so much inspiration to check out from the design team today!   Check out the Reverse Confetti Blog for more details on the Snowflake stamp and matching Confetti Cuts. 


It's time to hop around!  Thank you so much for visiting me today!   This exclusive Snowflake stamp set and matching Snowflake Confetti Cuts are available now at the Reverse Confetti shop!  


Wednesday, December 4, 2019

SugarPea Designs Mix It Up Challenge - Gnome for Christmas


It's a new month and that means time for another Mix It Up Challenge at SugarPea Designs.   I took some inspiration from the photo and the sketch! 


I used the Card Front Element Builder II to create my card base to mimic the stripes in the sketch as well as the present in the photo.  


 I used the die that cuts the multiple strips and die cut it three times on the panel.   I die cut the middle of the panel first and then lined up the strip on the end with the SugarCut and then die cut the next set of stripes.   I backed the panel with red cardstock. 


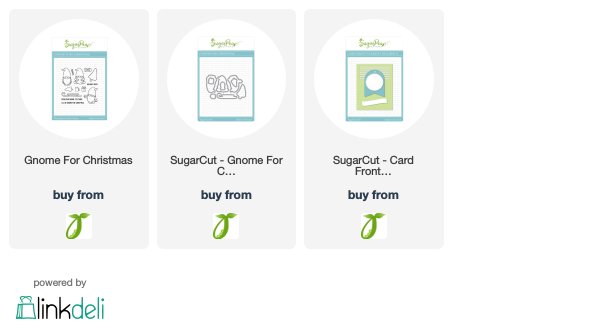
I stamped the three Gnomes from Gnome for Christmas and colored them as elves using my Copic markers.   They were die cut with the Gnome for Christmas SugarCut.   I layered them onto the card panel with foam tape and added some details with a white gel pen and some clear sparkle.   The sentiment is from Gnome for Christmas and was stamped on the sentiment strip from Card Front Element Builder II SugarCut.  


See the details below for the challenge rules and opportunity for a prize!  You can use the sketch or the inspiration photo or sketch!  Either one or both!   

Here is the link to the SugarPea Designs Blog and on the right side bar you can get to the current challenge! 

Thanks for stopping by!