Hey there! As I was preparing to create a holiday card, my son had this idea to create a card with Santa making a special delivery using the new English Bond Brick Wall Stencil along with the Pocket Tag Christmas Characters SugarCut. So from there, this idea really came together and turned out really cute! This card already has a recipient in mind and will be in the mail as we speak!
I started by die cutting all my pieces to create the Santa using the Floral Pocket Tag and Pocket Tag Christmas Characters. I created the whole tag and had that ready to assemble with my chimney card base!
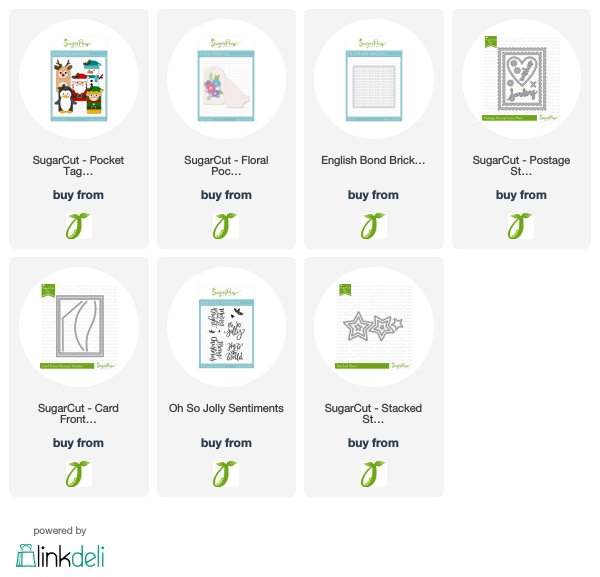
I went with a slimline card design with the panel dimensions of 3 3/8" by 8 1/2 inches. This allowed my Santa to pop up from the chimney and have plenty of room to slide between the panels. To create the chimney, I cut a piece of red card stock to 3 3/8" by 4 1/2 inches. I used the new English Bond Brick Wall Stencil with Gina K Glitz Glitter Gel in Red Velvet. It worked perfectly with the stencil and created the brick for my chimney. I used the Postage Stamp Sugar Cut to create a chimney cap. I wanted to have a roof top but there was just not enough room so I opted to have a snowy base using one of the border dies from the Card Front Element Builder SugarCut. This also gave me a great spot to put my sentiment using the Oh So Jolly Sentiments. I stamped the Merry Christmas scripty sentiment in Versamark Black Onyx ink and clear heat embossed it.
For the main panel, I ink blended with Distress Oxides in Tumbled Glass, Blueprint Sketch and Black Soot. I made sure that I had enough ink blending to come down past the chimney. I added some glittered stars using the Stacked Stars SugarCut.
To allow the Santa tag to come in and out of the chimney, I cut a slit to make a slider - you need it wide enough to allow the Santa to come up and out but not fully out. It is about 2 1/2 inches long and 3/8" wide. You can use two pennies to create the slider putting one under the panel and then one on top with some foam tape holding them together and allowing to slide up and down the 2 1/2 inch channel. However, this does add weight to the card, so I just used two circles made from cardstock and then cut some foam tape smaller than your channel to slide up and down. I doubled the foam tape between the circles. Place one circle under your main inked panel, then adhere the doubled up foam and place the other circle piece on top. I did use my embossing buddy along the channel so that the foam tape did not stick to the mechanism. The tag was then adhered to the circle slider mechanism.
I used two layers of foam tape to adhere my chimney to the inked card panel. This will allow the tag to move up and down pretty easily. Since this is also a card, I wrote my holiday message on the inside to my niece!
I loved how this turned out and you could also use this for the reindeer or the elf! I hope that you have a wonderful holiday season!


No comments:
Post a Comment