Tuesday, March 31, 2020

WOW! Embossing Powder & Whimsy Stamps Collaboration Blog Hop


Hello!   I am participating with Whimsy Stamps and WOW Embossing Powders Collaboration Hop today!    I have two cards to share with you and some new to me embossing powders that I have just falling in love with and can't wait to share!   You should have hopped to me from Carisa Zglobicki!  
The full hop list can be found at the end of my post!    


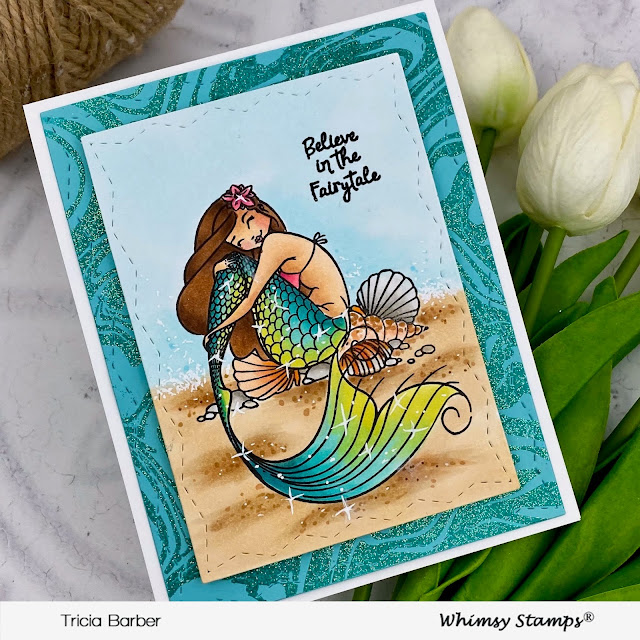
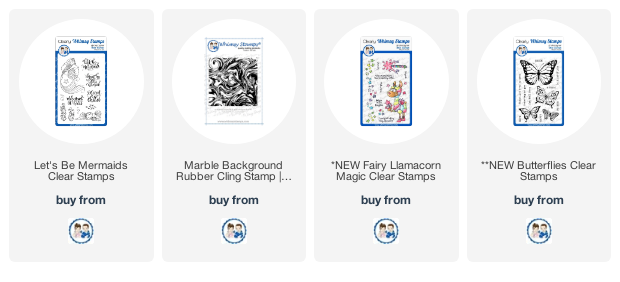
For my first card,  I used Whimsy Stamps Let's Be Mermaids.    I had so much fun coloring this full  panel, I have not done that in a really long time.   I used WOW Splash Embossing Glitter as it paired so nicely for a mermaid card.   


Just look at all that sparkle!!!   I die cut an aqua card panel with the Whimsy Zig Zag Stitched Rectangle and ran my embossing buddy all over the panel.   I then stamped the panel with the Marble Background stamp with Versamark ink and covered the panel with the WOW Splash Embossing Glitter.   The product code is WS202R (T) in case you want to check it out on the WOW page! 
I love sparkle on a card and this WOW Embossing Glitter was perfect!   


I stamped the mermaid from Whimsy Let's Be Mermaids onto Neenah card stock and then stamped her onto some masking paper.   I masked the mermaid to stamp the shell image to appear as if she was sitting on them on the beach.    I then colored the image with my Copic markers.   


I decided to color the entire panel, so I used my Copics to add the beach and faint blue sky in the background.    The sentiment comes from called Fairy Llama, it went perfectly with the mermaid.   To add the appearance of more sparkle on the colored mermaid, I used my white gel pen to add some highlights to her tail to give the appearance of sparkle.  


💙


For my next card, I went a totally different way - this card is just straight stamping.   I used a WOW Glintz Embossing Powder and I am just in LOVE with this color!   It is a gorgeous pale gold that is just beautiful.    I will share a picture below of the soft shine of this embossing powder.   


I die cut some pale pink card stock with the Whimsy Zig Zag Stitched Rectangle dies and then stamped with the new Butterflies stamp set all over the panel with Versamark ink.  I used the Inca Glintz Embossing Powder all over the main panel.    See this picture below for the soft shine that you get.   Just beautiful!   


Once I stamped the entire panel, I then die cut a smaller Zig Zag Stitched Rectangle from a cream card stock and stamped a sentiment from the Butterflies stamp set onto the cream rectangle.   I used the WOW Metallic Gold Rich Pale for the sentiment.   


I added some clear crystal jewels for a little more shine.    The Inca Glintz Embossing Powder is like a buttery gold.   It is just a beautiful color!    They have several different Glintz colors and I cannot wait to try some more!   


There are two prizes up for grabs. 
WOW! Embossing Powders is giving away 6 powders of your choosing along with a WOW carry case for safe storage of your powders, 
AND
Whimsy Stamps is offering a $25 gift certificate to their store!  

To be eligible to win, simply leave a comment on each blog post linked below.  The more blog posts you comment on, the better your chances are of winning! Comments will be open until April 5th, with the randomly chosen winners being announced the week of April 8th.   


Well that is it for me today!   Be sure to hop along for a chance to win!!!!   Next up on the hop is Amber Rain Davis! 
Supplies:


Friday, March 27, 2020

Whimsy Stamps - Poppy Flower & Lattice dies

Hello!  I am sharing the last card that I made with the mini release from Whimsy Stamps.   This one is using the new Poppy Flower and Lattice A2 dies.   I die cut the Lattice panel from white card stock and adhered it to white card base.   


It die cut the flowers from orange card stock and then inked the edges of the flowers with light brown ink.   To create different sizes for one flower I only used two layers and for the other I used three layers.   I die cut the leaves from two different colored card stock and inked the edges again.   


I added an enamel dot to each of the centers.   I slightly curled the edges of the flowers and added some foam tape to add dimension.   The sentiment is from the new Butterflies stamp set.  I stamped it onto a Quick Strip.  


Thank you for stopping by today!   


Thursday, March 26, 2020

Whimsy Stamps - Easter Memories

I am back again sharing another card made with the March Release from Whimsy Stamps!   I have a slimline card using the new Easter Memories.    I love the line images in this set and no coloring is needed at all, just good old fashion stamping!   


I used one of the Slimline Window die from Whimsy to start my project and die cut it from fuse green card stock.   I stamped the images from Easter Memories onto cream colored card stock with brown ink.   I made sure with the nest image to put in my MISTI with all three of the inside pieces and a temp frame that I cut from the Slimline Window die to have the image go across the three panels.  


I added some clear jewels to the images for a little sparkle.   I added a bow made from seam binding to the card and added a little jewel to the bow to dress it up!  


Sometimes it is nice to just stamp an image out!  It takes me back to my start in stamping when I just stamped images for my cards.   I had no idea about Copic's, watercolors, etc.   Just stamp and ink!   


I hope you have a wonderful day!    


Wednesday, March 25, 2020

Whimsy Stamps - Butterflies & Fabulous Florals

Hello!   It's the middle of the week and we have made it almost all the way thru our self distancing this week!  I don't know about you but for the past few days, it has been dreary and rainy where I have been that I am craving blue skies and sunshine! 


I am sharing a card today that I made with some of the March release from Whimsy Stamps.   The new paper pack Fabulous Florals is just GORGEOUS!!!!   There are some beautiful papers that are just too pretty to cover up!   I decided to pair some of the patterned paper with the new Butterflies stamp set and keep it really simple for the card and let that beautiful paper just shine through!  


I trimmed a piece of the patterned paper down to 4 1/4 x 5 1/2 inches.   I then added a simple oval die cut using the new Spring Ovals in white card stock.   I then stamped a butterfly from the Butterflies stamp set and then colored with my Copics and trimmed it down.   I colored the butterfly to match the patterned paper.    I added it to the center of the card with the oval die cut. 

The sentiment was gold embossed onto a pink sentiment strip die cut using the Quick Strips die cuts.   


Check out some of the other projects made by the design team for the March release!  


What is your favorite from the release?    

Thank you for stopping by!    


Tuesday, March 24, 2020

Technique Tuesday - Pretty Peacock and Alluring Orchid

Hey there!  I am here today to share with you some of the new releases for Animal House and Greenhouse Society.   On the first of the month, Technique Tuesday releases a new stamp and matching die.   You can subscribe and become a member and receive special discounts and incentives for members only.  You can order just the stamps, dies or both.  Check out each of the collections below: 


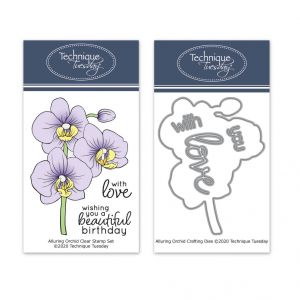
My first card is for the Greenhouse Society.   If you love floral stamps - this is the club for you!   March's release is Alluring Orchid and is such a beautiful stamp set.   The die this month comes with not only a die to cut out the Alluring Orchid image but also three word dies: love, with, & you.   


 Alluring Orchid Stamp Set with Matching Dies


I stamped the image onto Neenah card stock and then colored with my Copic markers: 

Y11, Y13, Y15, Y19, YR04, YR07, YR09, YG17, YG25, YG01, BG0000.   

There is so many ways that you can color this set and find more inspiration on the Greenhouse Society page! 


I added some details with my white gel pen to give highlight's to the flowers.  I stamped the sentiment off to the side and then trimmed down the panel.   I then added a dark green panel behind the white panel and then added it to a light green card base with foam tape.   

I love the details in this flower and it was super easy to color!   


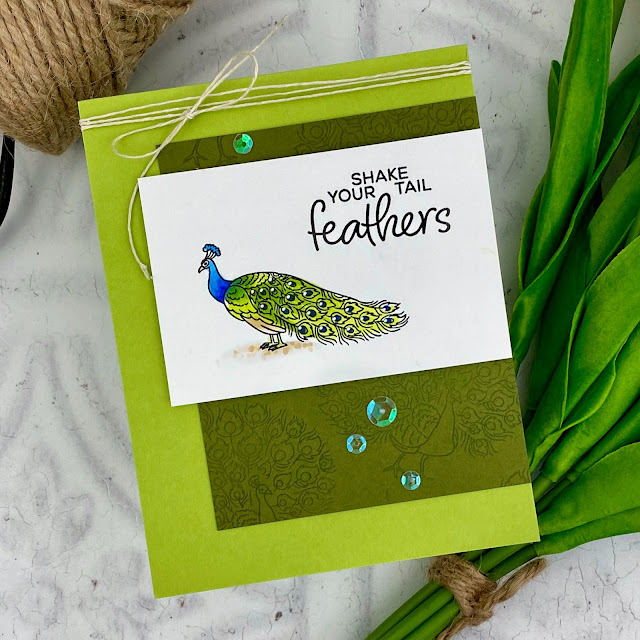
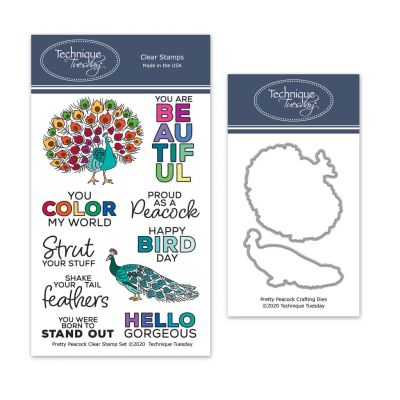
Next up, is the new stamp and die set from Animal House called Pretty Peacock.   I stamped the image onto Neenah card stock and then colored with my Copic markers:
B14, B18, YG25, YG01, YG17, E23, E21 


I then stamped the sentiment to the right top of the image and trimmed the panel down.   I stamped the other peacock image from the Pretty Peacock stamp set onto a dark green panel and repeated stamping till the panel was covered.  I add both of these to a light green card base. 


To finish off my card, I added some crystal sequins and hemp twine.

Pretty Peacock Stamp Set with Matching Dies


There is so much more inspiration that you can find on the Technique Tuesday page!   

I hope you have a wonderful day! 


Monday, March 23, 2020

SugarPea Designs - Hey Honey!

Hey there!  I am here today to share with you a card made with one of my favorite stamp sets called Hey Honey!  I really wanted to create a bright and cheerful card so I grabbed this set and some of my favorite colors of card stock and got started.   


I decided to make a slimline card.   These can be tall and skinny or long and short - I use 3 1/4 x 8 1/4 for card panel dimensions whenever I am creating one of these.   I trimmed a piece of yellow card stock to this size and then using the Honeycomb stencil with some bright yellow ink and I ink blended onto my panel.    


 For the sky, I used some aqua card stock and die cut several clouds using the Whatever the Weather SugarCut.   I adhered some with foam tape to add some dimension.    I die cut a white circle using the Zig Zag Stitched Circle SugarCut this gave me the foundation for my sweet Hey Honey bear.   


 I stamped and die cut the bear from Hey Honey onto kraft card stock and then die cut him out along with the nose from card stock.   I added some Worn Lipstick Distress Oxide ink for the cheeks.   I stamped and die cut several of the bees from Hey Honey and added them to the card with foam tape.  I added some clear sparkle to the wings.   


The sentiment is from Hey Honey and was stamped below the bear using black ink.   I used my MISTI to get a really crisp sentiment - stamping it several times.   I added a small die cut red heart using the You're my Type SugarCut.   


I added some yellow jewels to finish the card off.   This card is ready to send in the mail.   You just need to use a business size envelope and it will fit perfectly!    Thank you so much for stopping by today!  


Sunday, March 22, 2020

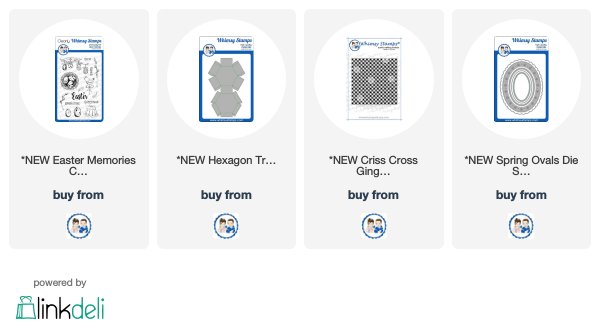
Whimsy Stamps - Easter Memories & Hexagon Treat Box

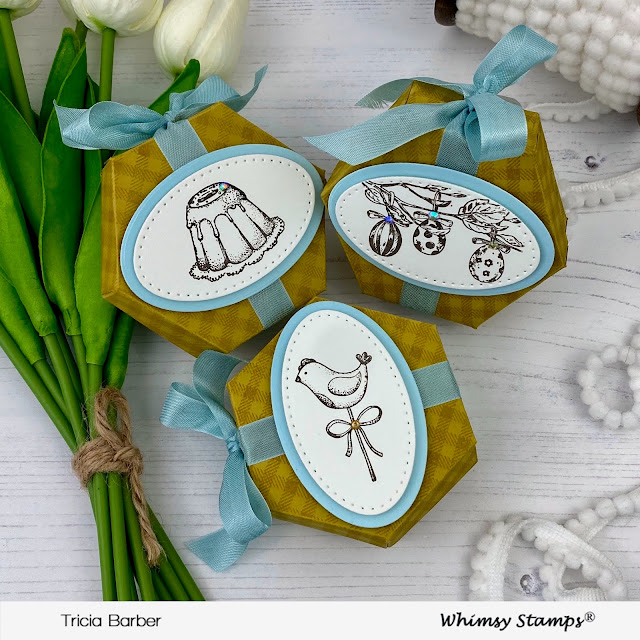
Hello!   I hope that you are having a good weekend.   I am popping in to share a project I made with several new products from Whimsy Stamps from the March release.   I made some super cute Easter treat boxes that you can use to decorate your Easter table or baskets.   


I started by die cutting the treat boxes using the Hexagon Treat Box die from a fuse green card stock.  I then stamped it with matching ink using the Criss Cross Gingham Background stamp.   I then added some 1/8" tear tape and used it to adhere the tabs of the boxes together.    I cut tiny strips of kraft card stock and crumpled them up to go inside the box with a little easter treat.   


To close the boxes, I used some light aqua seam binding and tied a ribbon around each box.   Using the new Spring Ovals die cut, I cut some vanilla and light aqua card stock and then stamped with brown ink using the new Easter Memories stamp set.   I used a separate image for each box.   I added a clear sparkling jewel to each one of the images.    


They turned out so cute!   These would be perfect to decorate your Easter place setting or table scape! 

Thank you for stopping by today!  


Friday, March 20, 2020

Whimsy Stamps - March Mini Release!

Hey there!   I hope you are hunkering down ok where ever you are!  It's crazy but crafting keeps me calm and happy.   I am sharing a card that I made with some of the new release products.   


I used the new Sunflower and Butterflies stamp sets.   I started off and stamped the new Sunflower stamp set onto grey card stock and Versafine Onyx Black ink.   I just love this new stamp.   It is a red rubber and the details in the fine lines of the sunflower are so clear stamped out!    I trimmed the panel down and set it aside to dry.   


Next I stamped out the butterflies from the new Butterflies stamp set and trimmed them out.   I colored with my Copic markers in bright colors to pop off of the grey panel!   I then added them to the grey panel with some foam tape.   


The sentiment is from the Butterflies stamp set and white heat embossed it onto a strip of black card stock.   I trimmed it down and added it to the panel with some foam tape.   For a final detail, I used my clear sparkle pen and covered the butterflies.   You cannot see in the photos but it is just so sparkly in real life!    

Check out the rest of the design team and cards made with the new mini release from Whimsy Stamps!   Thank you for stopping by!